Feeds:
Posts
Comments

Archive for the ‘Holidays’ Category

DIY Pincushion: Repurposing Jars 
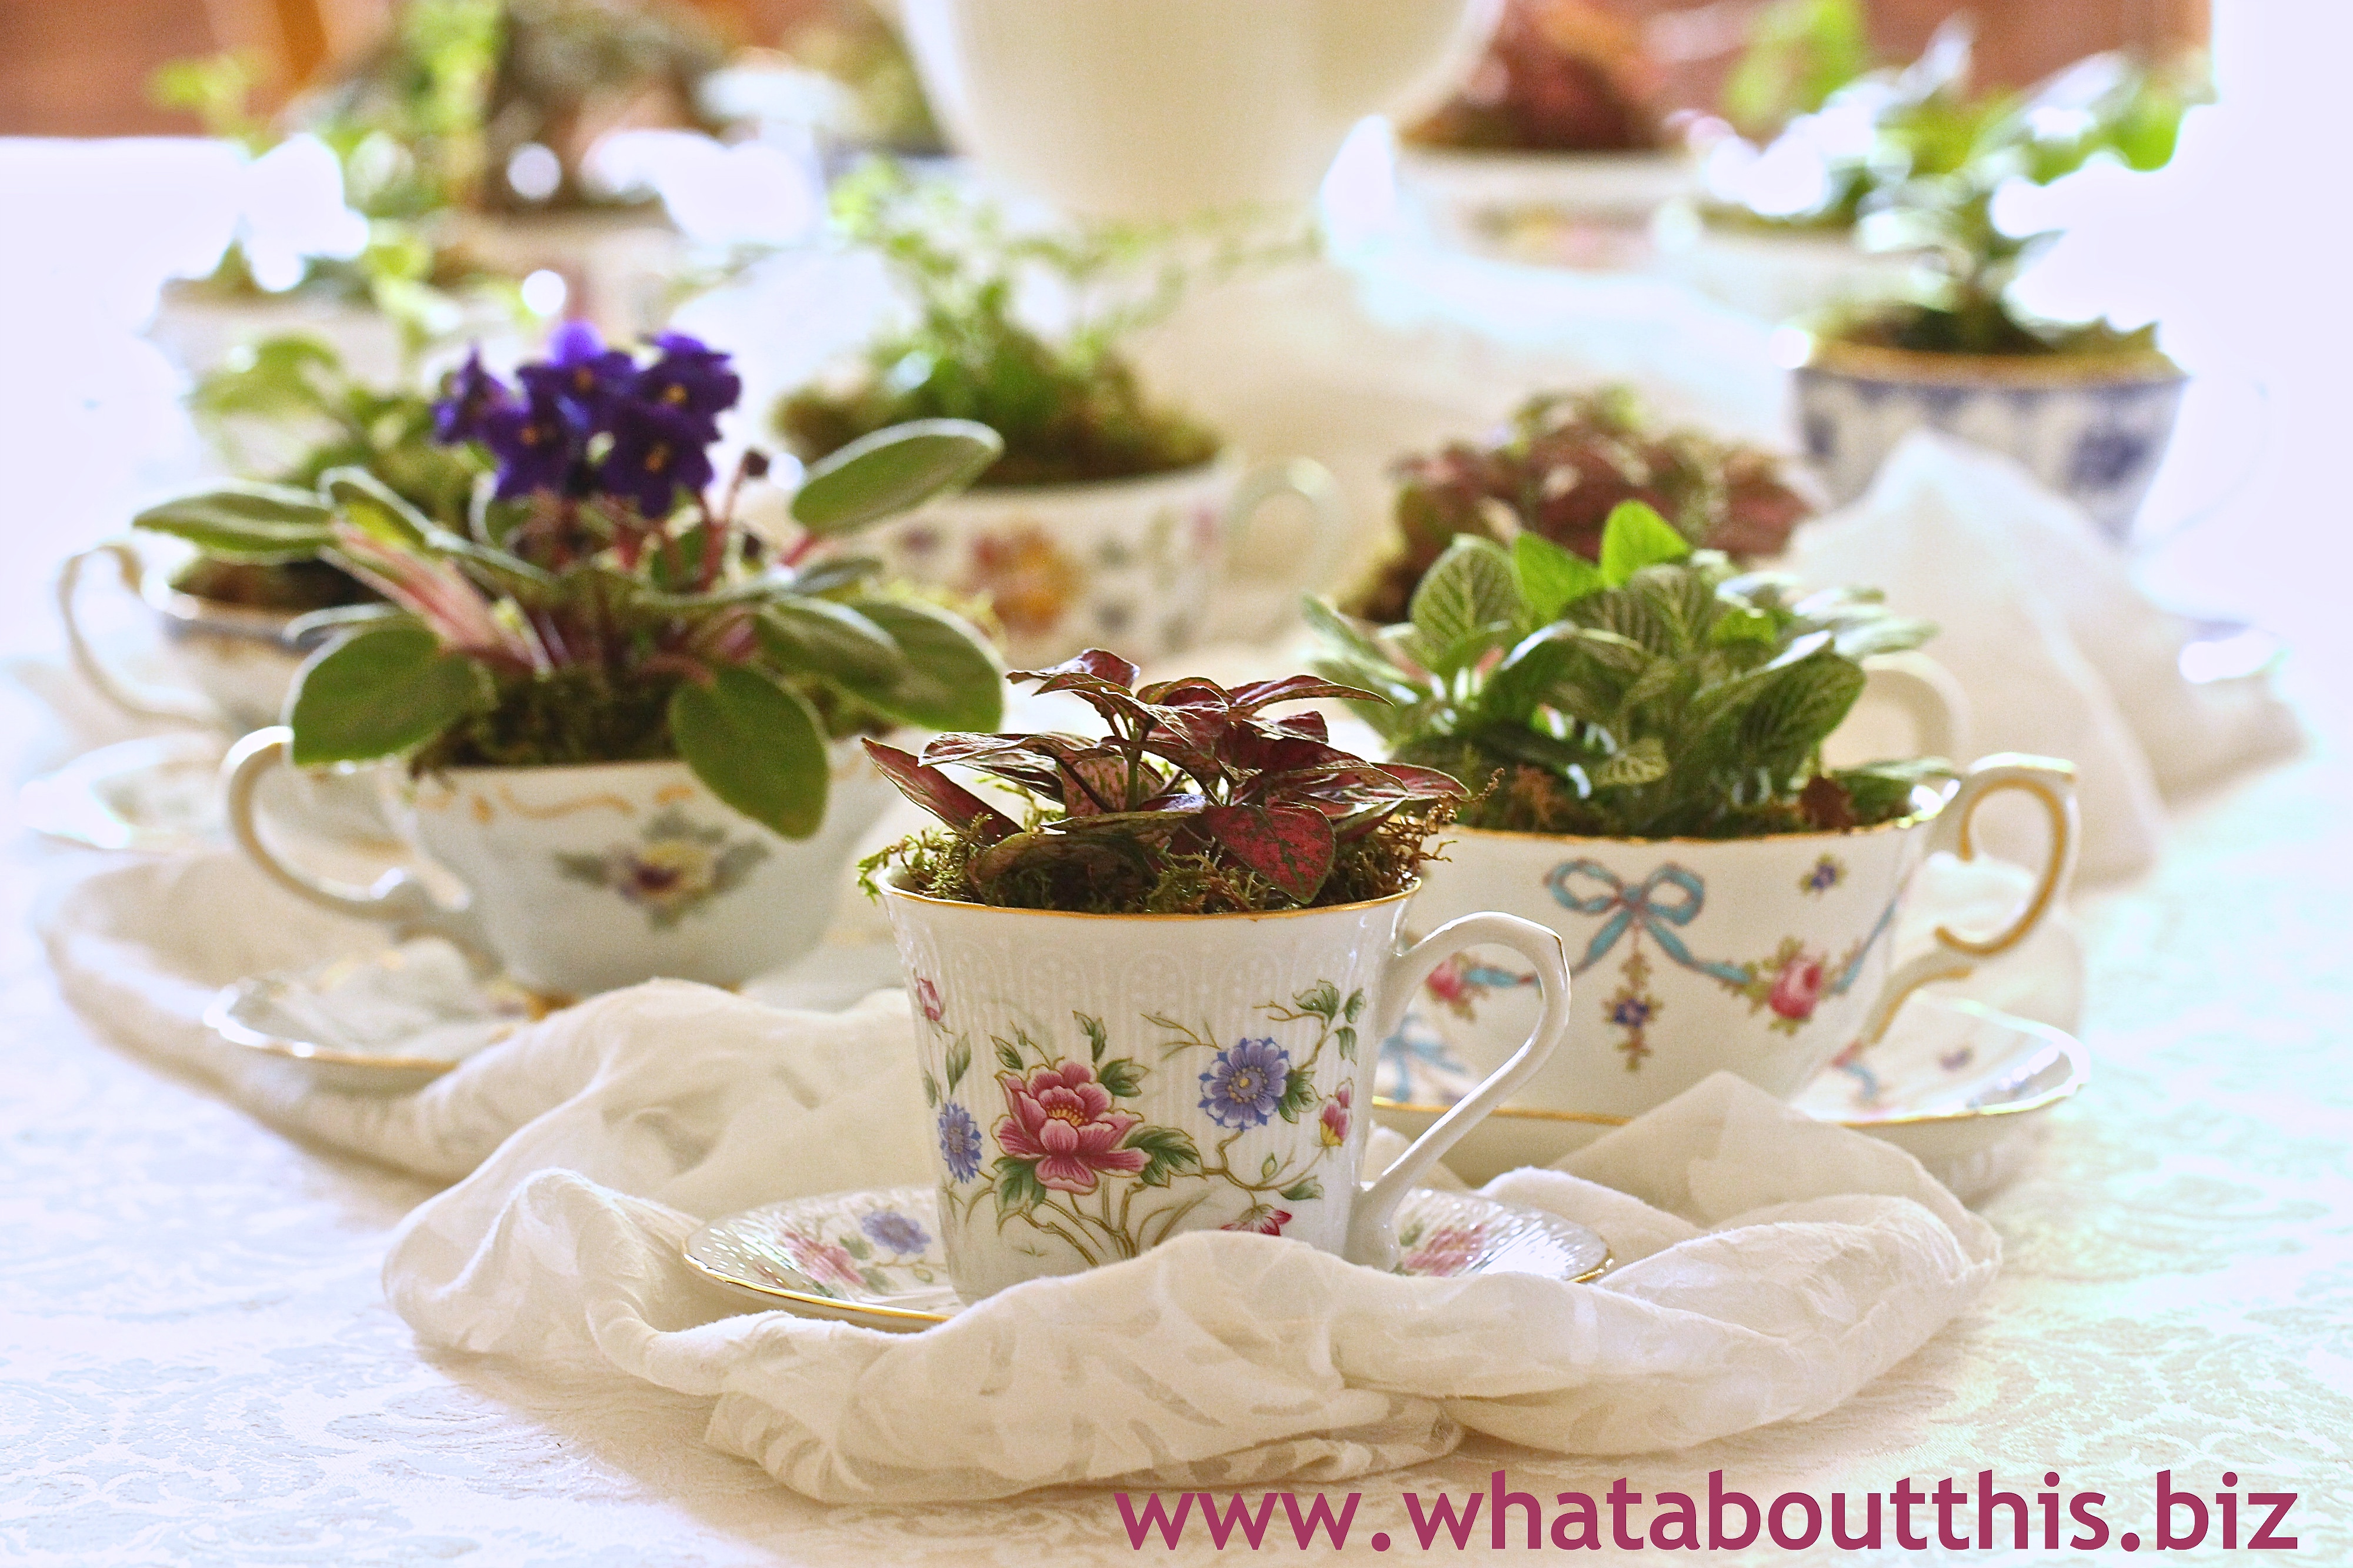
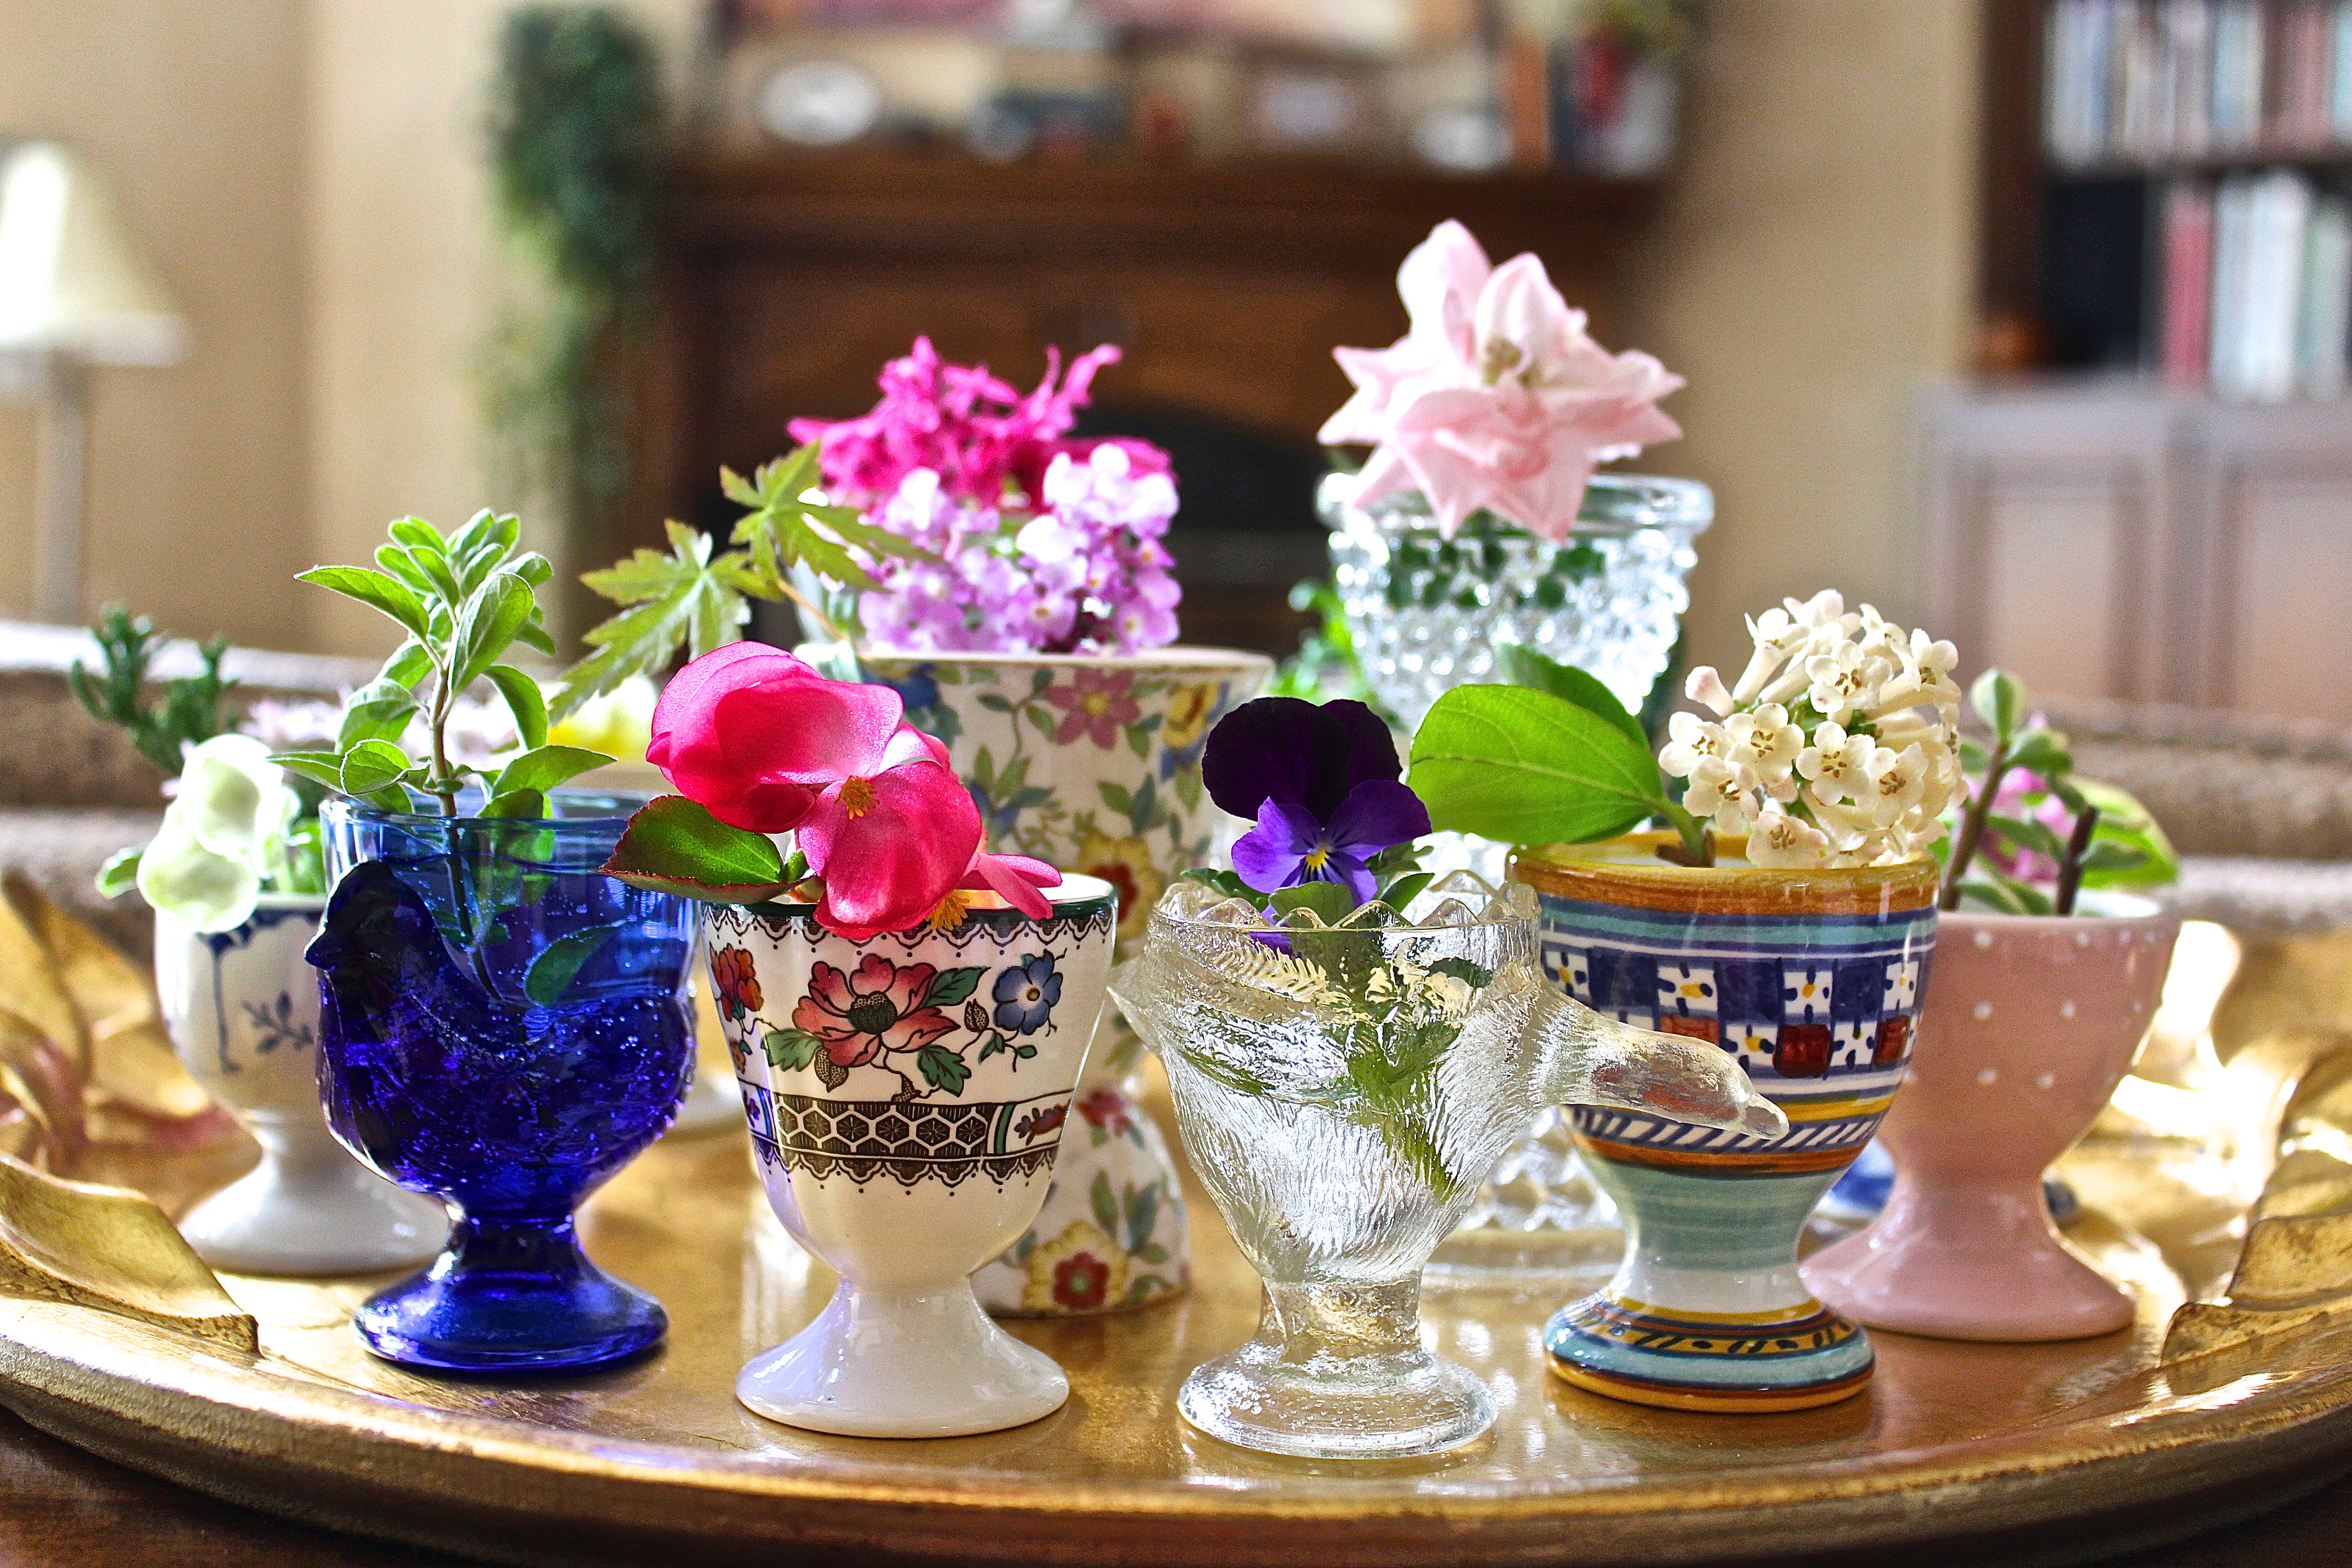
“What are you doing with all of the baby food jars, Mom?” my daughter asked as she eyed the boxes of empty jars. “Oh, I’m saving them for projects.” Catching the look that my daughter and husband exchanged, I added, “It won’t be long before Charlotte moves on from eating commercial baby food, so I have to collect the jars while the collecting is good.” I plan on repurposing the jars for group activity projects throughout the year, so I’ll need a lot of them. These cute little pincushions are just the beginning. Next, I’ll make clever photo jars and then some petite terrariums. Oh, and how about fall votive holders and winter snow globes and Valentine’s Day party favors . . . .

Baby Food Jar Pincushion
As seen on CraftPudding

SUPPLIES
DIY pin cushion supplies
1. Baby food jar
2. Hot glue gun
3. Needle and thread
4. Polyfill stuffing or batting
5. Fabric, cut into a 5-inch circle
6. Scissors
7. Ribbon, enough length to go around the perimeter of the jar lid and wide enough to cover both the lid and the bottom part of the pincushion

DIRECTIONS
1. Cut a length of thread, long enough to stitch around the outer edge of the fabric circle. Make a knot at the end of the thread. Make basting stitches (straight stitches, evenly spaced) around the entire perimeter of the fabric circle. At the end of the stitches, don’t knot the thread or cut it off. You will need to pull this thread to gather the fabric. To make it easier for you to see the stitching, I’ve flipped the fabric over to the wrong side.DIY PIn Cushion Stitch

2. Plug in your glue gun to heat it up.

3. Place the polyfill stuffing in the center of the fabric circle. Pull the thread to gather the fabric until very little of the filling can be seen and it looks like a “puff.”DIY Pin Cushion Poof

4. Adjust the filling in the puff, so that it is evenly distributed. If it is to your satisfaction, go ahead and tie a knot in the thread and snip off the extra length.

5. Apply glue to the top of the cap, making sure to apply some just inside the edge of the cap. If too much glue is applied directly to the edge, it will slop over onto the side (see the big mess I made in the photo). Place the fabric puff stitch-side down on the glue, making sure it is centered on the lid. Apply even pressure on the puff until the glue has hardened. DIY Pin Cushion Glue

6. Finally, working small sections at a time, apply small dots of hot glue around the lid and then press the ribbon onto the glue. The ribbon should be covering both the lid and the bottom of the puff. For a neat finish, cut the ribbon about 1/4-inch longer than necessary and fold this amount back towards the jar. Glue it down, overlapping the previously glue-downed ribbon.
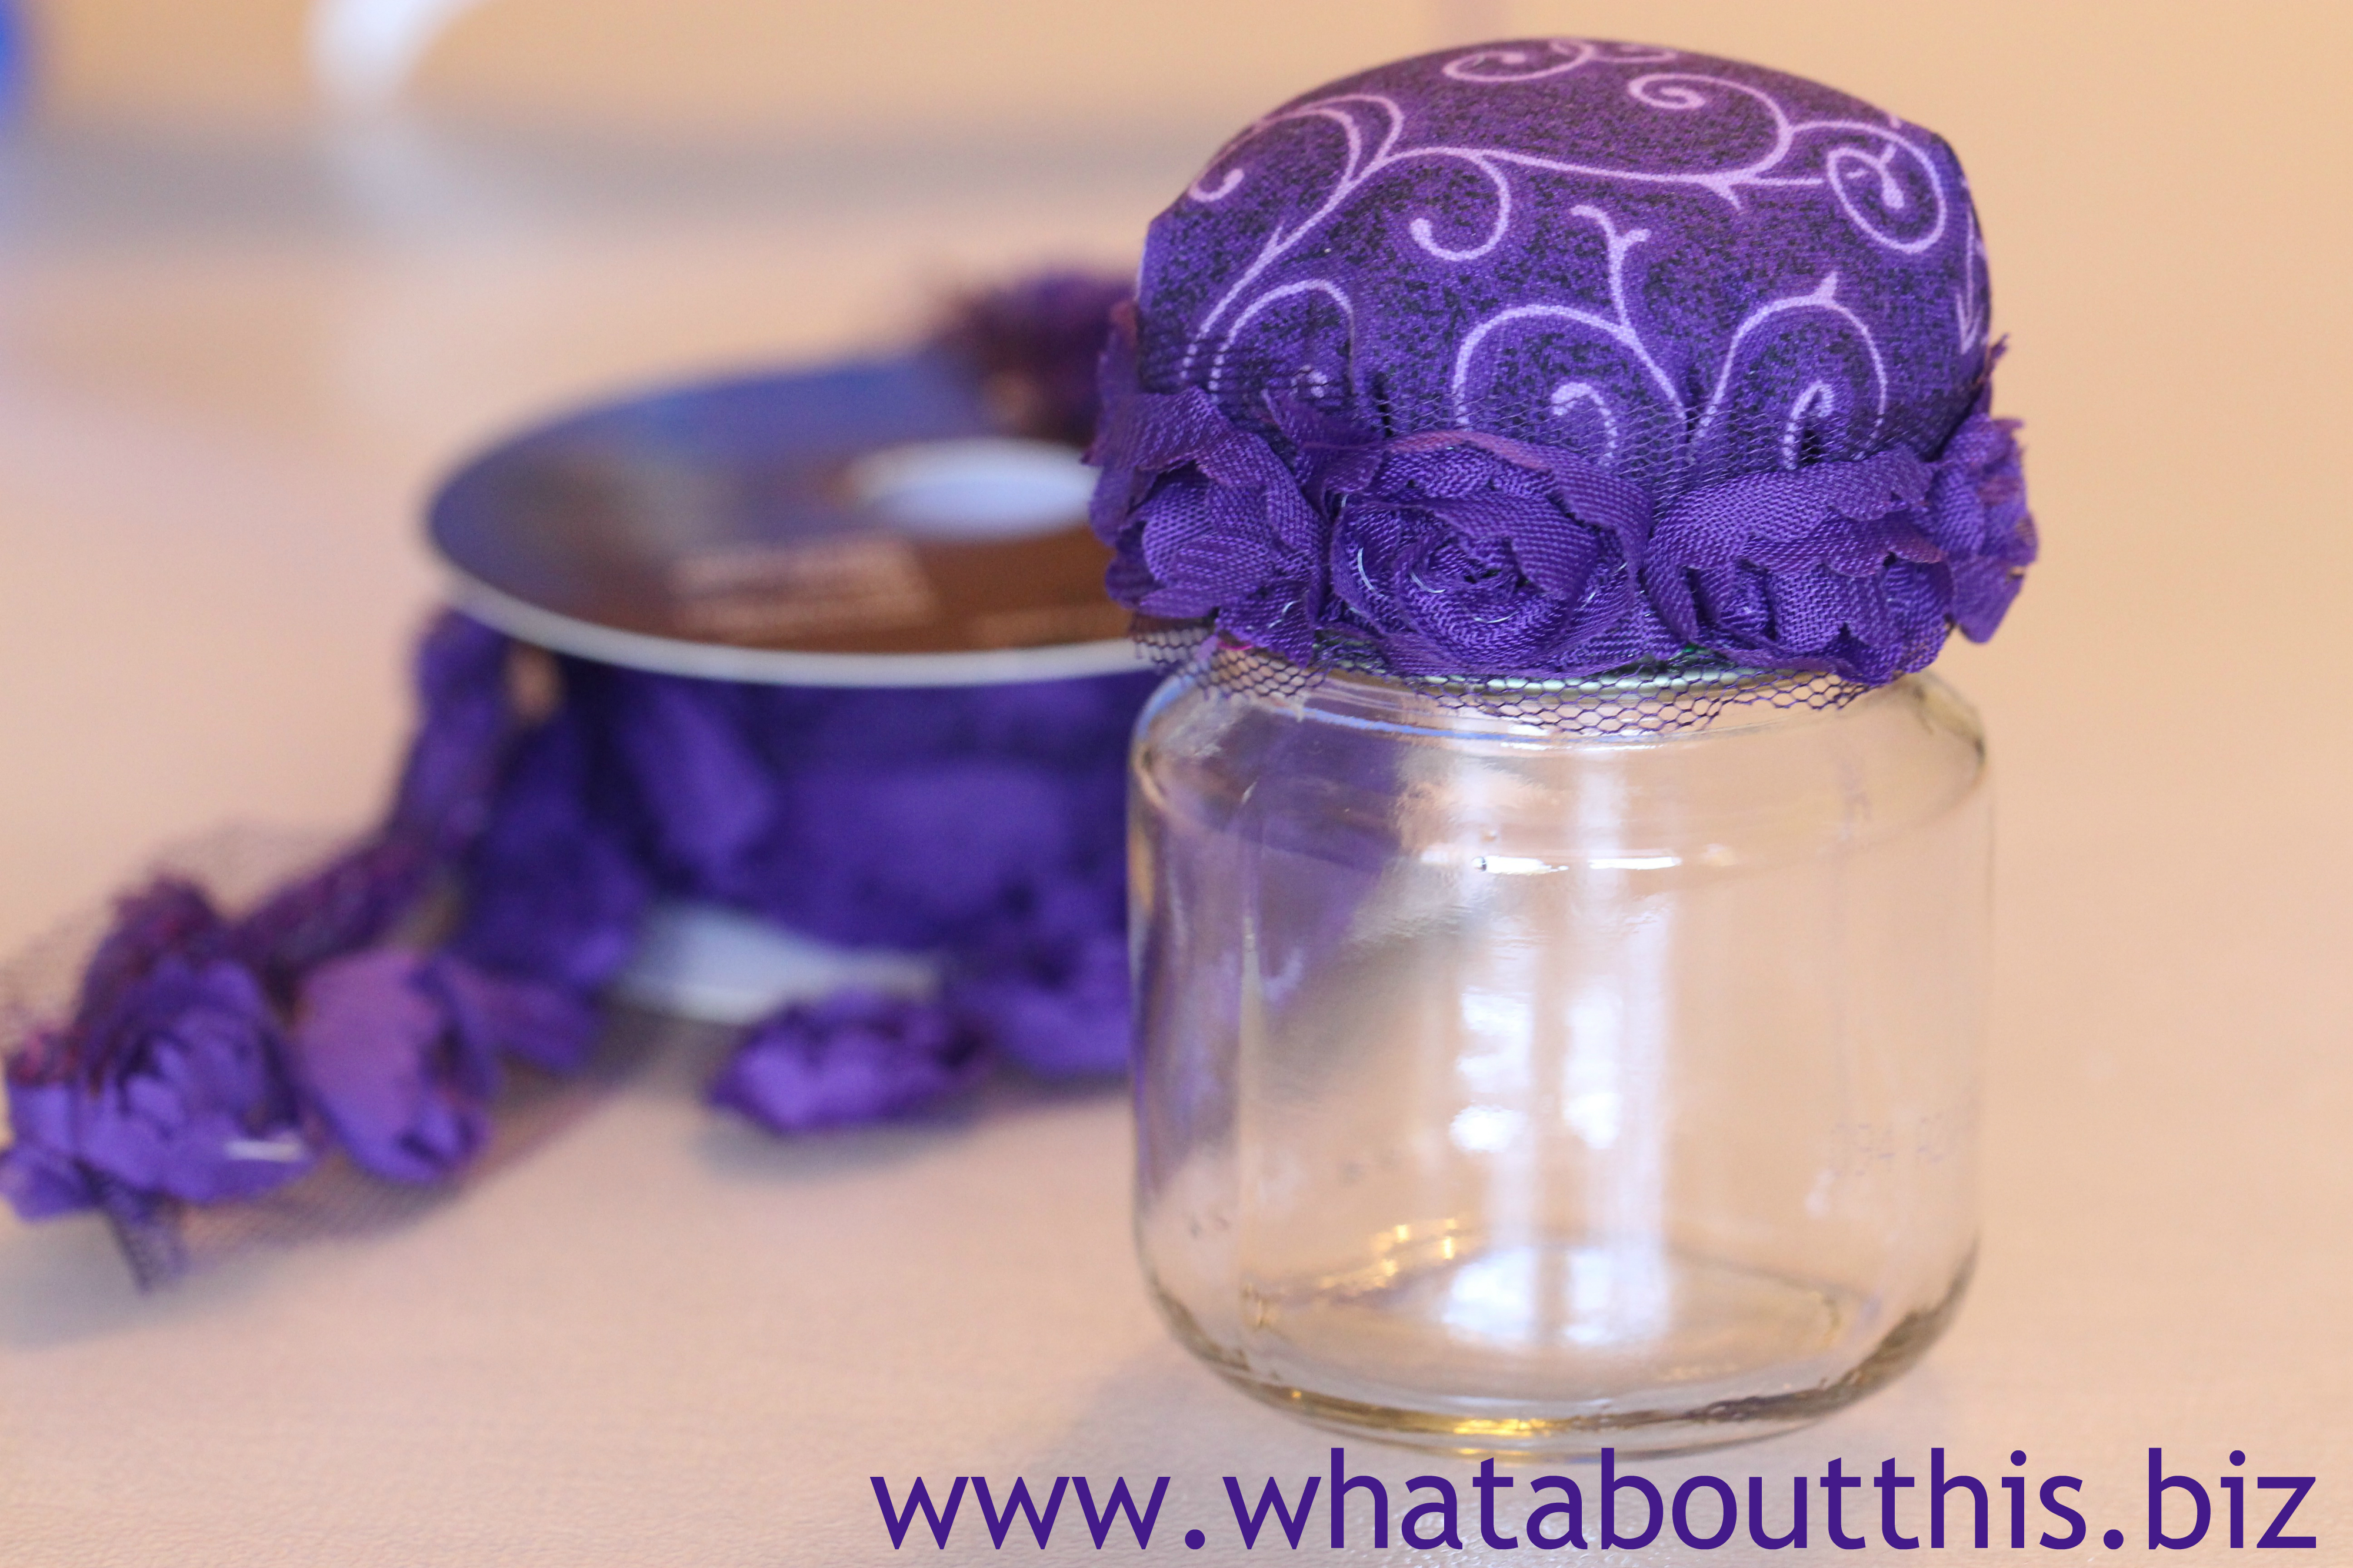
 DIY Pin Cushion Empty

LINNELL’S NOTES
1. Although these small jars make cute little pin cushions, any size jar can be used for this project. Just remember to adjust the diameter of the fabric circle and the amount of stuffing to accommodate the change in the size of the lid.

2. I traced around a 5-inch-diameter bowl to get the correct circle size.

3. As mentioned before, these would make cute party favors. Fill the jars with anything you like.

Enjoy!

Read Full Post »

Firecracker Ice Pops Sweet ripe berries of summer combine with wholesome yogurt to create swirling frozen treats. These ice pops will refresh you even on the hottest days of summer. They’re pretty good at soothing the mouths of teething baby granddaughters too!*

Firecracker Ice Pops
Martha Stewart

INGREDIENTS
1/2 pound strawberries, hulled and quartered (1½ cups)
1/4 cup sugar
1/2 pound blueberries (1½ cups)
1¼ cups low-fat plain yogurt

DIRECTIONS
1. In a food processor, purée strawberries with 1 tablespoon sugar. Transfer to a small bowl.

2. In processor, purée blueberries with 1 tablespoon sugar.

3. In another small bowl, whisk together yogurt and 2 tablespoons sugar.

4. Pour the 3 mixtures, alternating, into ten 3-ounce ice-pop molds, making 3 to 5 layers in each.

5. With a skewer or thin-bladed knife, swirl mixtures together in an up-and-down motion.

6. Insert ice-pop sticks and freeze until solid, 2½ to 3 hours (or up to 1 week).

Cook’s Notes: for tropical pops, use 4 kiwis and 1 large mango (about 1/2 pound each) instead of the berries.

LINNELL’S NOTES
1. Taste your fruit before adding any sugar. There’s no reason to add extra sugar, if the fruit is already sweet.

2. I used nonfat plain yogurt, because that is what I had on hand. The pops turned out fine without the additional fat.

3. My ice pop molds are smaller, so I was able to get a dozen pops from one batch of recipe.

4. *These pops are great for teething babies, providing that your baby is able to eat dairy products.

Enjoy!

Read Full Post »

Salsa Negra Although the dark complex flavor of this salsa defies description, I would say, “deliciously sweet with a deep smokey flavor and a fiery punch that makes you take notice.” Using canned chipotle chiles in adobo sauce, this salsa comes together quickly and is versatile enough to be used as a seasoning base for other dishes, like the dip shown above.

Sweet-Sour Chipotle Seasoning (Salsa Negra)
Recipe by Rick Bayless as seen on Parade.com

INGREDIENTS
2 (7½-oz) cans chipotle chiles en adobo
2 Tbsp molasses
¼ cup (packed) dark brown sugar
¼ cup balsamic vinegar or sweet sherry vinegar
½ cup water
¼ cup soy sauce

DIRECTIONS
1. Place the chiles (with canning liquid), molasses, sugar, vinegar and ½ cup water in a blender and process until completely smooth. Scrape into a small saucepan over medium heat.

2. Let the mixture come to a brisk simmer, then turn the heat to medium-low and continue simmering, stirring regularly, until the mixture is the consistency of tomato paste, about 30 minutes.

3. Remove from the heat and stir in the soy sauce. If necessary, add water, a splash at a time, until the salsa is the consistency of runny ketchup. Cool, taste, and season with salt if needed.

Chef’s Note: Refrigerate salsa in a tightly covered pint-sized jar, where it will keep for a month or two.

LINNELL’S NOTES
1. I was a bad girl. By not reading the directions thoroughly, I screwed up. I added the soy sauce with the other ingredients in my blender. I cooked down the salsa negra in step 2, but because I added more liquid by adding the soy sauce prematurely, I did not let it cook it down to a tomato paste consistency.

2. I used light soy sauce with good results and added no more additional salt.

3. In Food and Wine, Chef Bayless says of this salsa, “Balsamic vinegar might seem like an unusual ingredient in Mexican food, but it is common in Baja. This recipe makes more salsa than you’ll need to make Shrimp with Spicy Chipotle Tomato Sauce, but it keeps in the refrigerator for weeks and can add an intense, smoky heat to grilled meats, stews and tacos.”

4. Taking Chef Bayless’s recommendation, I made a dip using the salsa negra. Using 16 ounces of room temperature cream cheese, I added some salsa negra (to taste) and some crumbled bacon. The dip packs enough flavor alone, if you just want to spread it on a bagel. I like it spread on a blue corn tortilla chip, drizzled with Mexican crema, and topped with a cilantro leaf.

Enjoy!

Read Full Post »

April 3, 2015 Edition What About This? is out hiding Easter eggs, but will be back with a new post next week!

Read Full Post »

Remembrance Box The woodworker stood back and looked at his project. While pouring his heart into the design and construction of it, his mind focused on only one thing – the purpose of it. At a recent meeting of local woodcrafters, a plea had been made for boxes. Keaton Raphael Memorial, a nonprofit organization that assists families with children with cancer, was in dire need of woodworkers to help make Remembrance Boxes. When a child being helped by Keaton Raphael Memorial passes away and becomes a special KRM angel, the organization gives the family a wooden box containing bereavement reading materials and oftentimes a grant to help with funeral expenses. The woodworker rose to the challenge and his expertly-crafted work reflects the beauty of fallen leaves, signifying, in my opinion, the short, but significant lives of young souls.

#1 – Land Art
Land Art Nature doesn’t need any embellishments. However, when man works with natural components, interesting art can result. You will be impressed by the scale of some of the projects in 21 Unforgettable Examples of Land Art.

#2 – Got Stuff?
Recycling Goods With children moving hither and yon, I am left with a garage full of “stuff.” All of it is useful – to somebody. Rather than toss everything into the garbage, I’d rather find new homes or new uses for them. If you are in the same situation of having stuff and not wanting to add to our landfills, go to earth911. Type in what you would like to recycle, add your zipcode, and a listing of local recycling centers should appear.

#3 – Easter Decorations
80 Fabulous Easter Decorations While scrolling through the ideas in 80 Fabulous Easter Decorations You Can Make Yourself, I went into creative overload. There are so many cute and clever ideas in it, I don’t which project to start first!

#4 – Fresh Eggs
How to Buy the Freshest Eggs PossibleWith Easter right around the corner, you’ll want to make sure you buy the freshest eggs possible. In How to Buy the Freshest Eggs Possible, learn how to read the Julian date on an egg carton. And here’s a tip from me: when selecting a carton of eggs in the grocery store, just don’t open the carton and look at the eggs. Always wiggle each egg. If an egg doesn’t move, there’s a good chance that its shell is cracked, causing it to stick to the carton.

#5 – In Every Falling Leaf
“In every change, in every falling leaf there is some pain, some beauty. And that’s the way new leaves grow.”
Amit Ray

Note: The beautiful Remembrance Box in the photo was made by Mr. Jim Hunt

Now go and spread joy!

Read Full Post »

Teacup Floral Centerpiece When looking for ways to decorate your home, look no further than your own collections. Whether your collections consist of books, copper molds, or vintage dolls, try incorporating them into your seasonal decorating. Two years ago, I wrote a post on Decorating With Egg Cups. Placing tiny sprigs of greenery and petite flowers into some of my favorite egg cups always brings a feeling of springtime into my home. Egg Cups As Mini Vases Having collected a lovely assortment of teacups, too, I decided to show them off by using some of them to create a floral centerpiece for my dining room table. My dining room table is long and wide, so I designed a centerpiece that is a little over 5-feet-long and about 18 inches at its widest point. After selecting a complementary assortment of teacups and a teapot to use as a center focal point, I went to a nearby nursery and looked for appropriate plants. Specimens grown for use in terrariums fit the bill; they come in many different plant varieties and are grown in small plastic pots that fit very nicely into teacups. Plus, at $2.95 each, they were relatively inexpensive. After tucking a little green moss here and there to hide the plastic pots, my easy teacup centerpiece provides a light and cheerful counterpoint to an otherwise formal room.

SUPPLIES
Teacup Centerpiece Table runner or piece of fabric
Small box
Assortment of teacups
Terrarium-sized plants, as many as the number of teacups you will be using
Bag of green moss
Teapot for focal point

DIRECTIONS
1. Arrange the fabric down the center of the table. I used a sheer fabric and made it appear billowy by tucking the edges under and creating soft folds. I tapered the ends of the fabric to within 13 inches of each end of the table.

2. Place a small box under the fabric in the center of the arrangement. Place teapot on top of fabric-draped box for height.

3. Do a preliminary arrangement of teacups and saucers, evenly distributing colors, shapes, and heights. I fashioned an alternating right-left-right or zigzag pattern.

4. Temporarily place the plants, while still in their containers, in the teacups, evenly distributing colors, textures, and heights.

5. Once the arrangement is to your liking, take the teacups (leave saucers behind as place markers) to an area for assembling.

6. Stick whole potted plant in teacup (do not remove the plant from its plastic pot). Do the same to the other plants.

7. Arrange moss in between the plastic pot and the teacup and also above the plastic pot to hide it. Do this with all the other potted plants in teacups. Teacup Floral Centerpiece

LINNELL’S NOTES
1. I used 14 sets of teacups and saucers; seven on each side of the teapot.

2. Please note that because I want to reuse the teacups for their original purpose, I did not permanently plant the plants in the cups.

3. Working with moss is messy. You can cover your dining room table with paper, if you want to work with it there. I found it easier to assemble the pots near my kitchen sink, where I could wipe any dirt, moss bits, and twigs into the sink.

4. Don’t forget to water the plants. Because they are potted in small containers, they will dry out quickly.

5. When the time comes to dismantle this centerpiece, I will plant the plants in a terrarium.

Teacup Centerpiece

Enjoy your springtime centerpiece!

Read Full Post »

March 6, 2015 Edition Model Tyra Banks coined the word “smize.” According to one of her websites, the word means: a fierce, sizzling eye expression, typically with the eyes squinting with maximum focus and intensity; the art of smiling with one’s eyes. So what’s a girl to do when she has a camera-toting grandmother? Why, she poses, of course! As I propped up six-month-old Charlotte on a chair for a 30-second photo shoot, she “smized” into the camera. I told her, “Tyra Banks would be so proud of you!” Life flies by and babies grow up fast. Don’t forget to smile through your eyes and take photos of your journey!

#1 – Photographing Kids
13 Tips for Better Pictures of Babies, Toddlers and Teenagers Photographing kids takes skill and a little bit of luck. For those of you who take photos of your children, grandchildren, nieces and nephews read professional photographer Brett Harkness’s 13 Tips For Better Pictures of Babies, Toddlers and Teenagers.

#2 – Easter Crafts
Upcycling Empty Egg Cartons Easter is a month away. As you think ahead to dying Easter eggs, also think ahead to what you will do with the empty egg cartons. Discard them? Never! Here are a few cute ideas for upcycling those cartons.

#3 – Those Downtime Thoughts
Bizarrely Odd Shower Thoughts Some of my best blog ideas come to me while I blow-dry my hair. It’s a mindless task, so my mind wanders freely. Bizarrely Odd Shower Thoughts is a compilation of those types of wandering thoughts. Where do you do your best and most creative thinking?

#4 – Flowers, Flowers Everywhere
Flowers Surviving Daffodils in full-bloom sprinkle the slope of my front yard with cheerful color and Daphne blossoms near my front door provide a heavenly fragrance to those who come visit. Plants bring so much joy to our world, especially those that manage to thrive in unusual conditions. Check out Life Finds A Way: 25 Plants That Just Won’t Give Up.

#5 – Smile
“Because of your smile, you make life more beautiful.”
Thich Nhat Hanh

Now go and spread joy!

Read Full Post »

Raspberry Port Trifle The choices are endless when it comes to choosing a dessert for Valentine’s Day. But choosing the perfect dessert depends on exactly who your special Valentine is. Like my Valentine, a trifle is never boring, very versatile, and always indulgent. Come February 14th, my Valentine will be served a trifle that is composed of layers of fresh raspberries, vanilla cake, good tawny port, raspberry jam, and homemade crème anglaise. Make one large trifle or several individual ones. Make a haphazardly messy trifle like mine or a structurally engineered one, but any dessert as rich as a trifle deserves to be topped off with fresh whipped cream! Happy Valentine’s Day!

Raspberry Port Trifle
The Grand Central Baking Book

INGREDIENTS
Crème Anglaise
2 cups (16 fluid ounces) whole milk
4 egg yolks
1/3 cup granulated sugar
1 teaspoon vanilla extract
1/4 teaspoon salt

Layers
2 pounds leftover plain cake
3/4 cup port
1 cup raspberry jam
2 pints (4 cups) fresh raspberries

Whipped Cream
2 cups (16 fluid ounces) heavy whipping cream
2 tablespoons granulated or confectioner’s sugar
1 teaspoon vanilla extract

Garnish
Fresh raspberries, for garnish (optional)
Lightly toasted almonds or fresh fruit, for garnish (optional)

DIRECTIONS
Make the crème anglaise:
1. Heat the milk in a heavy saucepan over medium heat until a skin forms on its surface, just before it comes to a simmer.

2. Meanwhile, whisk the egg yolks with the sugar, vanilla, and salt until well blended and slightly thickened.

3. While whisking continuously, slowly pour about 1 cup pf the hot milk into the egg yolk mixture. Then, still whisking continuously, slowly pour the egg yolk mixture back into the saucepan with the remaining hot milk.

4. Cook the custard over medium-low heat, stirring constantly with a wooden spoon or heatproof spatula until it thickens slightly and coats the back of the spoon; this will take about 10 minutes. (If you run your finger down the spoon, the custard shouldn’t run into the track.)

5. Immediately remove the custard from the heat and pour it through a fine-mesh sieve into a 2-qt bowl. Cover with plastic wrap, placing it directly on the surface so the custard doesn’t form a skin. Let the custard cool to room temperature.

Assemble the trifle:
1. Slice the cake into 1/2- to 3/4-inch thick pieces. Arrange one-third of the slices on the bottom of the trifle bowl, pressing the cake to fill the bottom.

2. Pour 1/4 cup of the port evenly over the cake, then spread 1/3 cup of the jam over the cake.

3. Cover with a layer of raspberries, using about 1-1/3 cups, then pour 3/4 cup of custard over the berries.

4. Repeat the entire process two more times.

5. Cover the surface of the trifle with plastic wrap and refrigerate for at least 24 hours and up to two days.

Make the whipped cream, garnish, and serve:
1. Well in advance of serving, put the whipping cream in a bowl in the refrigerator, along with a whisk.

2. When you’re ready to serve, whip the cream with the sugar and vanilla until it holds soft peaks, 5 to 7 minutes.

3. Pile the whipped cream atop the trifle and garnish with the fresh fruit and toasted nuts.

Serves 10 to 12 generously

LINNELL’S NOTES
1. For the cake, I bought a box of Trader Joe’s Vanilla Cake & Baking Mix and baked it the day before assembling the trifle.

2. Also, to make it easier, I purchased Trader Joe’s Sliced Honey Roasted Almonds. These are ready to use, no toasting involved. Plus, they will be great in my Homemade Granola Bars.

3. As seen in the photo, you can make one large trifle or several individual ones. I used brandy snifters for the small trifles.

4. Keep in mind that trifles need to sit for awhile. This trifle can be made up to 2 days ahead.

Enjoy!

Read Full Post »

Holiday Recipe Round-Up It’s down to the wire in Santa’s Kitchen and I’m helping him sort through popular holiday recipes featured in this blog. Reminiscing about these dishes, we force ourselves to stop salivating and start prepping food. Santa needs to start eating holiday foods now in order to build up his stamina for the long hours ahead!

Here are Santa’s picks for this year:

The holidays are not always about sweets. Bowls of Reindeer Snack Mix empty magically, so make sure you make plenty of this salty, sweet, and spicy treat. It also makes a great snack for any casual get-together or game-day viewing!

If mornings are not your thing, try sitting in front of a hot stack of Gingerbread Pancakes with Maple Cream. Your senses will be teased and tickled. Smell the ginger and cinnamon. Look at the light fluffy pancakes. Taste the spice and molasses mixed with the sweet maple cream. You’ll be wide awake in no time!

As much as he would like to, Santa cannot survive only on sweets. One of his favorite salads is not only gorgeous to look at, but is packed with healthy ingredients. Crisp slices of Asian pear mingle with juicy slices of pink grapefruit, crunchy slices of Fuyu persimmons, and beautiful red pomegranate arils. Toasted pine nuts and a fat-free dressing top off this wonderful Fall Fruit Salad.

Finally, here’s a recipe for one of Santa’s favorite cookies. With a buttery crust that’s topped with red currant jam and a lemony-nutty meringue, this cookie is a triple threat. Easily made in a 9 by 13-inch pan, these Yugoslavian Christmas Cookies will undoubtedly become one of your family’s holiday favorites!

This will be my last post of the year, because I will be enjoying the holidays with my family. May your holidays be filled with laughter and love and may the New Year bring peace and joy to you and yours. Thanks for following What About This and see you next year!

Read Full Post »

December 19, 2014 Edition Holidays bring cherished memories, family traditions, favorite foods, festive decorations, and opportunities to gather together. This is true across the world. Hanging this wreath on my front door is a holiday tradition for my family. The wreath was made by my husband and is the only example of his woodworking skills. With angels gloriously sending out stars of hope and joy to all who see it, Christmas just wouldn’t be Christmas for my family without this lovely wreath adorning our door.

#1 – Delicious Pancakes!
21 Delicious Pancake Recipes If your holiday morning traditionally includes serving pancakes for breakfast, you might want to check out these 21 Crazy Delicious Pancake Recipes. You’ll be hard-pressed to pick a favorite.

#2 – Gift In a Jar
96 Great Homemade Gift in a Jar Recipes If you are in need of last minute gifts, look no further than your kitchen cabinet. Just find an empty jar and make one of the 96 Great Homemade Gift In A Jar projects.

#3 – Knitting With Glass
Artist Carol Milne Knits With Glass Traditionally, knitting involves the use of some sort of fiber. Artist Carol Milne “knits” with glass. She developed a technique that uses glass to create knitted sculptures. Pieces of her artwork are as delicate and intricate as some of the finest fiber-knitted goods.

#4 – Helping the Homeless

Homeless People: Do You Just Walk on By? If you see me walkin’ down the street
And I start to cry each time we meet
Walk on by, walk on by
Make believe that you don’t see the tears
Just let me grieve in private ’cause each time I see you
I break down and cry, I cry

– Dionne Warwick

Using the lyrics to a song as an introduction to her article “Homeless People: Do You Just ‘Walk on By‘”?, writer Pam Bailey reports on the changing numbers of homeless people, on the dilemma of whether to give them money or not, and on alternative ways to help them.

#5 – Make It Part of Our Daily Lives
“All major religious traditions carry basically the same message, that is love, compassion and forgiveness . . . the important thing is they should be part of our daily lives.” Dalai Lama

Now go and spread joy!

Read Full Post »

Older Posts »