Feeds:
Posts
Comments

Posts Tagged ‘desserts’

Raspberry Port Trifle 
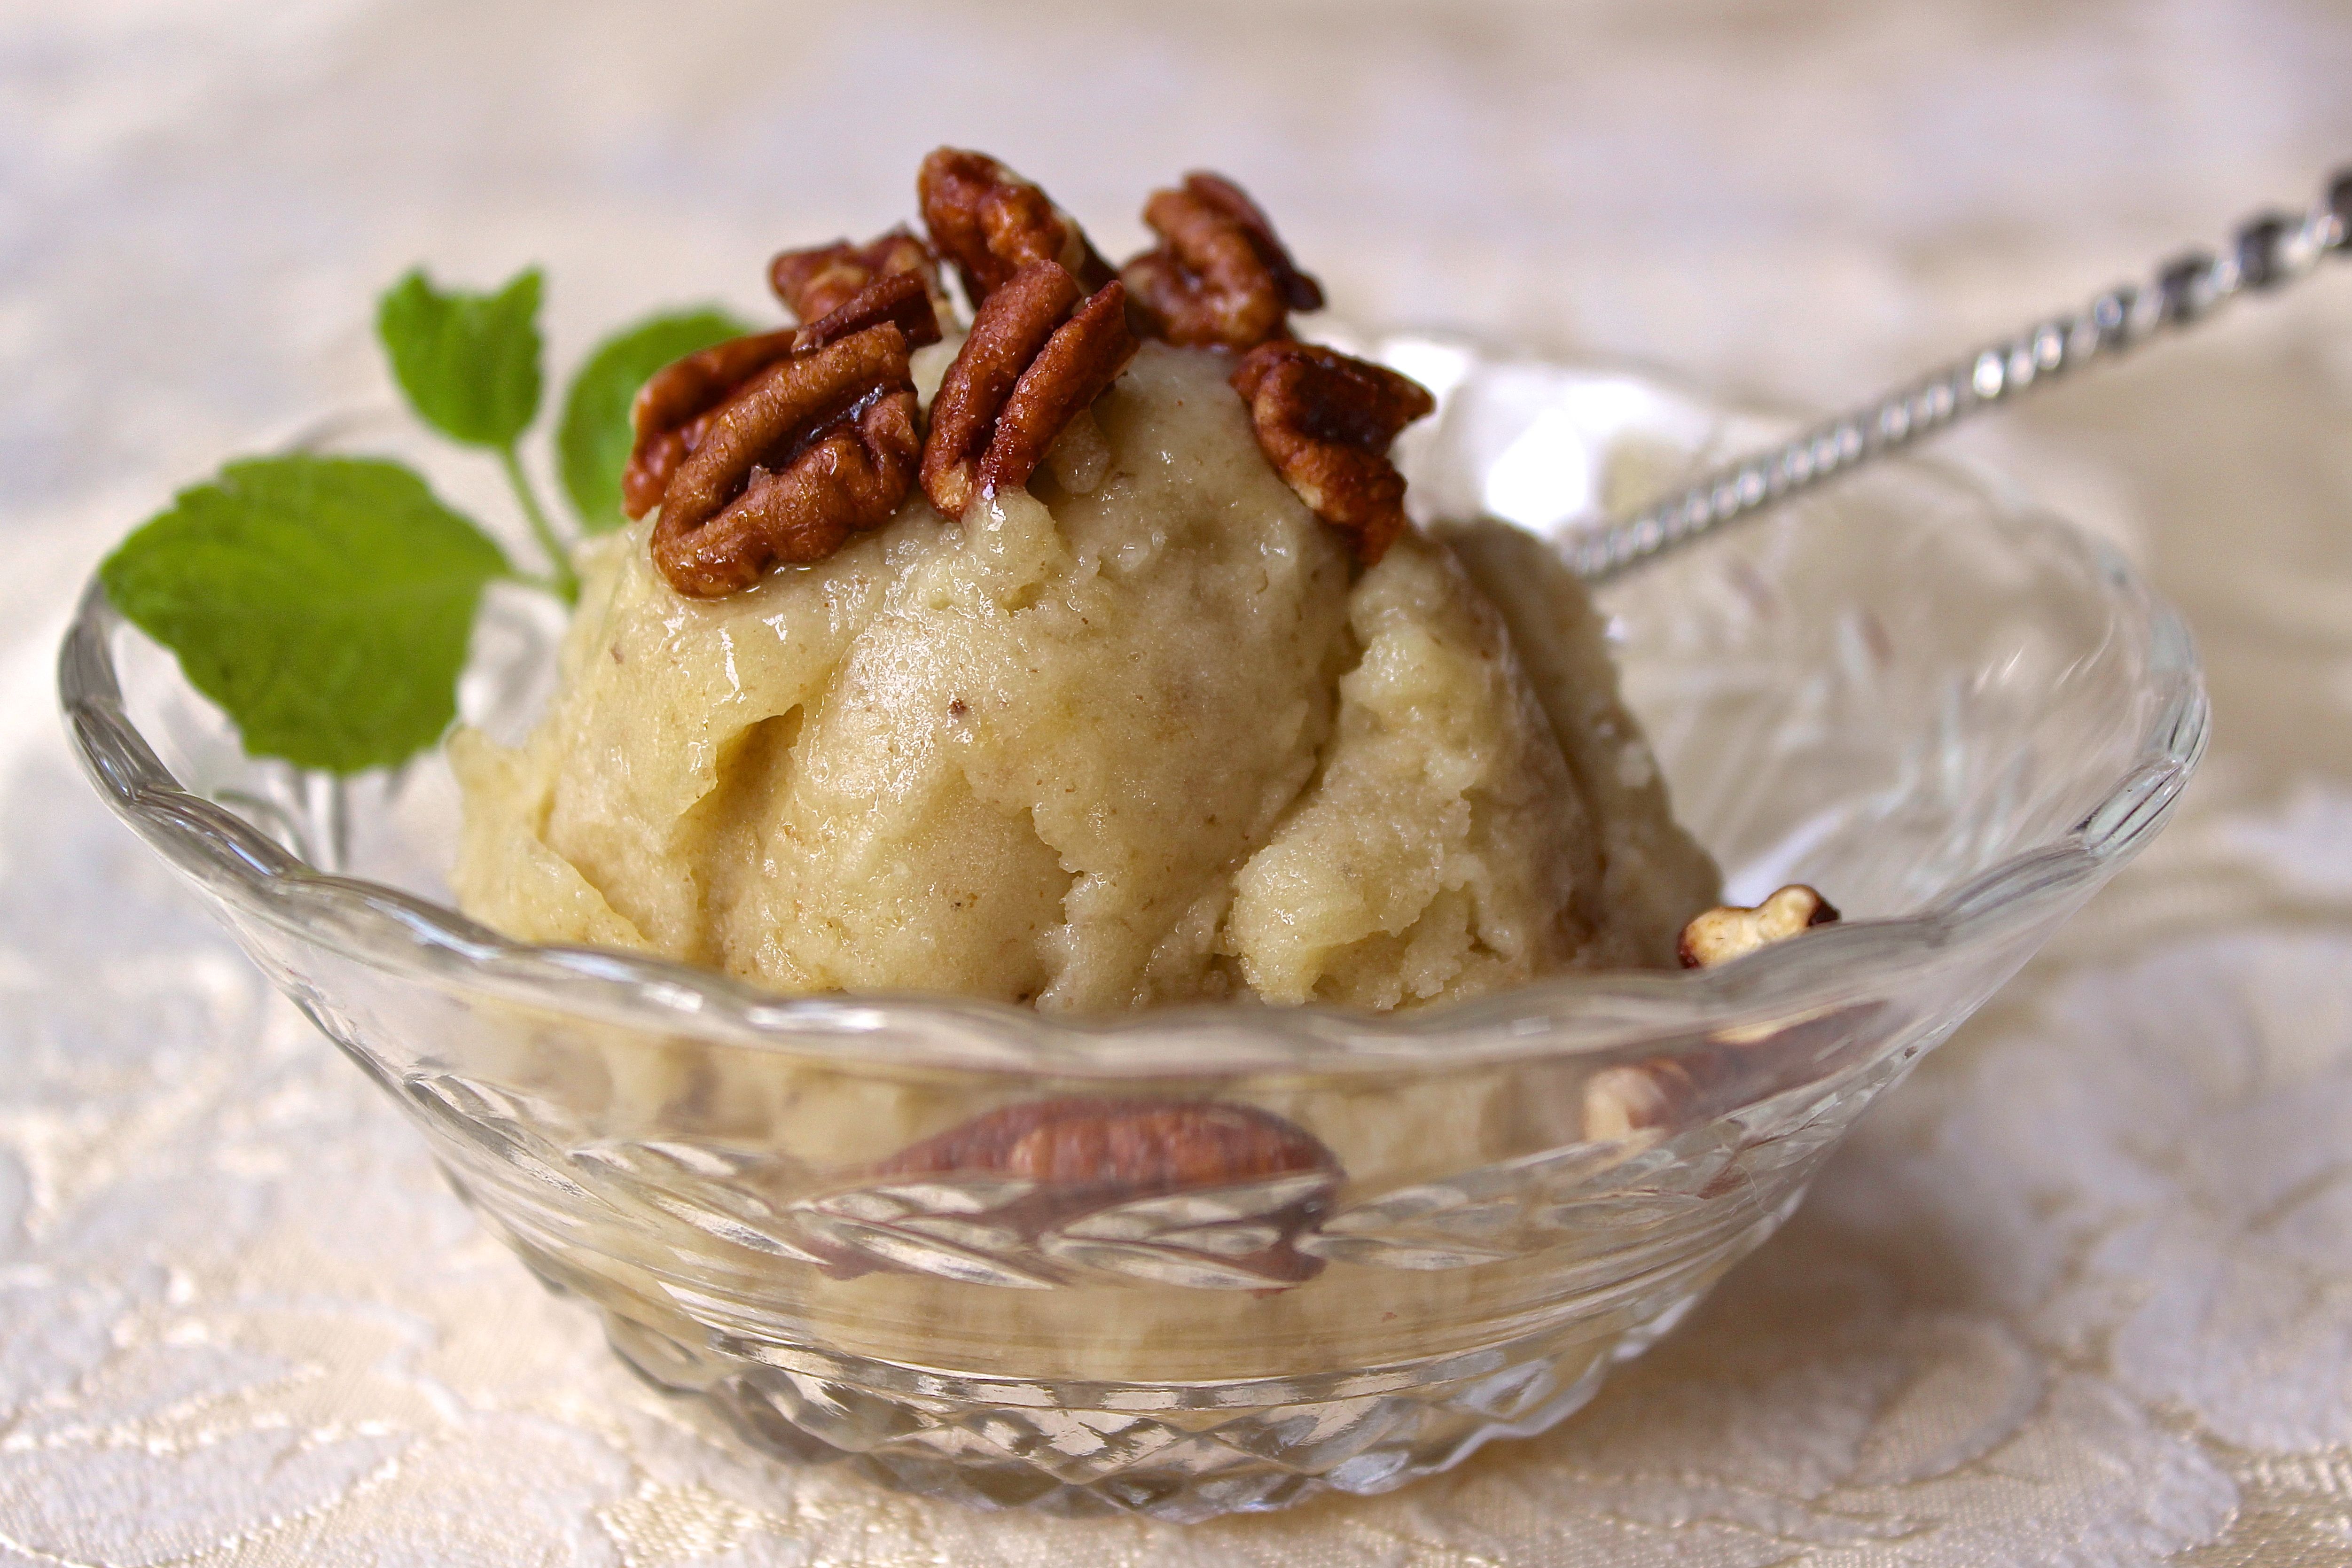
The choices are endless when it comes to choosing a dessert for Valentine’s Day. But choosing the perfect dessert depends on exactly who your special Valentine is. Like my Valentine, a trifle is never boring, very versatile, and always indulgent. Come February 14th, my Valentine will be served a trifle that is composed of layers of fresh raspberries, vanilla cake, good tawny port, raspberry jam, and homemade crème anglaise. Make one large trifle or several individual ones. Make a haphazardly messy trifle like mine or a structurally engineered one, but any dessert as rich as a trifle deserves to be topped off with fresh whipped cream! Happy Valentine’s Day!

Raspberry Port Trifle
The Grand Central Baking Book

INGREDIENTS
Crème Anglaise
2 cups (16 fluid ounces) whole milk
4 egg yolks
1/3 cup granulated sugar
1 teaspoon vanilla extract
1/4 teaspoon salt

Layers
2 pounds leftover plain cake
3/4 cup port
1 cup raspberry jam
2 pints (4 cups) fresh raspberries

Whipped Cream
2 cups (16 fluid ounces) heavy whipping cream
2 tablespoons granulated or confectioner’s sugar
1 teaspoon vanilla extract

Garnish
Fresh raspberries, for garnish (optional)
Lightly toasted almonds or fresh fruit, for garnish (optional)

DIRECTIONS
Make the crème anglaise:
1. Heat the milk in a heavy saucepan over medium heat until a skin forms on its surface, just before it comes to a simmer.

2. Meanwhile, whisk the egg yolks with the sugar, vanilla, and salt until well blended and slightly thickened.

3. While whisking continuously, slowly pour about 1 cup pf the hot milk into the egg yolk mixture. Then, still whisking continuously, slowly pour the egg yolk mixture back into the saucepan with the remaining hot milk.

4. Cook the custard over medium-low heat, stirring constantly with a wooden spoon or heatproof spatula until it thickens slightly and coats the back of the spoon; this will take about 10 minutes. (If you run your finger down the spoon, the custard shouldn’t run into the track.)

5. Immediately remove the custard from the heat and pour it through a fine-mesh sieve into a 2-qt bowl. Cover with plastic wrap, placing it directly on the surface so the custard doesn’t form a skin. Let the custard cool to room temperature.

Assemble the trifle:
1. Slice the cake into 1/2- to 3/4-inch thick pieces. Arrange one-third of the slices on the bottom of the trifle bowl, pressing the cake to fill the bottom.

2. Pour 1/4 cup of the port evenly over the cake, then spread 1/3 cup of the jam over the cake.

3. Cover with a layer of raspberries, using about 1-1/3 cups, then pour 3/4 cup of custard over the berries.

4. Repeat the entire process two more times.

5. Cover the surface of the trifle with plastic wrap and refrigerate for at least 24 hours and up to two days.

Make the whipped cream, garnish, and serve:
1. Well in advance of serving, put the whipping cream in a bowl in the refrigerator, along with a whisk.

2. When you’re ready to serve, whip the cream with the sugar and vanilla until it holds soft peaks, 5 to 7 minutes.

3. Pile the whipped cream atop the trifle and garnish with the fresh fruit and toasted nuts.

Serves 10 to 12 generously

LINNELL’S NOTES
1. For the cake, I bought a box of Trader Joe’s Vanilla Cake & Baking Mix and baked it the day before assembling the trifle.

2. Also, to make it easier, I purchased Trader Joe’s Sliced Honey Roasted Almonds. These are ready to use, no toasting involved. Plus, they will be great in my Homemade Granola Bars.

3. As seen in the photo, you can make one large trifle or several individual ones. I used brandy snifters for the small trifles.

4. Keep in mind that trifles need to sit for awhile. This trifle can be made up to 2 days ahead.

Enjoy!

Read Full Post »

Fresh Banana Cream Cheesecake An early Father’s Day present for my husband came in the form of a cheesecake. Testing recipes is an occupational and personal hazard for me (think hips), so I gave this fresh-flavored and ultra-creamy dessert to him as a gift. Being the good husband that he is, I knew he would share it. I could bake a cake and eat it, too. Pretty clever of me, wasn’t it?

Fresh Banana Cream Cheesecake
Recipe from Robbie’s Recipe Collection

INGREDIENTS
20 vanilla cream sandwich cookies
1/4 cup margarine, melted
24 oz. cream cheese, softened
2/3 cup granulated sugar
2 tablespoons cornstarch
3 eggs
3/4 cup mashed bananas
1/2 cup whipping cream
2 teaspoons vanilla extract

DIRECTIONS
1. Process cookies in a blender or food processor. Pulse to finely chop.

2. Add melted margarine or butter and pulse until thoroughly combined.

3. Press mixture into the bottom of a 10-inch springform pan; refrigerate.

4. Beat cream cheese with an electric mixer until creamy.

5. Beat in sugar and cornstarch.

5. Beat in eggs, one at a time.

6. Beat in bananas, whipping cream, and vanilla.

7. Pour mixture into prepared crust.

8. Place pan on a cookie sheet and bake in a 350°F oven for 15 minutes.

9. Reduce oven temperature to 200 degrees and bake an additional 75 minutes, or until center is almost set.

10. Allow to cool completely before removing rim of pan.

11. Refrigerate cheesecake, uncovered, at least 6 hours.

Serves 12

LINNELL’S NOTES
1. I used a 9½-inch springform pan and I’m glad I did. This recipe does not make a tall cheesecake, so it was perfect with the smaller pan.

2. Because I used a smaller pan than specified, I used fewer cookies. Even then, the crust was a little thicker than I would have preferred.

3. I used butter instead of margarine, basically because I didn’t have margarine on hand. 1/4 cup of butter is equivalent to 2 ounces of butter for those that weigh their ingredients.

4. Even though the directions don’t state it, don’t forget to preheat your oven.

5. I served each slice with a dollop of whipped cream, a banana slice and a small sprig of mint.

Enjoy!

Read Full Post »

Silken Tofu Chocolate Mousse Want to serve your sweetheart a killer dessert for Valentine’s Day that won’t kill him? Instead, present him with this cool and creamy mousse that’s rich in flavor, but not heavy in saturated fats, cholesterol, and calories. Don’t mention to him that the base of this luscious chocolate-orange treat is silken tofu—he’ll never guess. Before some of you utter, “Eww . . . tofu,” make this dessert for yourself and then recognize that silken tofu, with its smooth texture and neutral taste, makes the perfect base for a healthy mousse. Plus, after you check the nutritional data below and see that this dessert has no cholesterol, only 40 calories from fat, and a mere 1.5 G of saturated fat, it might just become your favorite dessert.

Silken Tofu Chocolate Mousse
The Whole Foods Market Cookbook by Steve Petusevsky

INGREDIENTS
12 ounces silken-style tofu, drained well
1/4 cup plus 3 tablespoons unsweetened cocoa powder
1/3 cup maple syrup (barley malt or rice syrup may be substituted)
1 tablespoon orange zest
1 tablespoon instant coffee granules (decaf or regular)
1 tablespoon vanilla extract
Pinch of salt
1 ounce almond liqueur (optional)

DIRECTIONS
1. Process the tofu, cocoa powder, maple syrup, orange zest, coffee granules, vanilla, salt, and optional liqueur in the bowl of a food processor or in a blender for 1½ minutes, until smooth.

2. Pour the mousse into wine or champagne glasses or dessert-type serving dishes, and chill overnight.

3. Serve the mousse with fresh orange sections, toasted almonds, or shaved chocolate garnish over the top.

Serves 4

Per Serving:
Calories 240
Calories from fat 40
Calories from saturated fat 15
Protein 13 G
Carbohydrate 35 G
Total Fat 4.5 G
Saturated Fat 1.5 G
Cholesterol 0 MG
Sodium 70 MG

LINNELL’S NOTES
1. In general, but depending on brands, tofu is a good source of calcium. Look for brands in which the tofu has been set with calcium sulfate.

2. Because a rich chocolate flavor is critical to this dessert, use a good quality cocoa powder. I used Sharffen Berger Unsweetened Natural Cocoa Powder.

3. Amaretto is the almond liqueur I used. Rather than add the full amount of liqueur at first, I would add it to taste.

4. Adapt this recipe using other flavors. Raspberry, mint, or coffee liqueur would be interesting variations to the recipe.

5. I filled 3 champagne glasses to the brim with one recipe’s worth of mousse. If I had not filled them to the top, I probably could have gotten 4 servings out of the recipe.

ENJOY!!

Read Full Post »

Bread Pudding Muffins My husband has two sweet loves that drive him crazy. Both possess endearing qualities that he cannot resist. If ever they appeared together, he would be beside himself with indecision. Recognizing that his birthday highlights this conflict, I decided to alleviate his stress this year. I figured out a way he could have his cake and eat it too—a way he could enjoy one love in the morning and one love after dinner. For breakfast I made him custard-rich bread pudding muffins and in the evening he blew out birthday candles on a moist and spicy carrot cake. Problem solved.

Bread Pudding Muffins
The Grand Central Baking Cookbook

INGREDIENTS
1 pound crusty artisan white bread
1/2 teaspoon ground cinnamon
6 eggs
3/4 cup granulated sugar
1½ cups heavy cream
1½ cups milk
2 teaspoons vanilla extract
Confectioners’ sugar, for dusting

DIRECTIONS
1. Slice the bread and cut it into 1-inch cubes. Put it in a large bowl and toss it with the cinnamon.

2. Whisk the eggs, sugar, cream, milk, and vanilla together until well combined, then pour the custard over the bread. Cover and refrigerate for at least 4 hours and up to 24 hours.

3. Preheat the oven to 325 degrees F.

4. Line a standard-size 12-cup muffin tin with paper liners, or generously grease with butter.

5. Scoop a heaping 1/2 cup of the pudding mixture into each of the 12 muffin cups; each one should be nicely mounded. Top off each pudding with the remaining custard.

6. Bake for 45 minutes, rotating the tin halfway through the baking time. The puddings should be lightly golden brown on top. Dust them with confectioners’ sugar while they’re still warm.

Makes 12 Pudding Muffins

LINNELL’S NOTES
1. Because of the amount of soaking time involved, if you plan on serving these muffins in the morning, it is best to begin soaking the bread the evening before.

2. I was able to get 18 muffins out of the recipe.

3. Although these are categorized as muffins, these little bread puddings would make nice individual desserts.

ENJOY!

Read Full Post »

Potato Flowers Purple flowers with yellow centers pose against a golden summer backdrop. These two colors sit on opposite sides of a color wheel making them complementary colors. In the world of color theory, they are a dynamic duo. Perhaps, a hopeful lesson for the world can be extrapolated from this theory: that despite being far apart (in color, beliefs, origins, etc.), entities can come together, work together, and bring out the best in each other.

#1 – Color Palettes
Color Palette Search Whether painting a piece of art, decorating your home, coordinating your wardrobe, or planning a wedding, choosing the perfect color palette can be difficult. There are many online sites that offer help. One such site is Design Seeds where you can “find the palettes you love.” Searches can be done by color value or by theme.

#2 – Make Music
Op Art Sound Matrix Click on a square on the Op Art Sound Matrix grid and you have the first note of your song. It is an entertaining and hypnotic little diversion. As far as I can tell, to create another song, you have to leave the page and come back.

#3 – Get Ready to Eat Fall Desserts
Fall Desserts Am I rushing things by sharing 35+ Fall Desserts with you? Not really. The autumnal equinox is only two days away! Stop drooling and click on the link, so that you can get to the mouth-watering recipes ASAP!

#4 – Life = Risk
If you can spare a minute, watch this motivational video. It may change your outlook on life and the way you view people.

#5 – Spread Your Wings
“I have come to accept the feeling of not knowing where I am going. And I have trained myself to love it. Because it is only when we are suspended in mid-air with no landing in sight, that we force our wings to unravel and alas begin our flight. And as we fly, we still may not know where we are going to. But the miracle is in the unfolding of the wings. You may not know where you’re going, but you know that so long as you spread your wings, the winds will carry you.”
― C. JoyBell C.

Have a lovely weekend!

Read Full Post »

Salted Butter Breakups Food always tastes better when it’s shared. But here’s the dilemma: Would you actually want to share a super-sized butter cookie that contains the perfect balance of flavors – not too sweet and not too salty – and the perfect balance of textures – crispy on the outside and delightfully soft and chewy on the inside? Its name, Salted Butter Breakups, indicates that this big delicious cookie is meant to be broken up and shared. Bake one up to share with friends or succumb to temptation and eat the entire sweet glory all by yourself. You choose.

Salted Butter Breakups
Adapted from From Around My French Table, by Dorie Greenspan

INGREDIENTS
1¾ cups all-purpose flour
2/3 cup sugar
3/4 to 1 teaspoon sel gris or kosher salt
1 stick plus 1 tablespoon (9 tablespoons) cold unsalted butter, cut into 18 pieces
3 to 5 tablespoons cold water
1 egg yolk, for the glaze

DIRECTIONS
1. Put the flour, sugar and salt in the workbowl of a food processor and pulse to combine. Drop in the pieces of butter and pulse until the mixture looks like coarse meal – you’ll have big, pea-size pieces and small flakes. With the machine running, start adding the cold water gradually. Add just enough water to produce a dough that almost forms a ball. When you reach into the bowl to feel the dough, it should be very malleable.

2. Scrape the dough onto a work surface, form it into a square and pat the square down to flatten it a bit. Wrap the dough in plastic and chill it for about 1 hour (or as long as overnight).

3. When you’re ready to bake, center a rack in the oven and preheat the over to 350 degrees F. Line a baking sheet with a silicone mat or parchment paper.

4. Remove the dough from the fridge and, if it’s very hard, bash it a few times with your rolling pin to soften it. Put the dough between sheets of plastic film or wax paper and roll it – or pat it – into a rectangle that’s about 1/4-inch thick and about 5-x-11 inches; accuracy and neatness don’t count for a lot here. Transfer the dough to the lined baking sheet.

5. Beat the egg yolk with a few drops of cold water and, using a pastry brush, paint the top surface of the dough with the egg wash. Using the back of a table fork, decorate the cookie in a cross-hatch pattern.

6. Bake the cookie for 30 to 40 minutes, or until it is golden. It will be firm to the touch, but have a little spring when pressed in the center – the perfect breakup is crisp on the outside and still tender within. Transfer the baking sheet to a rack and allow the cookie to cool to room temperature.

Serving: If fun is what you’re after, bring the breakup to the table whole and let everyone break off pieces big and small; if order suits you better, break the cookie in the kitchen and serve the pieces on a plate.

Storing: The baked cookie will keep in a container for about 3 days. You can make the dough up to 3 days ahead and keep it in the refrigerator, or you can wrap it airtight and freeze it for up to 2 months. Don’t brush the dough with egg wash until you’re ready to bake it.

Makes 4 servings

LINNELL’S NOTES:
1. Sel gris means gray salt in French. It is a coarse-textured flavorful salt harvested in France.

2. My husband liked the salty bite this cookie had, so the next time I make this cookie, I will try adding 1 teaspoon of salt instead of the 3/4 teaspoon that I used.

3. I baked the cookie for about 30 minutes. Because I thought the edges were the tastiest part, next time I will bake it a little bit longer to get more of the crispy browned-butter flavor throughout.

4. Although the cookie can be stored in an airtight container for a few days, it loses its crispiness. It’s best when consumed within a couple of hours after baking.

5. This cookie alone makes an easy dessert, but if you accompany it with some fresh seasonal fruit, such as peaches or berries, it becomes a fabulous dessert treat.

ENJOY!

Read Full Post »

Fresh Banana Sorbet

“Can I throw these away?” my husband inquires. I look at the bunch of dark bananas in his hand and scream, “Noooooooooooo!” Guilt washes over me at the thought of wasting food. I come from a long line of “savers.” Nothing gets wasted, everything is saved. So when my husband sees a bunch of ugly and disgusting bananas, I see something with potential. Normally, if I’m on top of my game and I see brown bananas with freckles sitting on the kitchen counter, I’ll put them in the freezer for future baking projects. But occasionally, I’m too preoccupied to notice their demise and I end up sending them to the compost bin instead. When I came across this recipe for banana sorbet, I was thrilled. The only ingredient in this recipe are very ripe bananas! You’ll need a blender or a food processor – no ice cream maker is required. This frozen treat couldn’t be easier, healthier, and less wasteful!

Fresh Banana Sorbet
Recipe from Chocolate and Zucchini

Ingredients:
Very ripe bananas

Directions:
1. The day before, peel the bananas, slice them, and place them in a freezer-safe container in the freezer.

2. Remove the frozen banana slices from the freezer and process them in a sturdy food processor or blender. At first it will look like a mess, but if you press on, it will soon come together and become smooth.

3. At this point, you could choose to add mix-ins, such as candied nuts, chopped chocolate, dried coconut flakes, caramel sauce or melted chcolate to create swirls, etc.

4. Serve immediately or return to the freezer for later consumption.

Yields: A single medium banana will yield two small scoops or one large scoop.

Linnell’s Notes:
1. My husband likes to eat ice cream while watching television at night. I think this sorbet would be a healthier alternative for him. For the initial taste test, I presented him with a bowl of banana sorbet with chopped candied pecans sprinkled over the top. He gave it a thumbs up.

2. Because this sorbet does not contain anything artificial, it would make a great frozen treat for babies and young children. You could make a large batch and freeze it in small paper cups to make mini fruit pops for the kids.

ENJOY!

Read Full Post »

Pumpkin Cream Pie As leaves start taking their final bows and nights become longer, fall’s spectacular show appeals to our senses more than ever. Acorns make music as they fall from tall oak trees and drop to the ground. Autumn leaves paint fiery displays of color on bright blue backdrops of sky. Familiar smells of favorite spices set the stage for the holidays. With a little over three weeks until Thanksgiving, now is a great time to test out new fall recipes. Imagine a fluffy and lightly-spiced pumpkin cream pie – one that even non-pumpkin-eaters will like and one that can be prepared in advance. That’s my idea of a fall showstopper!

Pumpkin Cream Pie
Recipe from The Pioneer Woman

INGREDIENTS
For the Crust:
1-1/2 package graham crackers (about 15 Cookie Sheets)
1/2 cup powdered sugar
1 stick butter, melted

For the Filling*:
1 box (3 oz. box) Vanilla Pudding (Cook and Serve variety)
1 cup half-and-half
1/2 cup heavy cream
Pinch of cinnamon
Pinch of nutmeg
Pinch of ground cloves
2 tablespoons whiskey, optional
1/2 cup pumpkin purée
1/2 cup additional heavy cream
2 tablespoons brown sugar
Extra graham cracker crumbs, for garnish

Directions:
1. Heat oven to 300 degrees F.

2. Grind graham crackers in a food processor (if you don’t have a food processor, place them in a large Ziploc and pound them with a rolling pin). Add powdered sugar and melted butter and process until totally combined. Press into the bottom and sides of a pie pan until nice and firm. Bake for 8 to 10 minutes, or until warm and “set.” Remove from oven and allow crust to cool completely.

3. In a medium saucepan, mix dry pudding mix with half-and-half and cream. Add spices. Bring to a boil over medium heat, stirring constantly, until mixture is bubbly and thick.

4. Remove from heat and stir in whiskey, if using. Add pumpkin and stir to combine. Place lid on pot and set aside to cool. When cool enough, place pot in the fridge to cool completely.

5. When mixture is cool, remove from the fridge. In a mixing bowl, add 1/2 cup heavy cream and brown sugar. Beat until very light and fluffy. Fold in pumpkin cream mixture until combined. Pour into cooled crust.

6. Cover and refrigerate for a couple of hours or overnight. Serve with graham crackers crumbled on top.

Serves 8

Linnell’s Notes:
1. This recipe called for 15 graham cracker “cookie sheets” which I assumed meant 15 double sheets or the sheets as they come out of the bag. This was way too much, so the author’s definition of a sheet must be half of that. I used part of the leftover crumbs for the garnish.

2. *In the photo of the pie on The Pioneer Woman I noticed the pie looked a bit shallow, so I decided to double the filling ingredients. A 15-ounce can of pumpkin purée was a bit more than what a doubled amount would have been, but I went ahead and used the whole can. Didn’t make sense to let a small amount of pumpkin go to waste. Extra filling filled four individual ramekins and was called pumpkin mousse!

3. The next time I make this pie, I will try sprinkling a tiny bit of finely chopped candied ginger on top along with the graham cracker crumbs – just for a special interest.

Enjoy!

Read Full Post »

Cool and refreshing  – what more could you want from a recipe using ripe summer melons? How about something unexpected? The first few bites of this sweet melon mélange reveal subtle hints of orange and ginger, but the next few bites pique your interest. A splash of Cointreau elevates the flavors from sophisticated to sublime. Should you serve this dish as a salad or as a dessert? Your choice – it’s great for both!

Melon With Orange-Ginger Syrup
Recipe from Martha Stewart

Ingredients:
1 cup freshly squeezed and strained orange juice (about 4 oranges), plus zest of 2 oranges
1 cup sugar
1/2 ounce ginger, thinly sliced
2 tablespoons Cointreau
1 small honeydew melon, cut in half, seeded
1 small canary melon, cut in half, seeded
1 cantaloupe, peeled, seeded, and cut into 1-inch wedges
Mint sprigs, for garnish

Directions:
1. Fill a large bowl with ice and water; set aside. Place the orange juice, sugar, and ginger in a small saucepan over medium heat; bring to a boil; Let simmer, stirring occasionally, until sugar has dissolved and syrup has thickened, about 15 minutes. Remove from heat; strain syrup into a clean bowl; add the Cointreau; stir to combine. Set bowl in ice bath, or chill in refrigerator, until syrup is cold.

2. Using different sizes of melon ballers, cut balls from the honeydew and canary melons. Place balls in a medium bowl; add 1/2 cup cold syrup and orange zest. Toss to combine.

3. To serve, arrange cantaloupe on a platter. Spoon melon balls on top. Serve extra melon balls on the side. Drizzle melons with syrup; garnish with mint. Serve with remaining syrup on the side.

Serves 8.

Linnell’s Notes:
1. With all the wonderful melons available, don’t feel restricted to only using the types of melons called for in the recipe. Do, however, try to select a variety of melons that will give you a colorful array of melon flesh.

2. The recipe suggests creating different size melon balls. I’m sure the presentation would have been more attractive if the melon balls were different sizes, but I only have one melon baller. That’s life!

ENJOY!

Read Full Post »

Lightly freckled bananas sit on my kitchen counter and beg to be eaten while still in their prime. A thought crosses my mind, “What about using them in a dessert for the potluck dinner tonight?” Being short on time, I search for a quick and easy banana recipe. Voilà! Paula Deen to the rescue again! This recipe tantalizes me, because it contains all sorts of sinful ingredients like cream cheese, whipped cream and sweetened condensed milk. But what really lures me in is the use of a big-time favorite cookie of mine – buttery Pepperidge Farm Chessmen cookies. I can’t wait to sample this dessert! Hold on a minute . . . how am I going to taste this luscious banana dessert AND serve it at a potluck? I don’t think anyone will notice a missing corner piece, do you?

Not Yo’ Mama’s Banana Pudding
Recipe courtesy of Paula Deen

Ingredients:
2 bags Pepperidge Farm Chessmen cookies
6 to 8 bananas, sliced
2 cups milk
1 (5-ounce) box instant French vanilla pudding
1 (8-ounce) package cream cheese, softened
1 (14-ounce) can sweetened condensed milk
1 (12-ounce) container frozen whipped topping thawed, or equal amount sweetened whipped cream

Directions:
1. Line the bottom of a 13 by 9 by 2-inch dish with 1 bag of cookies . . .

. . . and then layer bananas on top of them.

2. Notice that some of the cookies are broken. Eat them.

3. In a bowl, combine the milk and pudding mix and blend well using a handheld electric mixer.
4. Using another bowl, combine the cream cheese and condensed milk together and mix until smooth. Fold the whipped topping into the cream cheese mixture. Add the cream cheese mixture to the pudding mixture and stir until well blended. Pour the mixture over the cookies and bananas and cover with the remaining cookies.

4. Refrigerate until ready to serve.

Serves 12.

Linnell’s Notes:
1. Because I like my banana desserts to be full of fresh banana flavor, I cut up eight bananas.
2. To prevent the bananas from turning yellow, I sliced the bananas and, in batches, put them in a strainer over a bowl and poured lemon juice over them. I poured the lemon juice from the bowl back into the measuring cup to use again.

3. For better flavor, I whipped up some fresh whipping cream and used it in place of the frozen whipped topping.
4. This recipe does come together easily and makes a wonderful dessert for potlucks, family dinners, and parties.

ENJOY!

Read Full Post »

Older Posts »

%d bloggers like this: