Feeds:
Posts
Comments

Posts Tagged ‘cookie recipe’

Salted Butter Breakups 
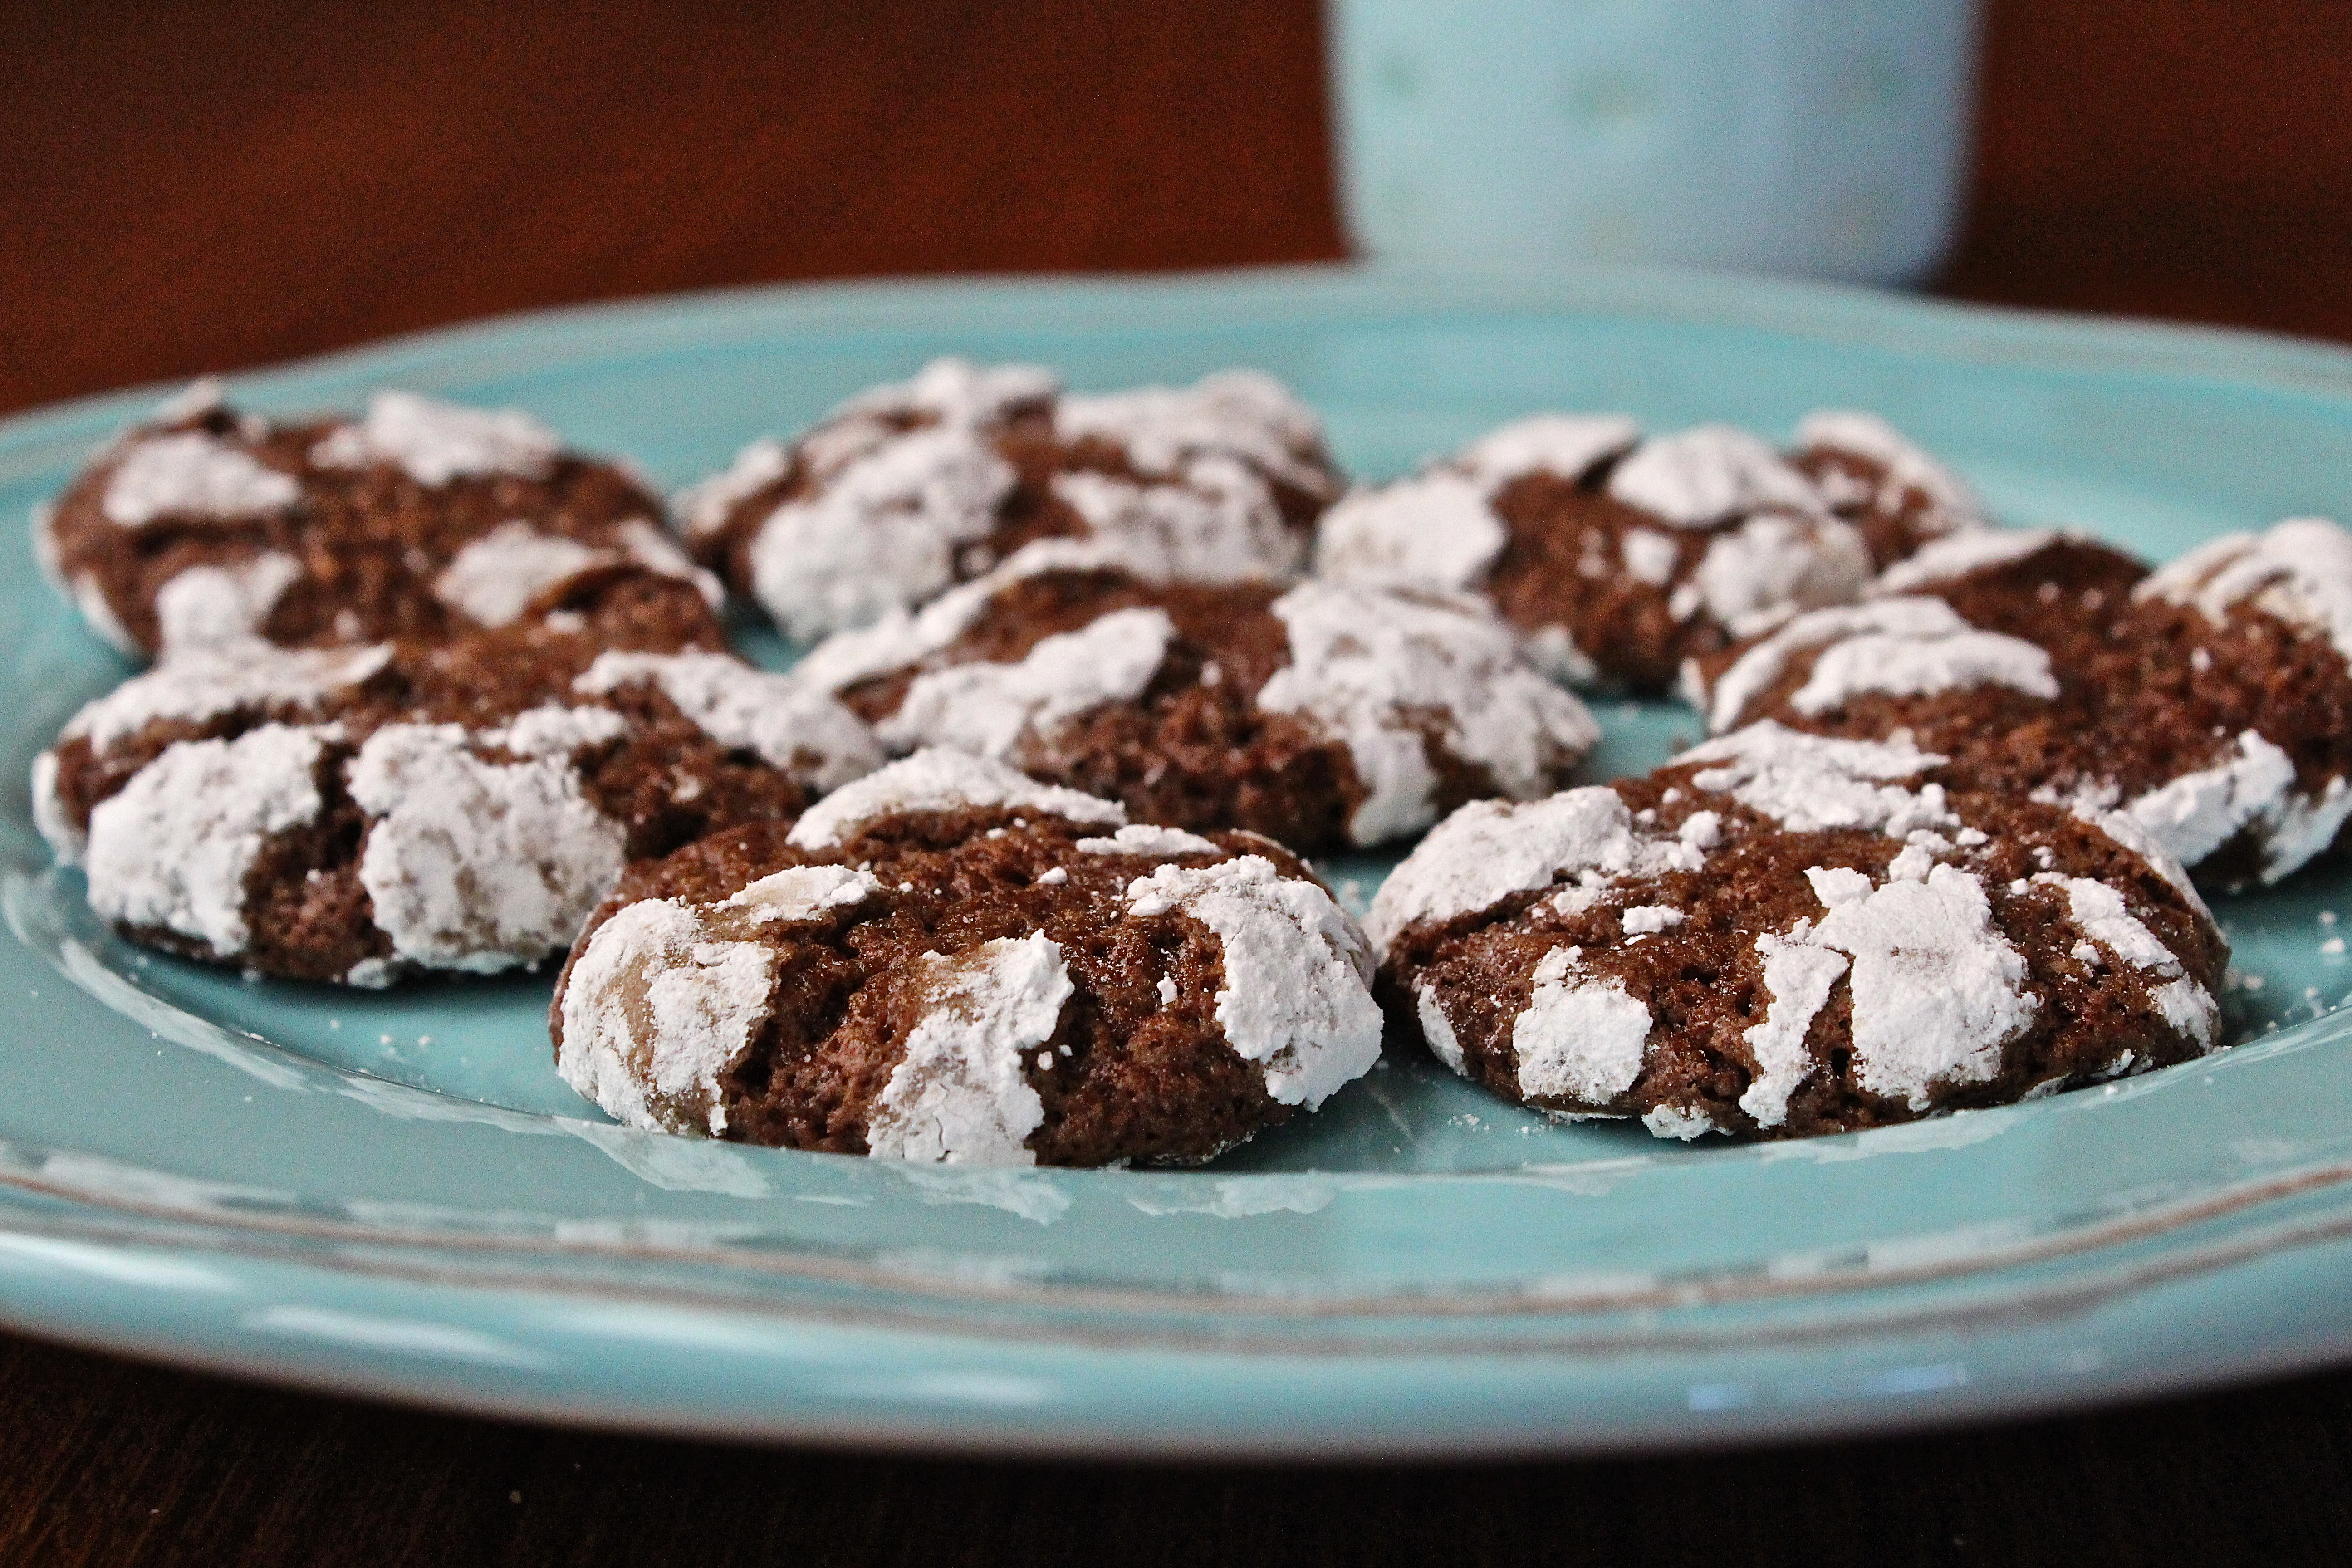
Food always tastes better when it’s shared. But here’s the dilemma: Would you actually want to share a super-sized butter cookie that contains the perfect balance of flavors – not too sweet and not too salty – and the perfect balance of textures – crispy on the outside and delightfully soft and chewy on the inside? Its name, Salted Butter Breakups, indicates that this big delicious cookie is meant to be broken up and shared. Bake one up to share with friends or succumb to temptation and eat the entire sweet glory all by yourself. You choose.

Salted Butter Breakups
Adapted from From Around My French Table, by Dorie Greenspan

INGREDIENTS
1¾ cups all-purpose flour
2/3 cup sugar
3/4 to 1 teaspoon sel gris or kosher salt
1 stick plus 1 tablespoon (9 tablespoons) cold unsalted butter, cut into 18 pieces
3 to 5 tablespoons cold water
1 egg yolk, for the glaze

DIRECTIONS
1. Put the flour, sugar and salt in the workbowl of a food processor and pulse to combine. Drop in the pieces of butter and pulse until the mixture looks like coarse meal – you’ll have big, pea-size pieces and small flakes. With the machine running, start adding the cold water gradually. Add just enough water to produce a dough that almost forms a ball. When you reach into the bowl to feel the dough, it should be very malleable.

2. Scrape the dough onto a work surface, form it into a square and pat the square down to flatten it a bit. Wrap the dough in plastic and chill it for about 1 hour (or as long as overnight).

3. When you’re ready to bake, center a rack in the oven and preheat the over to 350 degrees F. Line a baking sheet with a silicone mat or parchment paper.

4. Remove the dough from the fridge and, if it’s very hard, bash it a few times with your rolling pin to soften it. Put the dough between sheets of plastic film or wax paper and roll it – or pat it – into a rectangle that’s about 1/4-inch thick and about 5-x-11 inches; accuracy and neatness don’t count for a lot here. Transfer the dough to the lined baking sheet.

5. Beat the egg yolk with a few drops of cold water and, using a pastry brush, paint the top surface of the dough with the egg wash. Using the back of a table fork, decorate the cookie in a cross-hatch pattern.

6. Bake the cookie for 30 to 40 minutes, or until it is golden. It will be firm to the touch, but have a little spring when pressed in the center – the perfect breakup is crisp on the outside and still tender within. Transfer the baking sheet to a rack and allow the cookie to cool to room temperature.

Serving: If fun is what you’re after, bring the breakup to the table whole and let everyone break off pieces big and small; if order suits you better, break the cookie in the kitchen and serve the pieces on a plate.

Storing: The baked cookie will keep in a container for about 3 days. You can make the dough up to 3 days ahead and keep it in the refrigerator, or you can wrap it airtight and freeze it for up to 2 months. Don’t brush the dough with egg wash until you’re ready to bake it.

Makes 4 servings

LINNELL’S NOTES:
1. Sel gris means gray salt in French. It is a coarse-textured flavorful salt harvested in France.

2. My husband liked the salty bite this cookie had, so the next time I make this cookie, I will try adding 1 teaspoon of salt instead of the 3/4 teaspoon that I used.

3. I baked the cookie for about 30 minutes. Because I thought the edges were the tastiest part, next time I will bake it a little bit longer to get more of the crispy browned-butter flavor throughout.

4. Although the cookie can be stored in an airtight container for a few days, it loses its crispiness. It’s best when consumed within a couple of hours after baking.

5. This cookie alone makes an easy dessert, but if you accompany it with some fresh seasonal fruit, such as peaches or berries, it becomes a fabulous dessert treat.

ENJOY!

Read Full Post »

spiced chocolate krinkle cookies

Add a little spice to your life and tantalize your taste buds with one of these cookies. At first bite, you’ll discover a rich chocolate flavor with a touch of sweetness, but then, as you’re about to swallow this little bit of naughtiness, a warm and spicy sensation floods your mouth. Ground ginger, freshly-grated ginger, and cayenne pepper provide the cookie with a surprising “afterglow.” A perfect treat anytime, but especially on a cold and rainy day like today!

Spiced Chocolate Krinkles
From The Sweet Spot by Pichet Ong

Ingredients:
2 tablespoons canola, vegetable, or other neutral oil
1 ounce (28 grams) bittersweet chocolate, chopped
1 teaspoon grated fresh ginger
1/4 teaspoon ground ginger
1/4 teaspoon ground cardamom
1/8 teaspoon cayenne pepper
1/8 teaspoon salt
1/3 cup (2 ounces/54 grams) all-purpose flour
2 tablespoons almond flour or coconut powder
2 tablespoons unsweetened cocoa powder
1/2 teaspoon baking powder
1 large egg
1/2 cup (3¾ ounces/106 grams) sugar
1/2 teaspoon vanilla extract
1/2 cup (2 ounces/55 grams) confectioners’ sugar

Directions:
1. Put the oil, chocolate, both gingers, the cardamom, cayenne, and salt in a double boiler or in a heatproof bowl set over a saucepan of gently simmering water and melt the chocolate, stirring occasionally. Remove from the heat, transfer to a bowl if necessary, and cool completely.

2. Sift together the flours, cocoa powder, and baking powder and set aside.

3. When the chocolate mixture has cooled to room temperature, add the egg, sugar, and vanilla extract and stir just until combined. Gently fold in the flour mixture until well incorporated. Transfer the dough to a large sheet of plastic wrap, flatten into a 1-inch-thick disk, and wrap tightly in the plastic. Chill until hard, at least 2 hours or up to 5 days.

4. When ready to bake, preheat the oven to 375 degrees F. Line two baking sheets with parchment paper.

5. Put the confectioners’ sugar in a small bowl. Pinch off a piece of dough, form it into a 1/2-inch ball, roll in the confectioners’ sugar until well coated, and place on a prepared baking sheet. Repeat with the remaining dough, putting the coated balls 1 inch apart on the baking sheets.

6. Bake the cookies until the tops look cracked and are dry to the touch, about 10 minutes. Transfer to a cooling rack to cool completely. The cookies can be stored in an airtight container for up to 2 days.

Makes 3 dozen cookies

Linnell’s Notes:
1. An easy way to peel fresh ginger is to scrap off the “skin” with a teaspoon.

2. The cookbook author noted, “Don’t be tempted to make these cookies bigger. They look more appealing when small and the flavors and texture are best enjoyed in a single bite.”

3. My cookie dough turned out to be more loosely formed than a dough. I attribute this to using an extra large egg. The dough did firm up a bit after chilling it for a couple of hours.

4. To prevent the dough from sticking to my hands while rolling it into balls, I repeatedly wet the palms of my hands with water. Keep a small bowl of water nearby.

ENJOY!

Read Full Post »

Other than me, my husband’s favorite nut is the cashew. After one bite of these buttery, crunchy, cashew cookies topped with a creamy browned butter frosting, he’ll have to decide which nut rules his heart. Which will it be . . . the baked or the baker?

Browned Butter Cashew Shortbread Cookies
Recipe from Land O’Lakes

Cookie Ingredients:
1-1/2 cups butter
1/2 cup firmly packed brown sugar
1/2 cup powdered sugar
1 teaspoon vanilla
1-3/4 cup all-purpose flour
1/2 cup finely chopped cashews

Frosting Ingredients:
1-1/2 cup powdered sugar
1/2 teaspoon vanilla
1 to 2 tablespoons fat free half & half or milk

Directions:
1. Melt butter in a 2-quart heavy saucepan over medium heat. Cook stirring constantly and watching closely, until butter just begins to turn golden brown (7-11 minutes). The butter will get foamy and bubbly. Immediately remove from heat.

2. Pour 1-1/4 cups browned butter into small bowl; pour remaining butter into another small bowl. Refrigerate both bowls of browned butter until cool (1 hour).

3. Heat oven to 350 degrees F.

4. Combine 1-1/4 cups cooled brown butter, brown sugar, 1/2 cup powdered sugar and 1 teaspoon vanilla in a large bowl. Beat at medium speed, scraping bowl often, until creamy. Reduce speed to low; add flour. Beat until well mixed. Stir in chopped cashews.

5. Shape dough into 1-inch balls. Place 1-inch apart onto ungreased cookie sheets. Bake for 10-13 minutes or until set. Cool completely.

6. Combine remaining browned butter, powdered sugar and vanilla in small bowl. Beat at medium speed, adding enough half & half for desired frosting consistency, until smooth. Spread frosting over cooled cookies. Top each with cashew half.

Makes 4-1/2 dozen cookies.

Linnell’s Notes:
1. Make sure to use at least a 2 quart saucepan to brown the butter. The butter will foam up as it is heated and you don’t want it to spill over on your stove top.

2. Cool the bowls of hot browned butter on the counter top before placing them in the refrigerator. You don’t want to lower the temperature of your refrigerator by placing something hot into it.

3. By the time I measured out all the other ingredients, the large bowl of browned butter had cooled sufficiently in the refrigerator to be used in the dough.

4. I used unsalted butter and salted cashews, because that is what I had on hand. I favor low sodium food, so the cookies tasted fine to me. For those of you who like food a little saltier, go ahead and add a pinch of salt to the dough mixture.

5. If the dough is too sticky to shape into balls, place it in the refrigerator for a while. Also, keep a small bowl of water nearby. Wet your hands with water before rolling the dough balls. The water helps to keep the dough from sticking to your hands.

6. Because these are butter-rich cookies, I used parchment paper to cover my cookie sheets. Remember you can reuse parchment paper. After the cookie sheets have cooled, wipe down the parchment paper with a wet paper towel. Let dry and store paper on top of cookies sheets in your cabinet.

Enjoy!

Read Full Post »

Most of us have memories of particular foods that, when eaten again, take us back to a specific moment or time in our lives. Being transported to a memory, good or bad, by a single taste is what French novelist Marcel Proust wrote about in Remembrance of Things Past. For him it was a madeleine, a sponge cake baked in a shell-shaped mold, that brought his past to the present. A “foodie” like me has many food memory “triggers,” but in honor of Chinese New Year, let me share some of my Chinese cookie memories.

Little pig-shaped cookies are my “madeleines.” Eating these hard-baked, dry cookies, sold only during fall harvest, always reminds me of my childhood. Although I have not eaten one of these cookies in a very long time, just the thought of them makes me happy and transports me back to the streets of Chinatown. If I was lucky, my parents would buy me one of these cookies while I tagged along with them on their Chinese grocery shopping trips. Sometimes I would get the large Buddha-shaped cookie that had colored sprinkles scattered across his belly, but my favorite one was always the little pig-shaped cookie sold in a little plastic basket. Breaking off small bits and savoring each little bite until it was gone was the only way I could eat it.

Another cookie that transports me to my past is the Chinese Almond Cookie. I remember friends of my parents would come to visit and bring large boxes of these. They made a crumbly mess when eaten, but boy were they good! Sometimes I would pick off the almond and eat it first, so that it would not interfere with the enjoyment of the best part – the crunchy, almond-flavored cookie!

Here’s a recipe for Chinese Almond Cookies that are thin and light; they’re crisp on the outside and slightly chewy on the inside and have a wonderful almond flavor.

Chinese Almond Cookies
from the Sweet Spot Cookbook by Pichet Ong

Ingredients:
1-3/4 cups all-purpose flour
1 cup plus 2 tablespoons sugar
1/2 teaspoon baking soda
1-1/4 cups almond flour
1 cup unsalted butter, cut into 1/2-inch cubes and chilled
1/2 teaspoon salt
1 large egg
1 teaspoon almond extract
1/2 cup slivered almonds
1 large egg white, beaten

Directions:
1. Sift together the flour, sugar, and baking soda and set aside.

2. Put the almond flour, butter, and salt into the bowl of an electric mixer fitted with the paddle attachment and beat on medium speed until the mixture resembles cornmeal, about 3 minutes. With the machine running, add the egg and almond extract and mix until well incorporated. Turn the speed to low and add the flour mixture. Mix just until no traces of flour remain.

3. Transfer the dough to a large sheet of plastic wrap, flatten into a 1-inch-thick disk, and wrap tightly in the plastic. Refrigerate until hard, at least 30 minutes or up to 3 days.

4. When ready to bake, preheat the oven to 325 degrees F. Line two baking sheets with parchment paper.

5. Form the dough into 1/2-inch balls and put 1 inch apart on the baking sheets. Use the palm of your hand to press balls into 1-inch circles. Press 4 slivered almonds into each cookie arranging them decoratively to form an X. Brush the tops of the cookies with the egg white.

6. Bake the cookies until golden and crisp around the edges, about 15 minutes. Cool completely on the baking sheets on a cooling rack. The cookies can be stored in an airtight container for up to 3 days.

Makes 3 dozen cookies.

Linnell’s Notes:
1. Almond flour can usually be found either in the baking aisle or the health food section of your grocery store.

2. In step 5 it helps to wet your palms with a little bit of water first before pressing down on the dough balls. The water prevents the buttery dough from sticking to your hands. Also, the 1-inch circles were too small to press four pieces of slivered almonds into an X-formation. I only used two pieces per cookie, but if you like your cookies to be nuttier, use more!

3. For me this recipe made way more than the three dozen it specified. I counted 88 cookies in my batch! Double 8 – how lucky!

Gung Hay Fat Choy!

Read Full Post »

With airline food what it is (or isn’t) these days, I always pack my own food to eat when I travel. I used to take peanut butter and jelly sandwiches because of their nonperishable nature until I came across a “no-peanut flight.” All passengers on that flight, including my family, were asked to not carry aboard any food that contained peanuts or peanut butter, because a passenger with a severe peanut allergy was going to board the plane. Most people seemed to comply, but many were not too happy, especially when after boarding, bags of opened peanuts were found in seat pockets all over the plane! Someone forgot to tell airline housekeeping about the “no-peanut flight!” That said, my favorite travel fare usually includes some of the following: sandwiches made without mayonnaise, apples, oranges, beef jerky, granola bars, homemade trail mix, and always homemade cookies.

These buckwheat cookies with cacao nibs are among my favorite cookies to eat whether I’m traveling or not. I like the texture and taste that the buckwheat flour lends to the cookies. Because buckwheat is low in gluten, it works like cornstarch does in shortbread cookies; it produces a more compact and crunchy-textured cookie. As for the cacao nibs, small pieces of roasted cocoa beans, they give these cookies a nice crunch and a hint of chocolate flavor. An added bonus of these nibs is that they won’t melt during your trip like chocolate chips normally would. I purchase cacao nibs at Whole Foods. I like to add chopped walnuts to this recipe because they add protein and fiber – good things to have when traveling!

There are many variations of this recipe on the internet, but most seem to originate from the cookbook Pure Dessert by Alice Medrich. Here’s my adaptation of Ms. Medrich’s recipe:

Ingredients:
1-1/4 cups all-purpose flour
3/4 cup buckwheat flour
1/2 lb. (2 sticks) unsalted butter, softened
2/3 cup sugar
1/4 tsp. salt
1/3 cup cacao nibs
1-1/2 tsp. pure vanilla extract
1/2 cup chopped walnuts, optional

Directions:
1. Whisk the all-purpose and buckwheat flours together in a medium bowl. Set aside.

2. In a medium bowl, with the back of a large spoon or with an electric mixer, beat the butter with the sugar and salt for about 1 minute, until smooth and creamy but not fluffy. Mix in the nibs and vanilla. Add the flours and the walnuts; mix just until incorporated. Scrape the dough into a mass and, if necessary, knead it with your hands a few times, just until smooth.

3. Form the dough into a 12 by 2-inch log. Wrap and refrigerate for at least 2 hours, or, preferably overnight.

4. Position the racks in the upper and lower thirds of the oven and preheat the oven to 350F degrees. Line the baking sheets with parchment paper.

5. Use a sharp knife to cut the cold dough log into 1/4-inch-thick slices. Place the cookies at least 1-1/2 inches apart on the baking sheets.

6. Bake until the cookie are just beginning to color at the edges, 12 to 14 minutes, rotating the baking sheets from top to bottom and front to back halfway through the baking. Cool the cookies in the pans on a rack, or slide the parchment liners carefully onto the rack to free up the pans. Let cool completely. The cookies are delicious fresh but even better the next day. They can be stored in an airtight container for at least one month.

Makes about 2 dozen cookies

Note: After the cookies have cooled completely, I wrap them individually in plastic wrap, put them in a Ziploc bag and freeze them. Just before I leave the house, I grab them out of the freezer, throw them in my carry-on bag, and they’re good to go!

Read Full Post »

The flavor and texture of macadamia nuts covered with a thin Kona coffee glaze deliciously haunts my memory. My parents brought me back a container of these little gems from their last trip to the islands. Ashamedly, I think I ate the whole container by myself. Sorry, family! It is no wonder that when I came across a recipe for Coffee Glazed Pecans on recipegoldmine.com, I immediately had to give it a try.

Coffee Glazed Pecans:
1 -1/2 cups pecans
1/4 cup granulated sugar
2 tablespoons water
2 teaspoons Taster’s Choice Instant Freeze-Dried Coffee
1/4 teaspoon cinnamon

In a large skillet combine pecans, sugar, water, Taster’s Choice, and cinnamon; bring to a boil over medium heat, stirring occasionally. Boil 3 minutes, stirring constantly until pecans are well-glazed. Spread on waxed paper to cool.

I was disappointed with this recipe. It didn’t have the crunch that I like on glazed nuts and it did not have the intense coffee flavor I expected, especially since I added an extra 1/4 teaspoon of espresso powder.

Another recipe in one of my stacks of recipes was for Tennessee Toffee Cookies. Wanting to turn disappointment into something positive, I incorporated the Coffee Glazed Pecans I had just made into the cookie recipe.

My Adaptation of Tennessee Toffee Cookies:
1 cup butter, softened
1 cup sugar
1 egg, separated
1 teaspoon vanilla extract
3 teaspoons Jack Daniel’s Whiskey
1-3/4 cups all-purpose flour, sifted
1/2 cup pecans, broken (Coffee Glazed Pecans from above)

In a bowl cream the butter and sugar until light and fluffy. Stir in the egg yolk, vanilla, and Jack Daniel’s Whiskey. Add the flour a little at a time until well-blended. Spread the dough very thinly on a greased cookie sheet. Place a sheet of waxed paper over it and roll the dough with a rolling pin to spread evenly on the cookie sheet. Beat the egg white with a mixer until foamy. Spread the egg white over the top of the cookie dough and sprinkle with pecan pieces. Bake at 250 degrees for 55 minutes. Make sure the center is completely cooked and not doughy. Remove from the oven and cut into diagonal cookies immediately before they cool. To remove after they cool, cut again. Makes 2 dozen.

These turned out pretty good. The foamy egg white wash gave the surface a little crunch. The coffee glazed on the nuts dissolved and colored the dough, but it was fine. This is a recipe worth experimenting with a little more. Next time I will add less sugar to the dough, will try rolling the dough out more evenly, and will bake it just a little bit longer. I will also try different types of nuts; I think sliced almonds would be good on this, especially if a little almond extract is added to the dough.

Two recipes were tested with one being a near hit and one being a miss. Two recipes down and a million to go!

Read Full Post »

%d bloggers like this: