Feeds:
Posts
Comments

Posts Tagged ‘dessert’

Silken Tofu Chocolate Mousse 
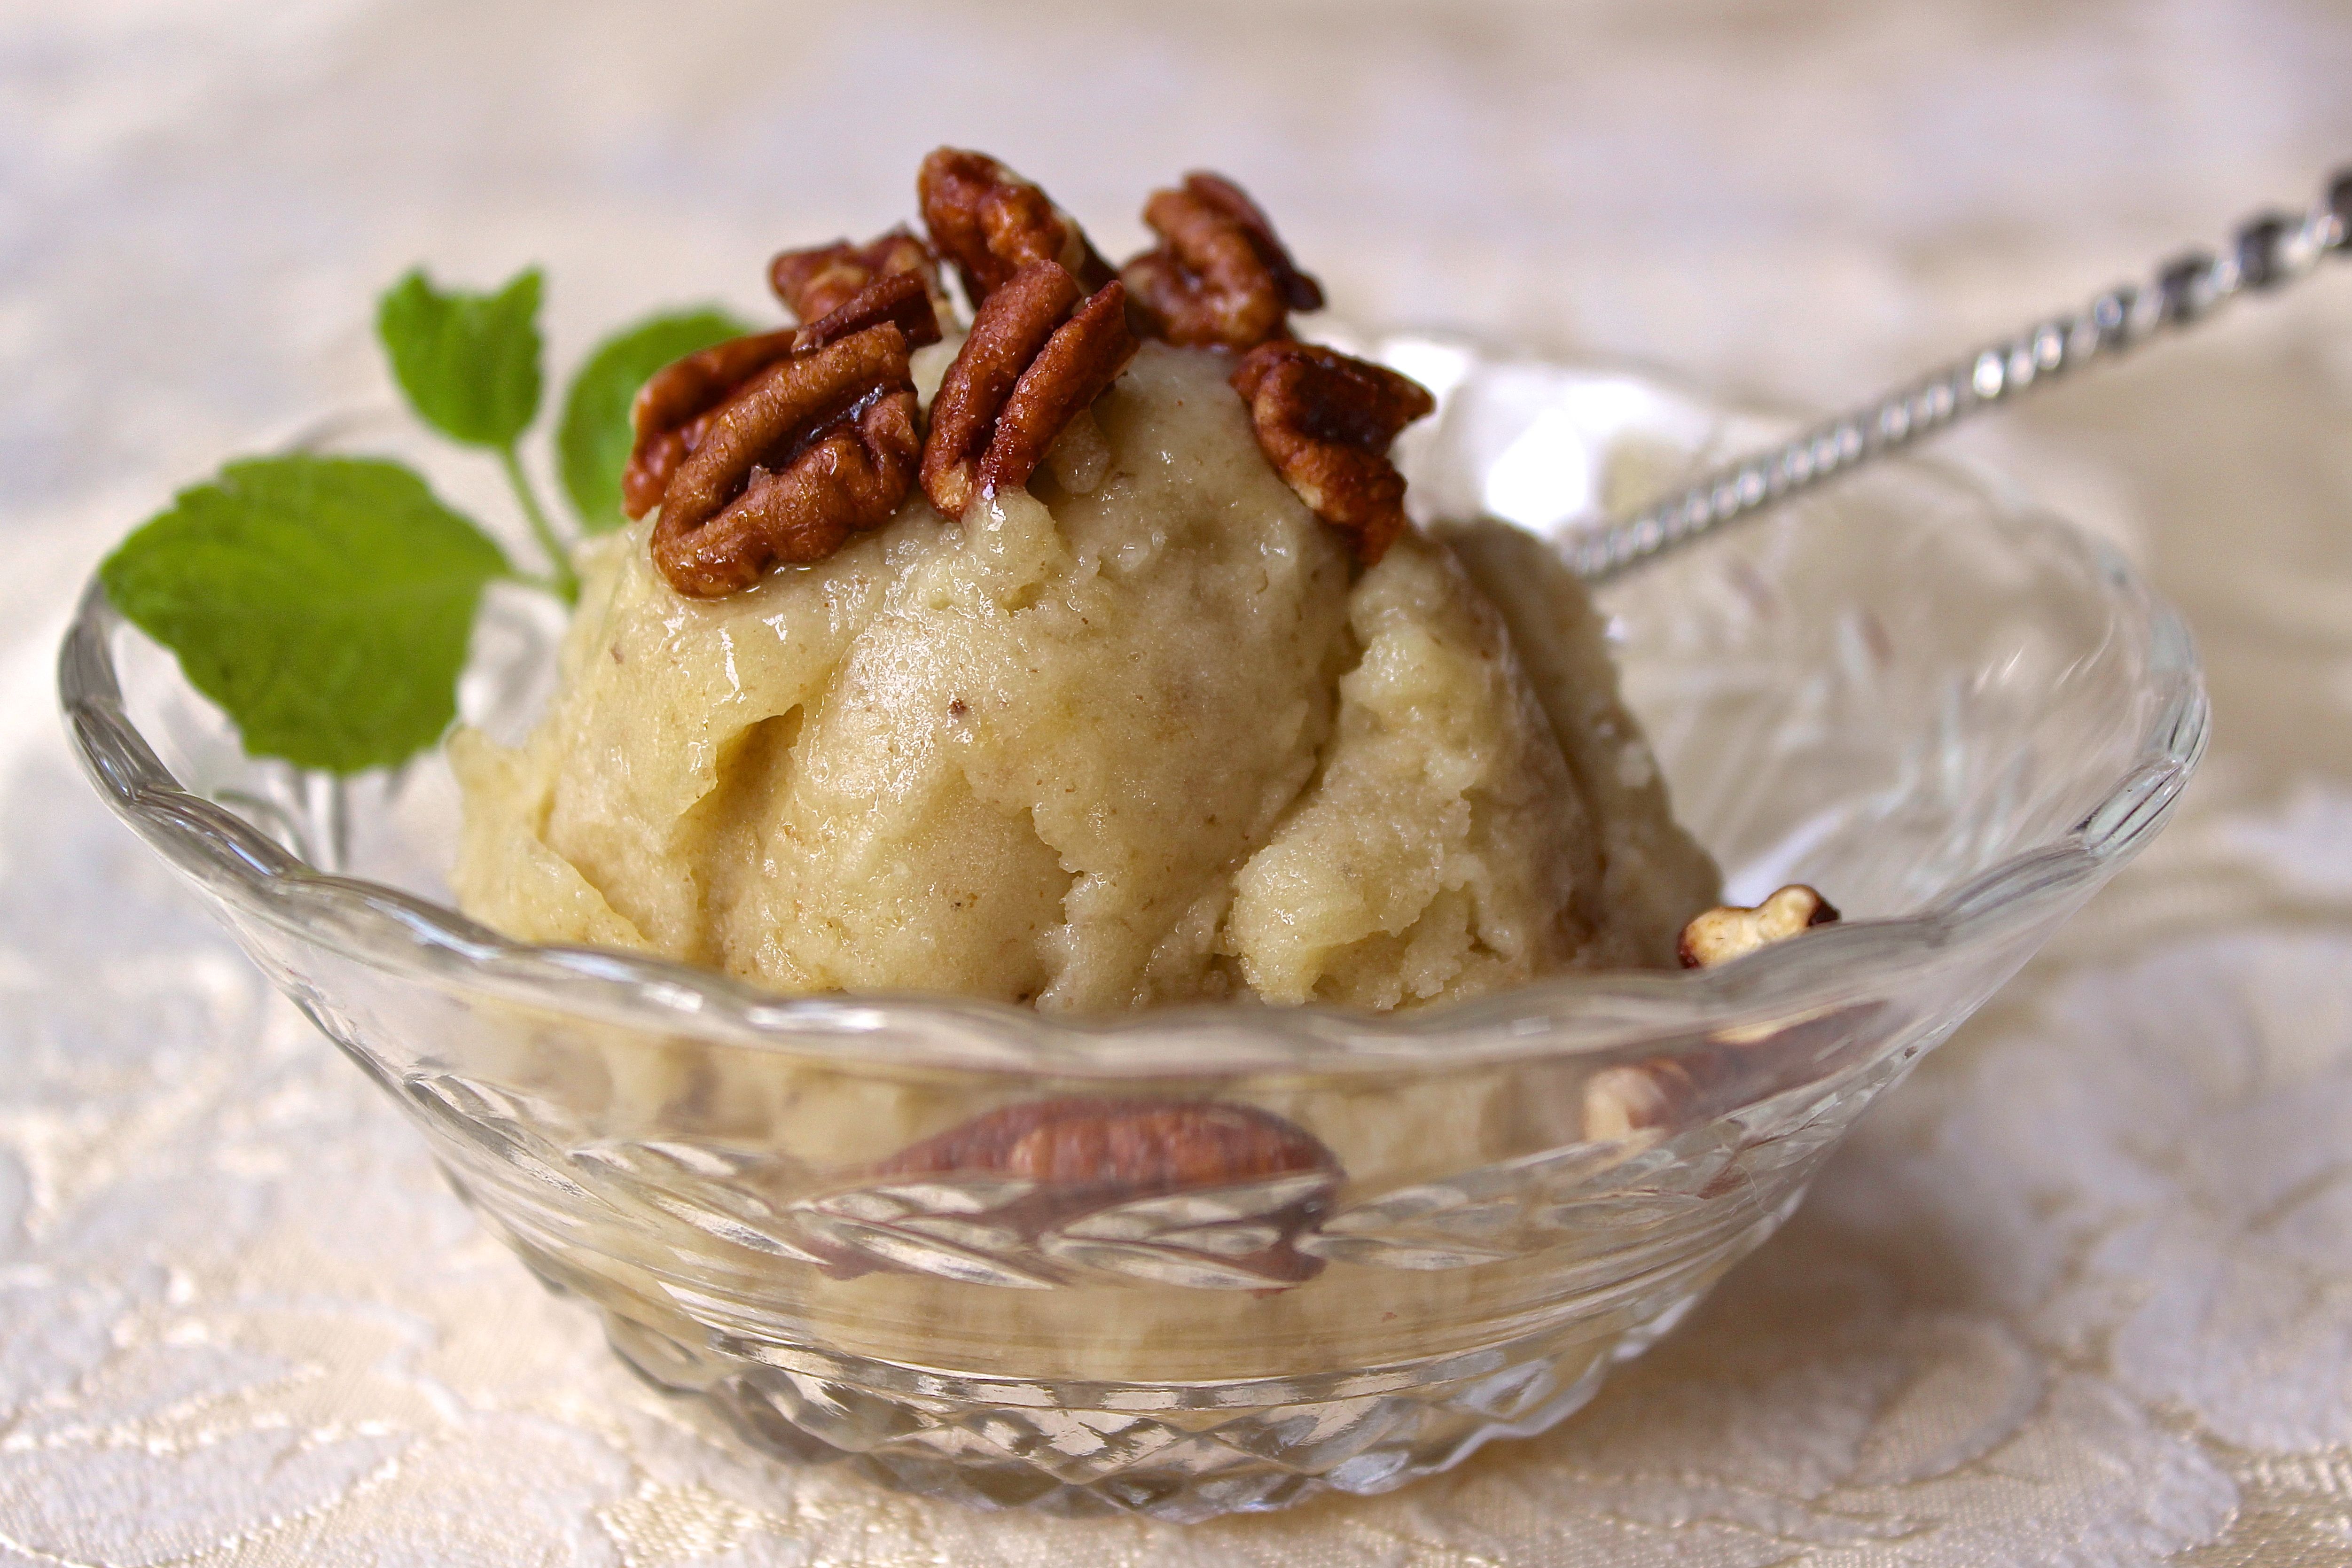
Want to serve your sweetheart a killer dessert for Valentine’s Day that won’t kill him? Instead, present him with this cool and creamy mousse that’s rich in flavor, but not heavy in saturated fats, cholesterol, and calories. Don’t mention to him that the base of this luscious chocolate-orange treat is silken tofu—he’ll never guess. Before some of you utter, “Eww . . . tofu,” make this dessert for yourself and then recognize that silken tofu, with its smooth texture and neutral taste, makes the perfect base for a healthy mousse. Plus, after you check the nutritional data below and see that this dessert has no cholesterol, only 40 calories from fat, and a mere 1.5 G of saturated fat, it might just become your favorite dessert.

Silken Tofu Chocolate Mousse
The Whole Foods Market Cookbook by Steve Petusevsky

INGREDIENTS
12 ounces silken-style tofu, drained well
1/4 cup plus 3 tablespoons unsweetened cocoa powder
1/3 cup maple syrup (barley malt or rice syrup may be substituted)
1 tablespoon orange zest
1 tablespoon instant coffee granules (decaf or regular)
1 tablespoon vanilla extract
Pinch of salt
1 ounce almond liqueur (optional)

DIRECTIONS
1. Process the tofu, cocoa powder, maple syrup, orange zest, coffee granules, vanilla, salt, and optional liqueur in the bowl of a food processor or in a blender for 1½ minutes, until smooth.

2. Pour the mousse into wine or champagne glasses or dessert-type serving dishes, and chill overnight.

3. Serve the mousse with fresh orange sections, toasted almonds, or shaved chocolate garnish over the top.

Serves 4

Per Serving:
Calories 240
Calories from fat 40
Calories from saturated fat 15
Protein 13 G
Carbohydrate 35 G
Total Fat 4.5 G
Saturated Fat 1.5 G
Cholesterol 0 MG
Sodium 70 MG

LINNELL’S NOTES
1. In general, but depending on brands, tofu is a good source of calcium. Look for brands in which the tofu has been set with calcium sulfate.

2. Because a rich chocolate flavor is critical to this dessert, use a good quality cocoa powder. I used Sharffen Berger Unsweetened Natural Cocoa Powder.

3. Amaretto is the almond liqueur I used. Rather than add the full amount of liqueur at first, I would add it to taste.

4. Adapt this recipe using other flavors. Raspberry, mint, or coffee liqueur would be interesting variations to the recipe.

5. I filled 3 champagne glasses to the brim with one recipe’s worth of mousse. If I had not filled them to the top, I probably could have gotten 4 servings out of the recipe.

ENJOY!!

Read Full Post »

Hungarian Rhapsody Coffee Cake Cheesecake for breakfast? Coffee cake for dessert? Either way, the versatility of this impressive cake cannot be denied. With its cheesecake-like texture and egg-rich flavor, this cake stands out at any gathering any time of the day. Just how delicious is it? I made it for a potluck brunch the other day and people fought over the last few pieces. The list of ingredients may scare healthier-eaters away, but keep in mind, this coffee cake is meant to be served in very small portions!

Hungarian Rhapsody Coffee Cake
Congressman Tom Lantos, California Poppycoctions Cookbook, Volume 3

INGREDIENTS
Crust:
1 cup melted butter
1/2 cup powdered sugar
2 cups flour

Filling:
1-and-1/2 cups butter or margarine
1-and-1/3 cups sugar
8 eggs, separated
3 teaspoons lemon juice or vanilla
1/3 cup flour
2 8-ounce packages cream cheese

DIRECTIONS
1. Preheat oven to 350° F.

2. To make crust: mix melted butter, powdered sugar, and flour. Pat into 9 x 13-inch Pyrex dish. Bake 20 minutes in oven. Set aside.

3. Cream together butter with 1 cup sugar.

4. Add egg yolks, one at a time, beating well after each addition.

5. Add lemon juice or vanilla. Add flour and cream cheese. Cream until smooth.

6. Whip egg whites, gradually add 1/3 cup sugar. Fold into egg yolk mixture.

7. Pour into “half-baked” crust. Bake in 350° oven for 35 to 45 minutes or until done. Test with knife to see if it comes out clean.

8. Dust with powdered sugar. Cut into small squares.

Serves 18-22

LINNELL’S NOTES
1. Although I’ve made this coffee cake many times before, I don’t recall the crust mixture being so greasy. The ratio of flour to melted butter didn’t seem right. The end result still tasted good, but I think there is room for improvement. The next time I make this, I will use less butter or add more flour to better incorporate the butter or I will substitute a different butter crust recipe.

2. I used the combination of 2 tsp lemon juice and 1 tsp vanilla, because I happened to have some freshly squeezed lemon juice on hand.

4. Make sure the cream cheese is soft or else your batter can turn out lumpy. Tiny lumps in the batter are okay as they disappear as the cake bakes.

5. This coffee cake can be a little messy to serve and eat. I like to cut the cake into squares and place them into cupcake liners for ease of eating and a clean and attractive presentation.

ENJOY!

Read Full Post »

Salted Butter Breakups Food always tastes better when it’s shared. But here’s the dilemma: Would you actually want to share a super-sized butter cookie that contains the perfect balance of flavors – not too sweet and not too salty – and the perfect balance of textures – crispy on the outside and delightfully soft and chewy on the inside? Its name, Salted Butter Breakups, indicates that this big delicious cookie is meant to be broken up and shared. Bake one up to share with friends or succumb to temptation and eat the entire sweet glory all by yourself. You choose.

Salted Butter Breakups
Adapted from From Around My French Table, by Dorie Greenspan

INGREDIENTS
1¾ cups all-purpose flour
2/3 cup sugar
3/4 to 1 teaspoon sel gris or kosher salt
1 stick plus 1 tablespoon (9 tablespoons) cold unsalted butter, cut into 18 pieces
3 to 5 tablespoons cold water
1 egg yolk, for the glaze

DIRECTIONS
1. Put the flour, sugar and salt in the workbowl of a food processor and pulse to combine. Drop in the pieces of butter and pulse until the mixture looks like coarse meal – you’ll have big, pea-size pieces and small flakes. With the machine running, start adding the cold water gradually. Add just enough water to produce a dough that almost forms a ball. When you reach into the bowl to feel the dough, it should be very malleable.

2. Scrape the dough onto a work surface, form it into a square and pat the square down to flatten it a bit. Wrap the dough in plastic and chill it for about 1 hour (or as long as overnight).

3. When you’re ready to bake, center a rack in the oven and preheat the over to 350 degrees F. Line a baking sheet with a silicone mat or parchment paper.

4. Remove the dough from the fridge and, if it’s very hard, bash it a few times with your rolling pin to soften it. Put the dough between sheets of plastic film or wax paper and roll it – or pat it – into a rectangle that’s about 1/4-inch thick and about 5-x-11 inches; accuracy and neatness don’t count for a lot here. Transfer the dough to the lined baking sheet.

5. Beat the egg yolk with a few drops of cold water and, using a pastry brush, paint the top surface of the dough with the egg wash. Using the back of a table fork, decorate the cookie in a cross-hatch pattern.

6. Bake the cookie for 30 to 40 minutes, or until it is golden. It will be firm to the touch, but have a little spring when pressed in the center – the perfect breakup is crisp on the outside and still tender within. Transfer the baking sheet to a rack and allow the cookie to cool to room temperature.

Serving: If fun is what you’re after, bring the breakup to the table whole and let everyone break off pieces big and small; if order suits you better, break the cookie in the kitchen and serve the pieces on a plate.

Storing: The baked cookie will keep in a container for about 3 days. You can make the dough up to 3 days ahead and keep it in the refrigerator, or you can wrap it airtight and freeze it for up to 2 months. Don’t brush the dough with egg wash until you’re ready to bake it.

Makes 4 servings

LINNELL’S NOTES:
1. Sel gris means gray salt in French. It is a coarse-textured flavorful salt harvested in France.

2. My husband liked the salty bite this cookie had, so the next time I make this cookie, I will try adding 1 teaspoon of salt instead of the 3/4 teaspoon that I used.

3. I baked the cookie for about 30 minutes. Because I thought the edges were the tastiest part, next time I will bake it a little bit longer to get more of the crispy browned-butter flavor throughout.

4. Although the cookie can be stored in an airtight container for a few days, it loses its crispiness. It’s best when consumed within a couple of hours after baking.

5. This cookie alone makes an easy dessert, but if you accompany it with some fresh seasonal fruit, such as peaches or berries, it becomes a fabulous dessert treat.

ENJOY!

Read Full Post »

Thumbprint Cookies The combination of having a summer cold, a craving for something sweet to eat, and not wanting to go out in the drizzling rain prompted me to get out the butter and fire up the oven. Ever since I bought some thumbprint cookies coated with nuts at a bakery, I’ve been craving them. Somehow, while under the influence of cold medications, I groggily managed to find a thumbprint cookie recipe and make the cookies. There’s nothing better than a spot of hot tea to ease a cold and chase away a rainy day, unless of course, you bake a buttery cookie coated with crunchy nuts and filled with tart jam to accompany that cup of tea!

Thumbprint Cookies
Joy of Baking.com

Ingredients:
1/2 cup (113 grams) unsalted butter, room temperature
1/4 cup (50 grams) granulated white sugar
1 large egg, separated
1/2 teaspoon pure vanilla extract
1 cup ( 130 grams) all-purpose flour
1/8 teaspoon salt
3/4 cup (100 grams) hazelnuts, almonds, pecans, or walnuts, toasted and finely chopped
1/2 cup jam

Directions:
1. Preheat oven to 350 degrees F (177 degrees C) and place rack in center of oven. Line a baking sheet with parchment paper.

2. In the bowl of your electric mixer (or with a hand-mixer), cream the butter and sugar until light and fluffy (2-3) minutes. Add the egg yolk and vanilla extract and beat until combined.

3. In a separate bowl, whisk together the flour and salt. Add the flour mixture to the batter and beat just until combined. (If the batter is too soft to roll into balls, refrigerate for about 30 minutes.)

4. In a small bowl, whisk the egg white until frothy. Place the chopped nuts on a plate. Roll the dough into 1-inch (2.54 cm) balls. Taking one ball of dough at a time, dip first into the egg white and then lightly roll into the nuts. Place on the prepared baking sheet spacing about 1-inch apart. Using your thumb or end of a wooden spoon, make an indentation into the center of each cookie and fill with about 1/4 – 1/2 teaspoon of jam.

5. Bake for about 13 to 15 minutes or until cookies are set and the nuts have nicely browned. Remove from oven and place on wire rack to cool.

Notes:
To toast the nuts, spread them on a baking sheet and bake in a 350 degree F oven for 8 – 10 minutes. The nuts are done when when they are light-golden brown in color and fragrant.

If you are planning to store these cookies, I like to bake them without the jam. Just reduce the baking time by a few minutes. These cookies can be stored for about a week. Fill the cookies with jam the same day as serving.

Makes about 20 cookies

Linnell’s Notes:
1. This recipe is very adaptable. You can add nuts or withhold the nuts. You can choose any flavor of jam that you want. I used red current jam, since that is what I had in the refrigerator.
2. The next time I make these, I will make them larger in size and increase the baking time accordingly. I want them to be a chunkier type of cookie, rather than small dainty cookies.
3. To make the indentations in the dough, I pressed the rounded bottoms of either my 1/4 teaspoon measuring spoon or my 1/2 teaspoon measuring spoon. They created very nice wells for the jam.

Enjoy!

Read Full Post »

Lemon-Rosemary Crumb Cake

The strong flavors of rosemary and lemon can oftentimes dominate a recipe. Not so, in this case. From the crunchy lemon crumb on top to the tender cake speckled with bits of rosemary, this cake is delightful from top to bottom. With its perfect blend of flavors and its ease of preparation, it will quickly become one of your “go to” cakes. Serve it for breakfast, brunch, lunch, snack, or dessert!

Lemon-Rosemary Crumb Cake
Cooking Light Magazine, May 1998

Ingredients:
1¼ cups all-purpose flour
2/3 cup sugar
1/8 teaspoon salt
1/4 cup chilled stick margarine or butter, cut into small pieces
3/4 teaspoon minced fresh or 1/4 teaspoon dried rosemary
1/2 teaspoon baking powder
1/4 teaspoon baking soda
1/3 cup low-fat buttermilk
2 tablespoons fresh lemon juice
1 large egg
Cooking spray
2 teaspoons grated lemon rind
3/4 teaspoon water
Rosemary sprigs (optional)
Lemon slices (optional)

Directions:
1. Preheat oven to 350 degrees F.

2. Lightly spoon flour into dry measuring cups; level with a knife. Combine flour, sugar, and salt in a bowl; cut in butter with a pastry blender or 2 knives until mixture resembles coarse meal. Reserve 1/2 cup flour mixture for topping; set aside.

3. Combine remaining flour mixture, rosemary, baking powder, and baking soda; add buttermilk, lemon juice, and egg. Beat at medium speed of a mixer until blended. Spoon batter into and 8-inch round cake pan coated with cooking spray. Combine reserved 1/2 cup flour mixture, lemon rind, and water; stir with a fork. Sprinkle crumb mixture over batter. Bake at 350 degrees for 30 minutes. Cool on a wire rack. Garnish with rosemary sprigs and lemon slices, if desired.

Yield: 8 servings or 8 wedges

Linnell’s Notes:
1. I used butter instead of margarine. Why not splurge on flavor since the recipe only calls for a 1/4 cup of it?

2. I only have a 9-inch cake pan, so the cake would have been taller if I had used an 8-inch cake pan.

3. Using the larger pan, I was careful to check the cake after 20 minutes. It was baked by 25 minutes.

4. To test the cake to see if it is done, gently press on the top of it with your fingers. If it springs back completely when lightly touched in the center, the cake is done.

Enjoy!

Read Full Post »

Fresh Banana Sorbet

“Can I throw these away?” my husband inquires. I look at the bunch of dark bananas in his hand and scream, “Noooooooooooo!” Guilt washes over me at the thought of wasting food. I come from a long line of “savers.” Nothing gets wasted, everything is saved. So when my husband sees a bunch of ugly and disgusting bananas, I see something with potential. Normally, if I’m on top of my game and I see brown bananas with freckles sitting on the kitchen counter, I’ll put them in the freezer for future baking projects. But occasionally, I’m too preoccupied to notice their demise and I end up sending them to the compost bin instead. When I came across this recipe for banana sorbet, I was thrilled. The only ingredient in this recipe are very ripe bananas! You’ll need a blender or a food processor – no ice cream maker is required. This frozen treat couldn’t be easier, healthier, and less wasteful!

Fresh Banana Sorbet
Recipe from Chocolate and Zucchini

Ingredients:
Very ripe bananas

Directions:
1. The day before, peel the bananas, slice them, and place them in a freezer-safe container in the freezer.

2. Remove the frozen banana slices from the freezer and process them in a sturdy food processor or blender. At first it will look like a mess, but if you press on, it will soon come together and become smooth.

3. At this point, you could choose to add mix-ins, such as candied nuts, chopped chocolate, dried coconut flakes, caramel sauce or melted chcolate to create swirls, etc.

4. Serve immediately or return to the freezer for later consumption.

Yields: A single medium banana will yield two small scoops or one large scoop.

Linnell’s Notes:
1. My husband likes to eat ice cream while watching television at night. I think this sorbet would be a healthier alternative for him. For the initial taste test, I presented him with a bowl of banana sorbet with chopped candied pecans sprinkled over the top. He gave it a thumbs up.

2. Because this sorbet does not contain anything artificial, it would make a great frozen treat for babies and young children. You could make a large batch and freeze it in small paper cups to make mini fruit pops for the kids.

ENJOY!

Read Full Post »

Irish Cream Bundt Cake

Stout? Liqueur? Guinness? Baileys? Stout? Liqueur? Guinness? Baileys? The debate went back and forth as I tried to decide which Irish beverage to highlight in a recipe for St. Patrick’s Day. The moment I found this recipe, for a cake that has Irish cream in the cake batter and the glaze, the decision was made. Want a better visual of this culinary delight? Click on the photo above and you’ll get a tempting close-up of a moist cake soaked with a buttery glaze that glistens over toasted pecans. It’s so rich, the leprechauns in your home will surely think they found a pot of gold!

Irish Cream Bundt Cake
Recipe by RecipeNut on Food.com

Ingredients for the Cake:
1 cup chopped pecans
1 (18½ ounce) package yellow cake mix
1 (3½ ounce) package vanilla instant pudding mix
4 eggs
1/4 cup water
1/2 cup vegetable oil
3/4 cup Irish cream

Ingredients for the Glaze:
1/2 cup butter
1/4 cup water
1 cup white sugar
1/4 cup Irish cream

Directions:
1. Preheat oven to 325 degrees F (165 degrees C).
2. Grease and flour a 10-inch bundt pan.
3. Sprinkle chopped nuts evenly over bottom of pan.
4. In a large bowl, combine cake mix and pudding mix.
5. Mix in eggs, 1/4 cup water, 1/2 cup oil, and 3/4 cup Irish cream liqueur.
6. Beat for 5 minutes at high speed.
7. Pour batter over nuts in pan.
8. Bake in preheated oven for 60 minutes, or until a toothpick inserted into the cake comes out clean.
9. Cool for 10 minutes in the pan, then invert onto a serving platter.
10. Prick top and sides of cake.
11. Spoon glaze over top and brush onto sides of cake.
12. Allow to absorb glaze. Repeat until all glaze is used up.

To Make Glaze:
1. In a saucepan, combine butter, 1/4 cup water, and 1 cup sugar.
2. Bring to a boil and continue boiling for 5 minutes, stirring constantly.
3. Remove from heat and stir in 1/4 cup Irish cream.

Serves 8

Linnell’s Notes:
1. To bring out the flavor of the pecans, toast them in the oven first.

2. Thanks to deceptive shrinking packaging, both the cake mix and the instant pudding did not contain the specified number of ounces required in the recipe. The cake mix had only 16.5 ounces and the instant pudding box contained only 3.4 ounces. I used these down-sized portions with good results, though.

3. Instead of using butter and flour separately to grease the pan, I sprayed the pan with a cooking spray that contains flour – so fast and easy!

4. My cake was done at the end of 50 minutes, so you may want to set your oven timer to check the cake after 45-50 minutes.

5. Temporarily place strips of waxed paper under the cake/on top of the serving platter to catch dripping glaze and to help keep the serving platter clean.

6. This cake serves way more than the 8 servings the recipe states!

Enjoy!

Read Full Post »

spiced chocolate krinkle cookies

Add a little spice to your life and tantalize your taste buds with one of these cookies. At first bite, you’ll discover a rich chocolate flavor with a touch of sweetness, but then, as you’re about to swallow this little bit of naughtiness, a warm and spicy sensation floods your mouth. Ground ginger, freshly-grated ginger, and cayenne pepper provide the cookie with a surprising “afterglow.” A perfect treat anytime, but especially on a cold and rainy day like today!

Spiced Chocolate Krinkles
From The Sweet Spot by Pichet Ong

Ingredients:
2 tablespoons canola, vegetable, or other neutral oil
1 ounce (28 grams) bittersweet chocolate, chopped
1 teaspoon grated fresh ginger
1/4 teaspoon ground ginger
1/4 teaspoon ground cardamom
1/8 teaspoon cayenne pepper
1/8 teaspoon salt
1/3 cup (2 ounces/54 grams) all-purpose flour
2 tablespoons almond flour or coconut powder
2 tablespoons unsweetened cocoa powder
1/2 teaspoon baking powder
1 large egg
1/2 cup (3¾ ounces/106 grams) sugar
1/2 teaspoon vanilla extract
1/2 cup (2 ounces/55 grams) confectioners’ sugar

Directions:
1. Put the oil, chocolate, both gingers, the cardamom, cayenne, and salt in a double boiler or in a heatproof bowl set over a saucepan of gently simmering water and melt the chocolate, stirring occasionally. Remove from the heat, transfer to a bowl if necessary, and cool completely.

2. Sift together the flours, cocoa powder, and baking powder and set aside.

3. When the chocolate mixture has cooled to room temperature, add the egg, sugar, and vanilla extract and stir just until combined. Gently fold in the flour mixture until well incorporated. Transfer the dough to a large sheet of plastic wrap, flatten into a 1-inch-thick disk, and wrap tightly in the plastic. Chill until hard, at least 2 hours or up to 5 days.

4. When ready to bake, preheat the oven to 375 degrees F. Line two baking sheets with parchment paper.

5. Put the confectioners’ sugar in a small bowl. Pinch off a piece of dough, form it into a 1/2-inch ball, roll in the confectioners’ sugar until well coated, and place on a prepared baking sheet. Repeat with the remaining dough, putting the coated balls 1 inch apart on the baking sheets.

6. Bake the cookies until the tops look cracked and are dry to the touch, about 10 minutes. Transfer to a cooling rack to cool completely. The cookies can be stored in an airtight container for up to 2 days.

Makes 3 dozen cookies

Linnell’s Notes:
1. An easy way to peel fresh ginger is to scrap off the “skin” with a teaspoon.

2. The cookbook author noted, “Don’t be tempted to make these cookies bigger. They look more appealing when small and the flavors and texture are best enjoyed in a single bite.”

3. My cookie dough turned out to be more loosely formed than a dough. I attribute this to using an extra large egg. The dough did firm up a bit after chilling it for a couple of hours.

4. To prevent the dough from sticking to my hands while rolling it into balls, I repeatedly wet the palms of my hands with water. Keep a small bowl of water nearby.

ENJOY!

Read Full Post »

peanut butter oatmeal cookies

Two peanut butter oatmeal cookies lay temptingly before you. Each contains 13 ingredients. Which one will you reach for – the light-colored cookie that is deliciously thick, chewy, and on the healthier side or the divinely dark and crunchy one that not only has butter in it, but is loaded with chocolate as well? Tough decision. After making the two different recipes and tasting the cookies, I concluded that I liked them both, but for health’s sake and for ease of preparation, I’ll be making the light ones more frequently.

Chewy Peanut Butter Oatmeal Cookies
Recipe from passtheplate.blog

Ingredients:
3/4 cup all purpose flour
1 teaspoon baking powder
1/2 teaspoon baking soda
1/2 teaspoon salt
1/2 cup peanut butter (smooth or chunky)
1/4 cup cinnamon applesauce (regular works too)
1 egg
1 teaspoon vanilla extract
Couple dashes cinnamon
1/2 cup white sugar
1/2 cup light brown sugar
1½ cups quick-cooking oats
1/4 cup ground flaxseed

Directions:
1. Preheat oven to 375 degrees F. Line a baking sheet with parchment paper.

2. In a medium bowl, whisk together flour, ground flaxseed, baking powder, baking soda, salt, and cinnamon.

3. In a large bowl, beat together peanut butter, sugars, applesauce, egg and vanilla. Working by hand, stir in the flour mixture and the oats until just combined and no streaks of flour remain.

4. Drop tablespoonfuls onto the prepared baking sheet. Bake for about 10-12 minutes.

5. Let cool on sheet for 3 or 4 minutes, then transfer to a wire rack to cool completely.

6. Store in an airtight container.

Makes approximately 30 cookies.

Linnell’s Notes:
1. I did not use quick-cooking oats. I could have pulsed my old-fashioned oats in a food processor to turn them into quick-cooking oats, but I decided to leave them whole.
2. These cookies supposedly only have 73 calories each!

Jose’s Oatmeal Peanut Butter Chocolate Chip Cookies
Recipe from Epicurious

Ingredients:
1½ cups old-fashioned rolled oats
2 cups all-purpose flour
1 teaspoon baking powder
1 teaspoon baking soda
1 teaspoon salt
2 sticks (1 cup) unsalted butter, softened
1 cup granulated sugar
1 cup firmly packed light brown sugar
1 tablespoon vanilla extract
3/4 cup peanut butter
2 large eggs
12-ounce bag semisweet chocolate chips
8 ounces semisweet chocolate, grated

Directions:
1. In a food processor pulse 1 cup oats until ground fine.

2. In a large bowl stir together ground oats, remaining 1/2 cup whole oats, flour, baking powder, baking soda, and salt.

3. In another large bowl with an electric mixer beat together butter and sugars until light and fluffy and beat in vanilla and peanut butter. Add eggs, 1 at a time, beating well after each addition, and gradually beat in flour mixture. Add chocolate chips and grated chocolate, beating just until combined. Chill cookie dough, covered, at least 2 hours and up to 1 week.

4. Preheat oven to 325°F.

5. Form rounded tablespoons of dough into balls and arrange about 2 inches apart on ungreased baking sheets. Flatten balls slightly.

6. Bake cookies in batches in middle of oven 15 minutes, or until just pale golden. Cool cookies on baking sheet 5 minutes and transfer to racks to cool completely.

Makes approximately 60 cookies.

Linnell’s Notes:
1. Grating the 8 ounces of chocolate was a lot of work. A large chunk of chocolate would have been easier to grate than the thin chocolate bars I used. If you have a grating disc on your food processor, that might also work. Chocolate should be at room temperature for hand-grating, but frozen for machine-grating.
2. I only baked half of the cookies. The remaining dough I froze for future use.

ENJOY!

Read Full Post »

Chocolate-Pomegranate-Ginger Bark Candy

The intensity of bittersweet chocolate mixed with the spicy zip of candied ginger tantalizes my taste buds beyond delight, but the bursts of fresh, tart, pomegranate juice in my mouth sends them into pure ecstasy. This confection combines few ingredients to create a depth of flavors you’d not expect from such a simple recipe. Individually, each ingredient is potent enough to stand alone, but when combined, they deliver an incredible treat. Flavonoid-rich dark chocolate, zingibain-rich ginger, and antioxidant-rich pomegranate juice give impressive reasons to eat this candy. Too bad I had to force myself to sample so many pieces to write this review!

Chocolate-Pomegranate-Ginger Bark
Recipe from Oct/Nov issue of Fine Cooking Magazine

Ingredients:
10 oz. bittersweet chocolate (60% cacao), broken into 1-inch pieces
1 cup fresh pomegranate seeds (from 1 large pomegranate)
1½ Tbs. minced candied ginger
1/4 tsp. fine sea salt

Directions:
1. Line a baking sheet with a silicone baking mat or waxed paper.

2. Put the chocolate in a wide, shallow, microwave-safe bowl and microwave on high until it just starts to melt, about 1 minute. Stir with a spatula until the chocolate is completely melted and smooth, heating in additional 15-second increments if necessary.

3. Gently stir half of the pomegranate seeds, the ginger (break up any clumps with your fingers), and the salt into the chocolate.

4. Scrape the chocolate mixture onto the baking sheet and spread it into an 8×10-inch rectangle.

5. Sprinkle the remaining pomegranate seeds evenly over the top, pressing them into the chocolate.

6. Refrigerate until fully set, about 30 minutes.

7. Break the bark into chunks with your hands (be careful not to crush the seeds), and serve. The bark will keep, refrigerated, for up to 5 days.

Serves 6

Linnell’s Notes:
1. Obviously, the better quality chocolate you use, the better tasting bark you’ll have.
2. To open up a pomegranate see the instructions in my “Linnell’s Notes” section of my post Brussels Sprouts Roasted on the Stalk. The pomegranates I had were huge, so I used more pomegranate seeds than called for. The next time I make this recipe (and I will be making this again), I will cut back on the amount of pomegranate seeds.
3. I minced a little bit of extra candied ginger to sprinkle on top of the bark.
4. You might be considering omitting the salt from this recipe, but don’t! I think the salt adds a good counterbalance to the other flavors.

Enjoy! Enjoy! Enjoy!

Read Full Post »

Older Posts »

%d bloggers like this: