
Print, cut, dip, rub, dry, and voilà you’ve just made custom tape! Use your custom tape to personalize greeting cards and envelopes. I first learned about the process of transferring photocopy ink from my oldest son when he was in high school. Back then I thought it was a pretty cool artistic process, but one that I could never see myself using. Now fifteen years later, I’m personalizing envelopes using a technique similar to his. Thanks to the site Lil Blue Boo for the inspiration. I can’t wait to experiment more with this technique and to try using it in other ways.
Supplies:
 1. Photo images on paper
2. Scissors
3. Clear packing tape
4. Straight edge
5. Bowl of water
Directions:
1. Select the photo image you want to use. Make a photocopy of the photo or print it up using a laser printer, not an ink jet printer. Larger images work better than smaller images that contain a lot of details. Images with a fair amount of contrast will also show up better. If printing the image from your computer, you can format it to have multiple copies on one page, thus creating a strip of photos. This technique also works with images from a magazine. 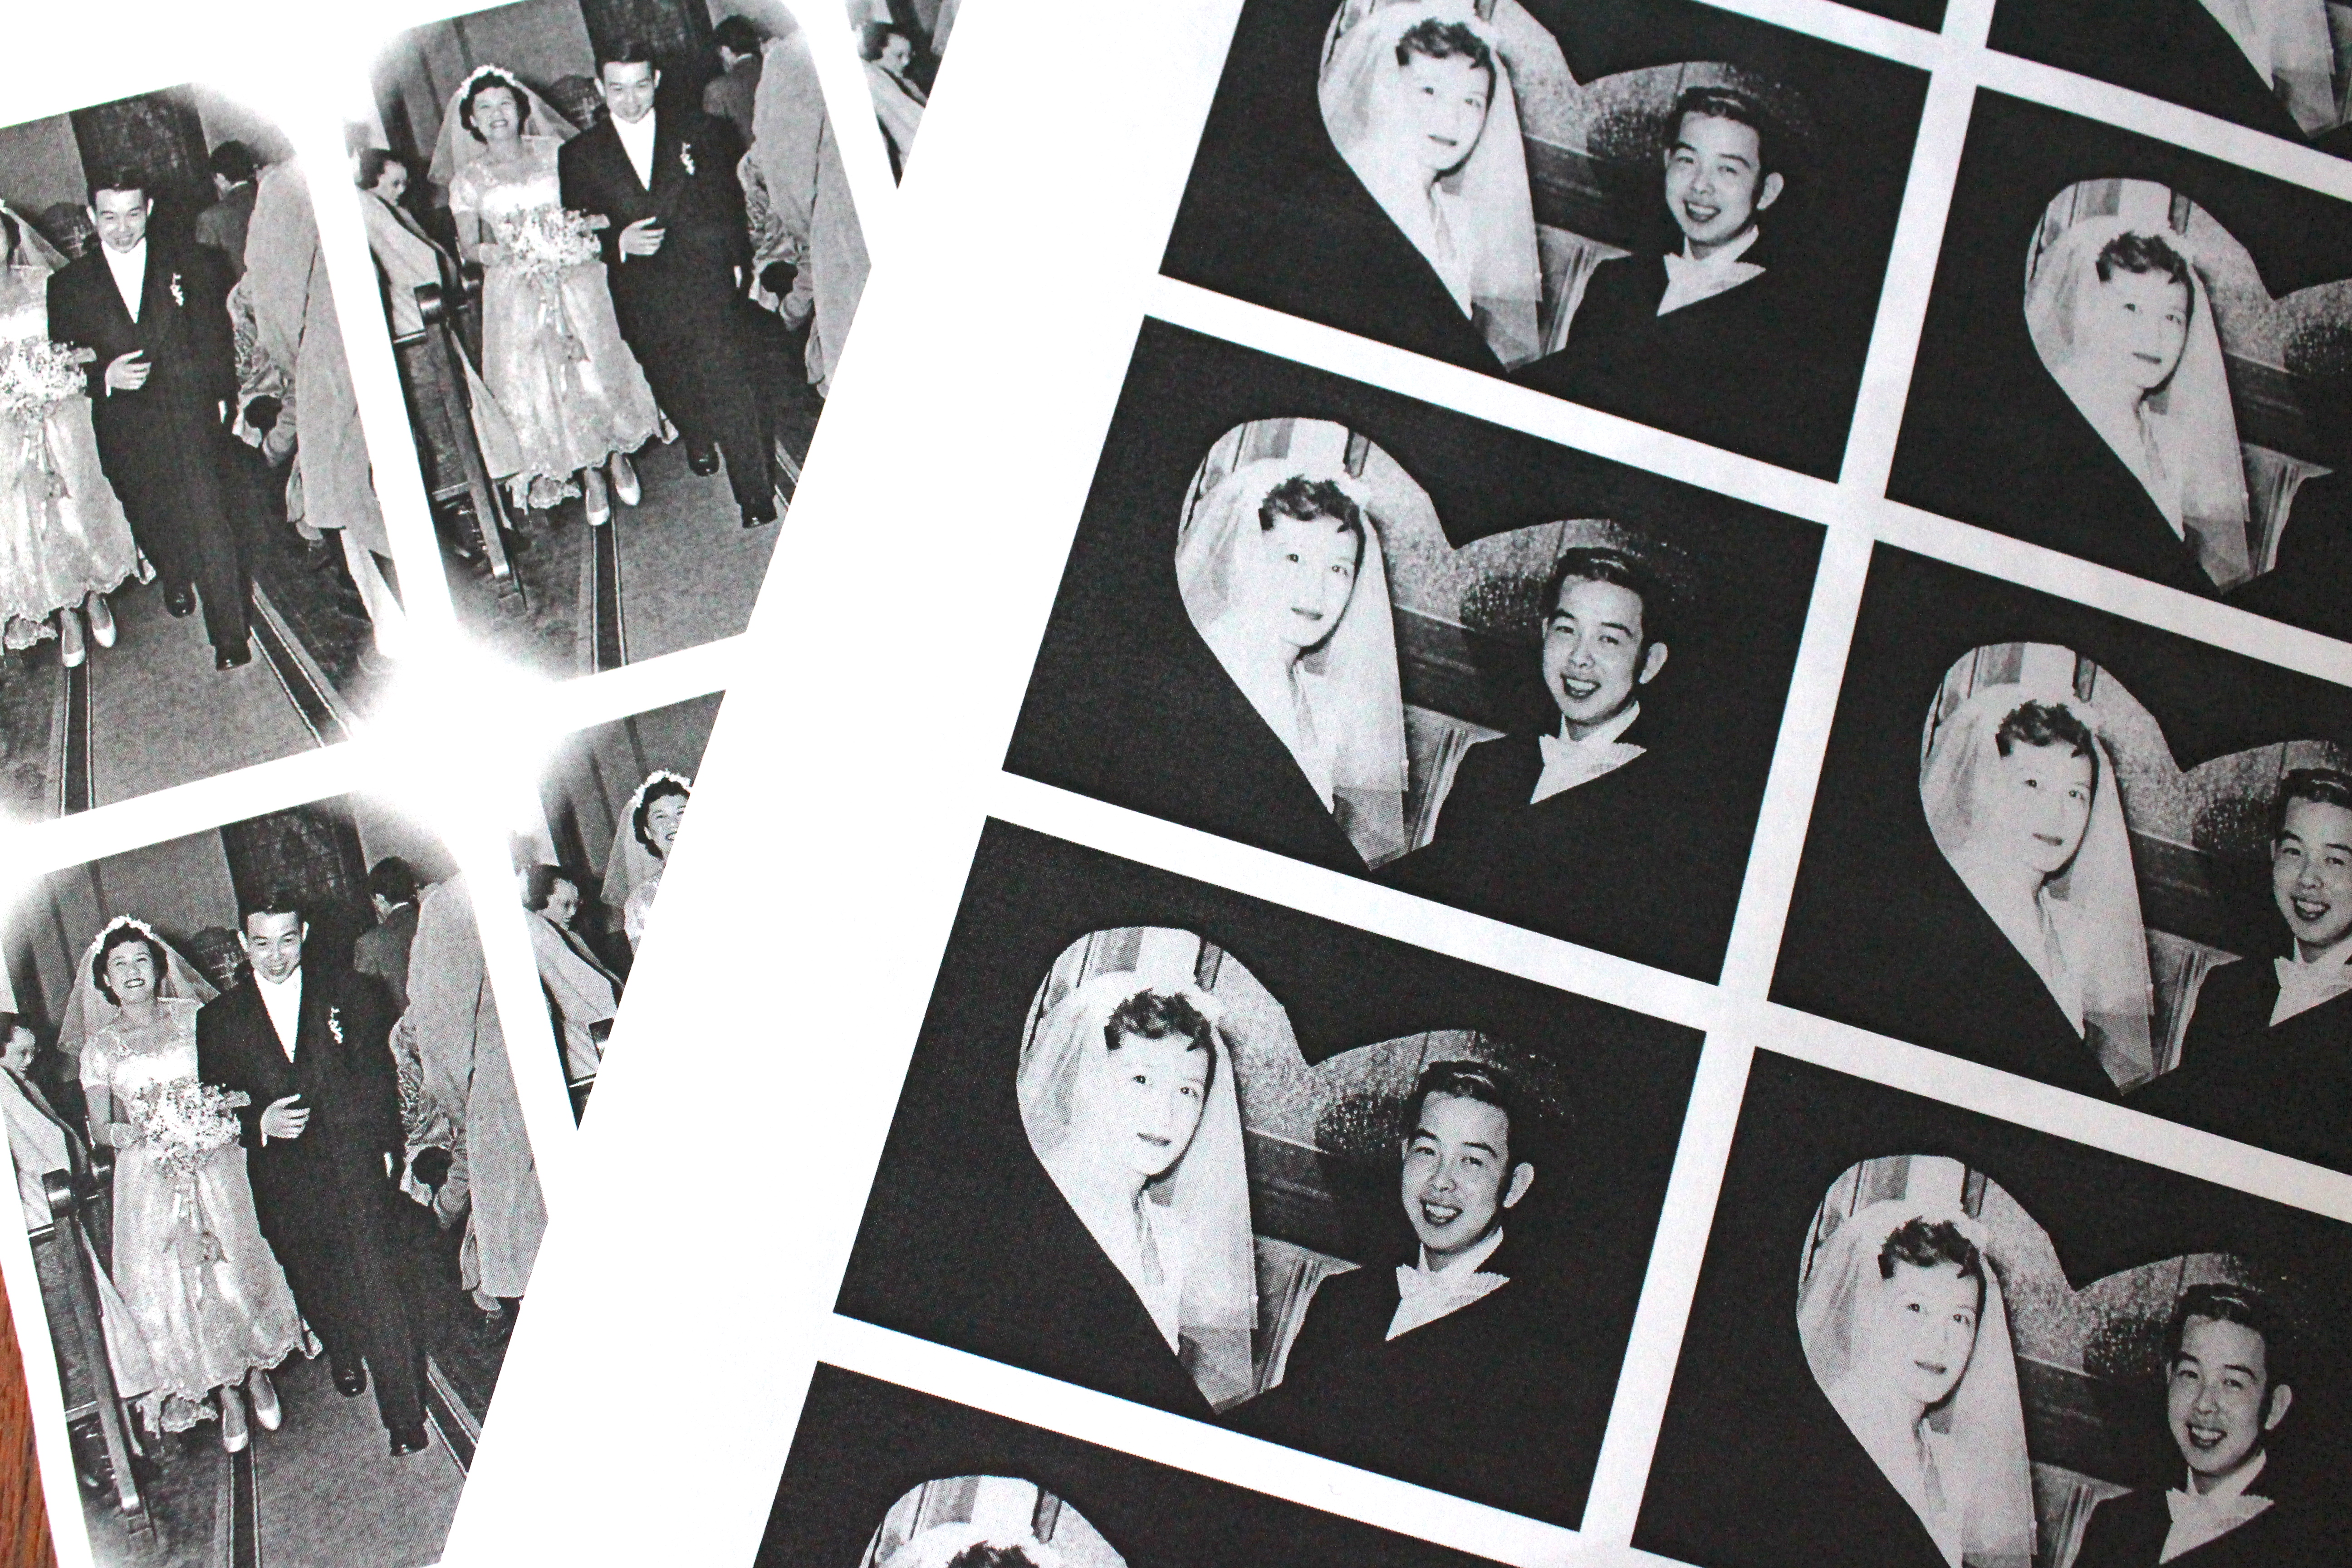
2. Cut out your image and lay it face up on your work surface. Cut off a piece of packing tape about four inches longer than your piece of paper. Center the tape over the paper with sticky-side down and 2 inches of extra tape at each end. Press tape down gently on paper. Rub a straight edge, a ruler, or a paper boning tool over the entire surface of the tape-covered paper to ease out any bubbles and to make sure the ink is evenly and securely adhered to the adhesive.

Place tape over photos
3. Holding the two ends of the tape, immerse the paper-side of the tape into a bowl of water until the paper absorbs water and softens.

Place tape with photos in bowl of water
4. Using your fingers, gently rub off all the paper from the tape. You may need to dip the paper in the water several times to remove all of it.

Rub paper off of tape
5. When all the paper is removed, the tape will resemble a clear photo negative (even though it is a positive). Hang to dry.
6. Press the dry tape to your desired surface.
Linnell’s Notes:
1. I made custom tape to decorate Valentine’s Day cards for my favorite couples and for anniversary cards, but I think personalized tape would be cute for other occasions, such as baby showers, birth announcements, etc.
2. You are not restricted to photos. You could also create personalized text. Again, just make sure you use either a photocopy or a print out from a laser printer.
3. I also transferred a color image from a page out of a magazine. That opens a whole new realm of possibilities!
4. This process would be a fun activity to do with children!
Enjoy!

Leave a comment