Feeds:
Posts
Comments

Posts Tagged ‘arts and crafts’

DIY Fabric Tags Late-night cravings and weight gain are taking their toll on my body. Tell me again, when is the baby due? With months to go, my daughter-in-law’s pregnancy seems to be progressing far too slowly for this excited Chinese grandma or Yin Yin, as I will be called. In an effort to curb my sympathetic pregnancy symptoms (did I already mention late-night cravings and weight gain?) and to use some of my anticipatory energy, I’ve started making things for my upcoming grandbaby. Not wanting to appear self-obsessed, but still wanting to convey the love that went into each handmade piece, I decided to create my own fabric labels. After a little online search, I came across a helpful article on the wonderful site lil blue boo. I don’t know and I don’t care whether the baby is a boy or a girl, but I do know that he or she has already captured my heart!

SUPPLIES
SuperSoft Inkjet Transfer Paper
Ink jet printer
Iron
Ironing board
Pillowcase
Scissors
Assorted ribbon, optional

DIRECTIONS
1. Design your tag, logo, etc. on a computer.

2. Fill a page with different sized fonts of your design to suit your purposes. My font sizes ranged from 16 to 36. DIY Fabric Tags: Positive image

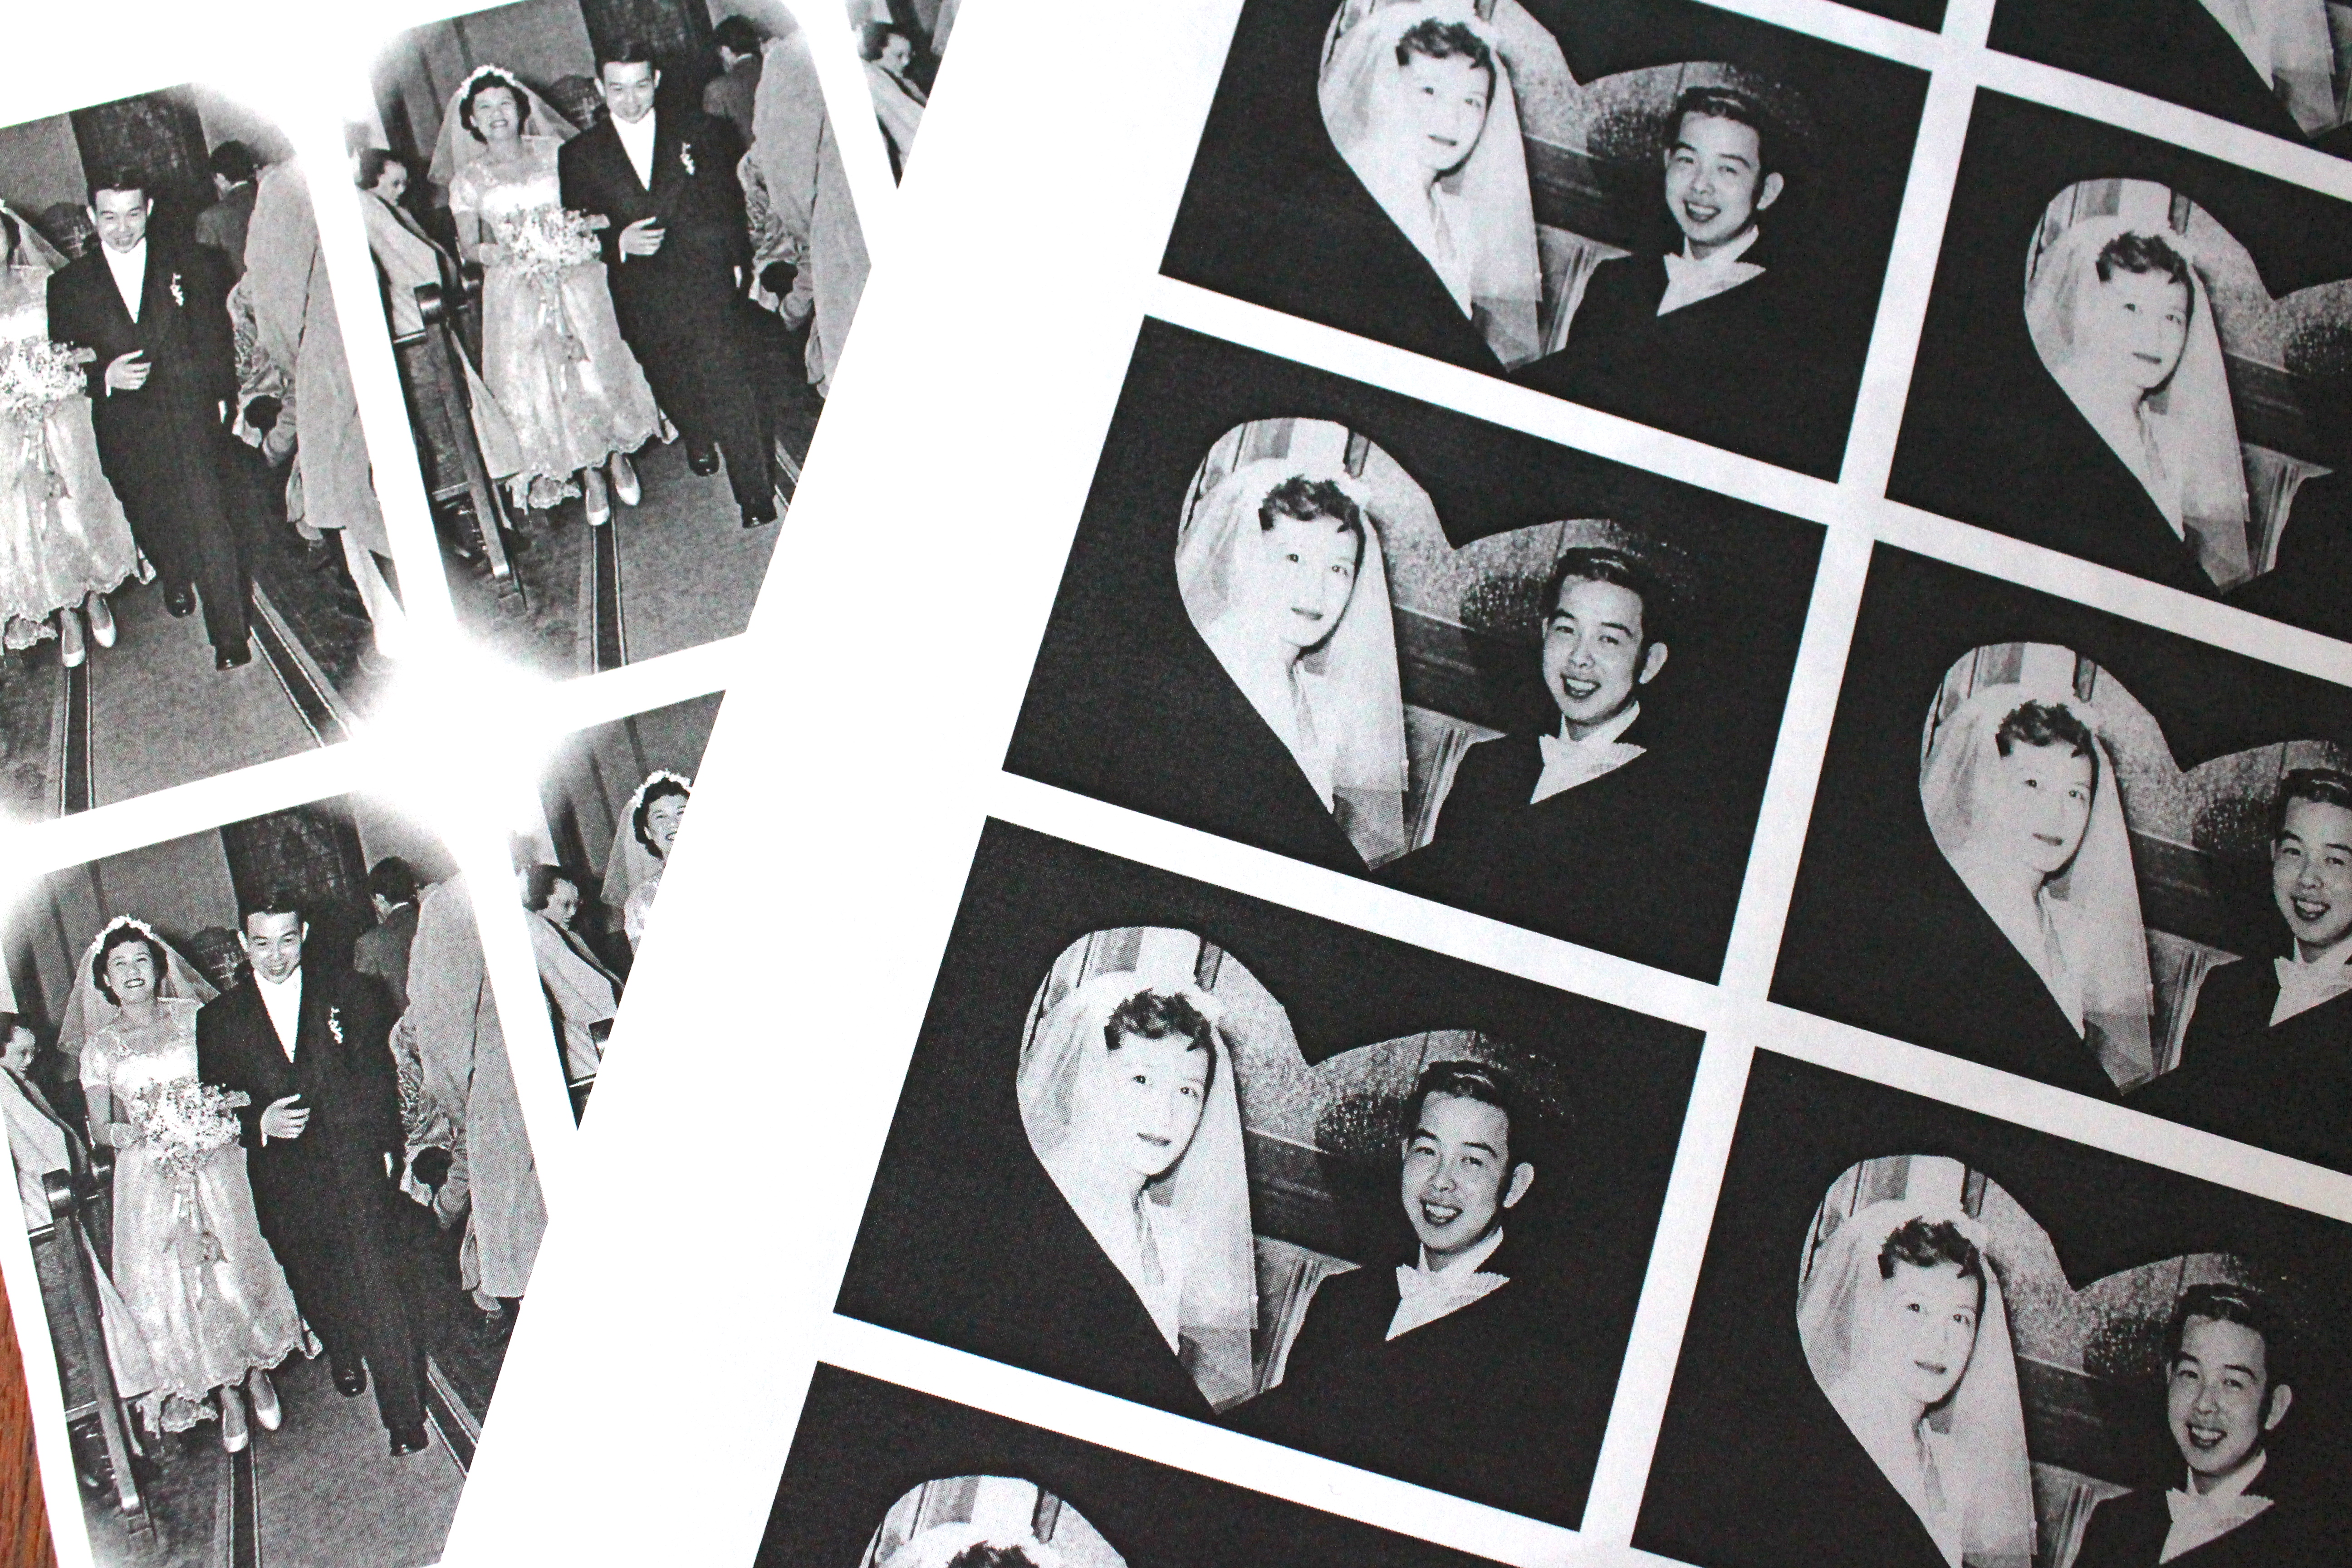
3. Flip your page of designs on the computer, because you will need a reverse image to print on the transfer paper. DIY Fabric Tags: Reverse image

4. Print a test sample using plain paper.

5. Stick a sheet of transfer paper into your printer and print according to the manufacturer’s suggestions. The light blue side is the back side of the paper. Do not print on this side. SuperSoft Inkjet Transfer Paper

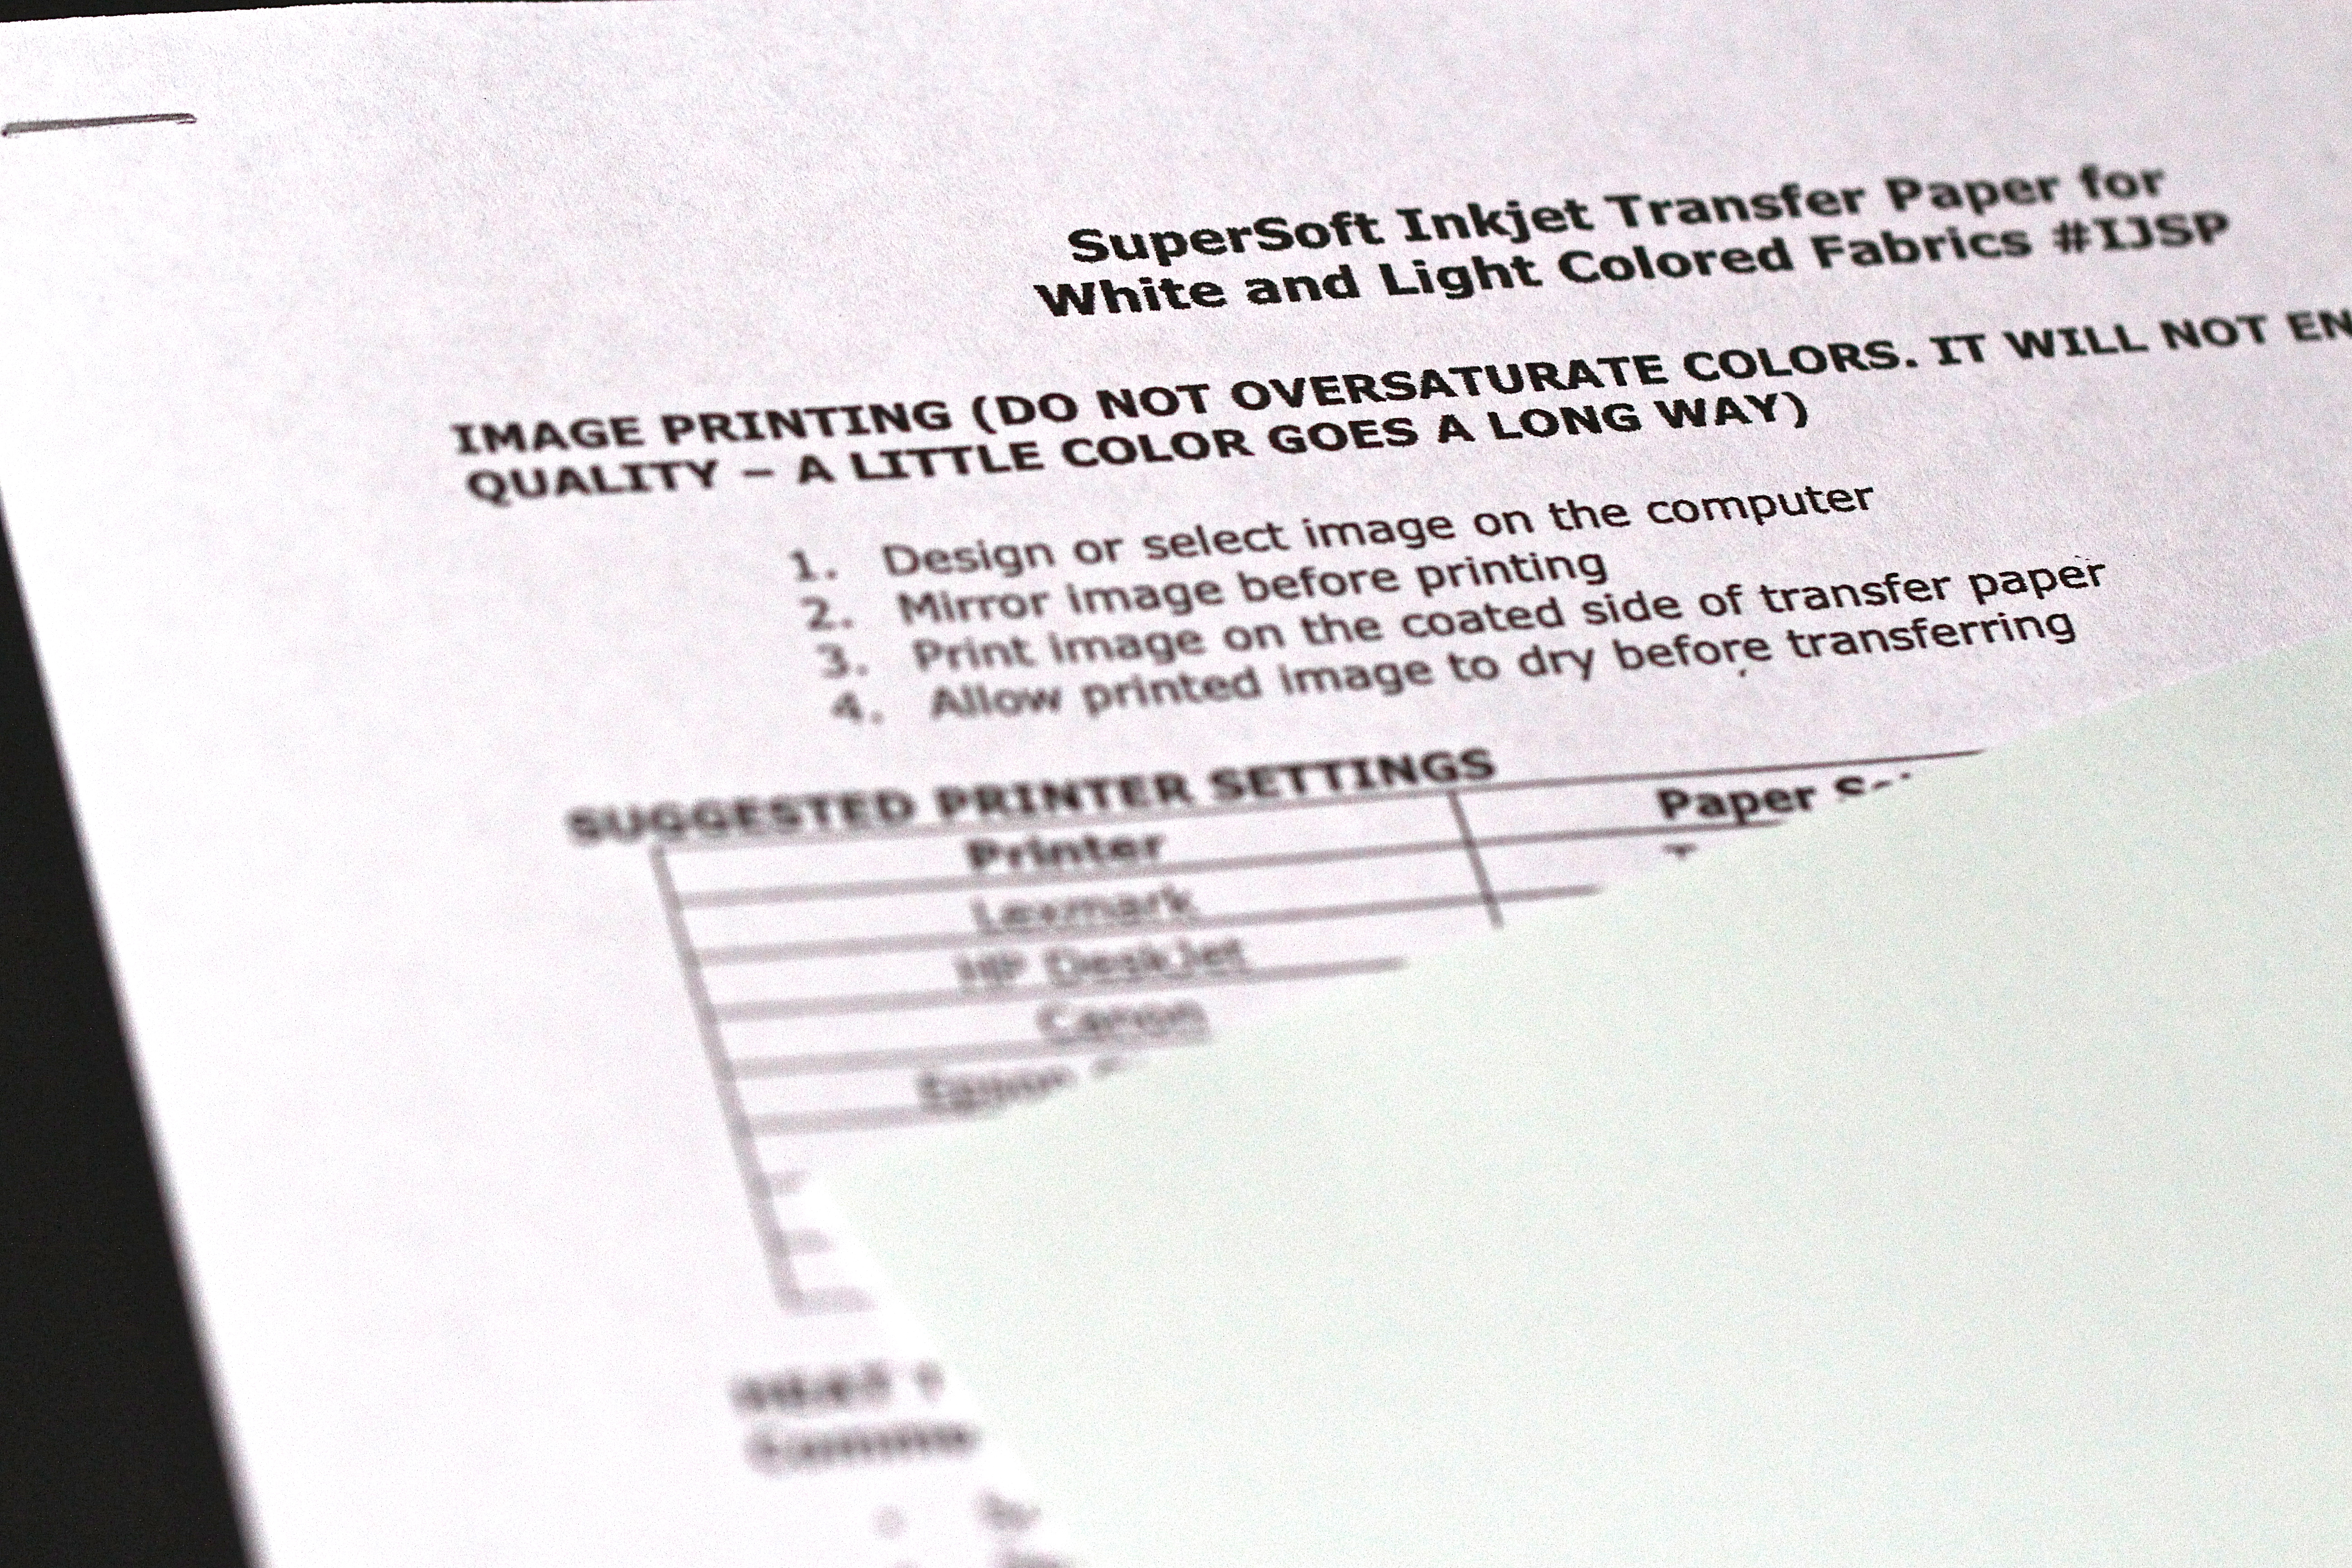
6. Using scissors or a paper cutter, cut into tag-sized pieces.
DIY Fabric Tags: Cut into pieces

7. Follow manufacturer’s instructions to transfer image to fabric.

LINNELL’S NOTES
1. I used Pages to reverse the image, because I didn’t know how to do it using Word.

2. I recommend printing a sample of your design page on plain paper first, before printing on the transfer paper. Doing this, you will be able to see any mistakes, any need for color adjustment, spacing issues, etc.

3. Make sure to use an old pillowcase to iron on and to protect your ironing board, because scorching from the iron may occur and excess adhesive may stick to the pillowcase.

4. I purchased the SuperSoft Inkjet Transfer Paper through the Dharma Trading Company.

5. This particular transfer paper is soft enough to be used as a “tagless” tag. Transfer image directly onto fabric, instead of ribbon.

Add a nice finishing touch to your handmade gifts by creating your own fabric tags!

Read Full Post »

Ellie's Belly “Arggh! Who put the baby fat back on my body?” I exclaim as I peel off another shirt and toss it on top of the “No-Longer-Looks-Good” pile of clothing. I hate cleaning out my closet. Standing in the middle of my closet with my midriff showing, while in the midst of spring cleaning, I think it would be fair to say that I’m experiencing a midlife crisis. I know exactly who put the baby fat back on my body. Chastising myself for allowing it to happen, I vow to get on the treadmill and lift weights today and I might even do it again tomorrow.

#1 – Get the Hang of It
Closet Organization Cleaning out a clothes closet is a task for the decisive. Don’t assume that things fit. Try on everything, because, not only do styles change, bodies do, too. As you come across clothes that haven’t been worn for a while or items that “kinda” fit, you need to make decisions. If you haven’t worn an item of clothing for a year or more, there must be a reason for that: too small, too large, wrong color, bad style, poor condition, needs to be altered, sentimental attachment, or whatever. Honestly, just get rid of the item. Yes, get rid of it even if it still sports a price tag. It’s taking up valuable real estate in your closet!

If you don’t have a clue which clothes you wear regularly, load all your hangers in one direction on the rod – the necks of the hangers either all facing the front or all facing the back. When you wear something, turn the hanger around and put the item back on it. In a year’s time, after all the seasons have passed, take a look at which hangers haven’t been turned around. Eliminate those clothes from your closet.

The items of clothing that “kinda” fit, ones you would definitely wear if you lost 5 pounds, get a six-month reprieve. Put them on specific-colored hangers. Place a sticky note on the backside of your closet door indicating the date for the final judgment. When that day arrives, try on everything on those hangers and make an honest decision whether they go or they stay.

#2 – Simplify Your World
Clever Tip Looking for ways to organize or simplify your world? Read 40 Clever Life Hacks to Simplify Your World and decide which ones you want to try. Being skeptical about some of them, I did a little online sleuthing and found these amusing “Life Hacks Debunked” videos from Mental Floss.

#3 – Swapping Clothes
Spring-Autumn by Qozop Would you be willing to swap clothes with one of your elders? In his photo series Spring-Autumn, photographer Qozop asked his models, pairs of young and old, to swap clothes. Scroll through the intriguing before and after photos and ponder Shakespeare’s paraphrased line “clothes makes the man.”

#4 – Wall Art From Upcycled Magazines
Upcycling Old Magazines Three words describe wall art made from rolled-up magazine pages: clever, colorful, and customizable. Imagine all the design variations you can make using this technique. I knew I saved old magazines for a reason!

#5 – Clean Your House
“We are used to cleaning the outside house, but the most important house to clean is yourself – your own house – which we never do.”
Marina Abramovic

Now go and spread joy!

Read Full Post »

Sharpie Art:Painting T-shirts

Photo by Linnell Chang

“Sorry kids, but Grandma can’t knit and Grandma can’t crochet.” This is my apology to my future grandchildren. Unless a miracle happens, they won’t be receiving lovely knitted sweaters or soft crocheted blankets from me. Odds are they will receive one-of-a-kind creative gifts from this funky Grandma. They might even get colorful tied-dyed-looking garments decorated with Sharpie Pens. But don’t worry, future grandkiddies, Grandma is practicing her technique!

Supplies:
Sharpie Art Supplies
1. Rubbing alcohol
2. Liquid medicine dropper
3. Small bowl
4. Plastic cups in varying sizes
5. Rubber bands
6. Sharpie Pens
7. Prewashed white cotton t-shirts
8. Old t-shirt to practice technique
9. Paper towels

Directions:
1. Select a spot on your practice t-shirt. Place a cup underneath the spot, smooth fabric, and secure with a rubber band. Sharpie Art: Painting a t-shirt

2. Select the Sharpie Pen colors for your design. Keep in mind that primary colors are red, yellow, and blue and that secondary colors are any two primary colors combined. With that in mind, be careful not to blend too many secondary colors together or else you will end up with a muddy brown mess.

3. Draw a small design on your fabric area. Like watercolors, the ink is going to flow, so you want to keep your design on the smaller side. Your design could end up double its size when finished. I tried to keep my drawings between 1/2-inch to 1-inch in size. Sharpie Art: Painting a t-shirt

4. Pour rubbing alcohol in a small bowl. Fill the medicine dropper with alcohol and place drops strategically on your design. Think about where you want the colors to flow. For a circular design, like a tie-dye style, start in the center. In the case of the small circles I drew, each received a its own drop. Sharpie Art: Painting t-shirts

5. Take off the rubber band and let the design dry. Sharpie Art: Painting T-shirts

6. Practice, practice, and practice. When you feel you have practiced enough, repeat the same steps using your good t-shirts.
Sharpie Art: Painting T-shirts

7. Heat set the colors in your dryer. Wash separately at first to make sure the colors do not run onto other fabrics.

Linnell’s Notes:
1. I used a small medicine dose cup, when I was working on an infant t-shirt.

2. In some cases where I did not want my design to be round, I did not use a cup under the fabric. I folded a piece of paper towel into quarters and placed that underneath the top layer of the shirt, to prevent colors from running on to the back layer. After smoothing the surface of the shirt, I drew my design on the front and then dropped alcohol on it.

3. This art form is fun, but unpredictable. I experimented with color combinations and practiced my technique on an old t-shirt before creating a design on the “good” t-shirt.

4. After my designs were dried, I went back with the Sharpie Pens and added embellishment and definition where needed – fish fins, bubbles, etc.

5. This would be a fun project to do with children!

Have fun and let the colors and your imagination flow!

Read Full Post »

Three envelopes with photo transfers

Print, cut, dip, rub, dry, and voilà you’ve just made custom tape! Use your custom tape to personalize greeting cards and envelopes. I first learned about the process of transferring photocopy ink from my oldest son when he was in high school. Back then I thought it was a pretty cool artistic process, but one that I could never see myself using. Now fifteen years later, I’m personalizing envelopes using a technique similar to his. Thanks to the site Lil Blue Boo for the inspiration. I can’t wait to experiment more with this technique and to try using it in other ways.

Supplies:
Supplies 1. Photo images on paper
2. Scissors
3. Clear packing tape
4. Straight edge
5. Bowl of water

Directions:
1. Select the photo image you want to use. Make a photocopy of the photo or print it up using a laser printer, not an ink jet printer. Larger images work better than smaller images that contain a lot of details. Images with a fair amount of contrast will also show up better. If printing the image from your computer, you can format it to have multiple copies on one page, thus creating a strip of photos. This technique also works with images from a magazine. Black and white wedding photos

2. Cut out your image and lay it face up on your work surface. Cut off a piece of packing tape about four inches longer than your piece of paper. Center the tape over the paper with sticky-side down and 2 inches of extra tape at each end. Press tape down gently on paper. Rub a straight edge, a ruler, or a paper boning tool over the entire surface of the tape-covered paper to ease out any bubbles and to make sure the ink is evenly and securely adhered to the adhesive.

Place tape over photos

Place tape over photos

3. Holding the two ends of the tape, immerse the paper-side of the tape into a bowl of water until the paper absorbs water and softens.

place tape with photos in bowl of water

Place tape with photos in bowl of water

4. Using your fingers, gently rub off all the paper from the tape. You may need to dip the paper in the water several times to remove all of it.

Rub paper off of tape

Rub paper off of tape

5. When all the paper is removed, the tape will resemble a clear photo negative (even though it is a positive). Hang to dry.

6. Press the dry tape to your desired surface.

Linnell’s Notes:
1. I made custom tape to decorate Valentine’s Day cards for my favorite couples and for anniversary cards, but I think personalized tape would be cute for other occasions, such as baby showers, birth announcements, etc.

2. You are not restricted to photos. You could also create personalized text. Again, just make sure you use either a photocopy or a print out from a laser printer.

3. I also transferred a color image from a page out of a magazine. That opens a whole new realm of possibilities!

4. This process would be a fun activity to do with children!

Enjoy!

Read Full Post »

DIY jar and jute candleholders

Get out those skeins of macrame cord you’ve been saving since the 1970s and pull out those empty glass jars from underneath your kitchen sink. It’s time to upcycle them into retro-chic candle holders! I made these candle holders in just one morning. Their relaxed vibe makes for great centerpieces (outdoor or indoor) or thoughtful gifts. For a morning coffee gathering or a brunch, put a base layer of coffee beans in the jars and let the candles help release the aroma of freshly-roasted coffee!

Materials:
Glass jars (for a more interesting arrangement, choose jars of different heights)
Jute, twine, or macrame cord
Hot glue gun
Assorted lace trim
Bamboo skewers
Tealights
Nonflammable base material such as rice, beans, coffee beans, sand, etc.
Scissors

General Directions:
1. Remove labels from jars. If some adhesive remains, use a solvent such as Goo Gone to remove it.
2. Wash and try jars thoroughly.
3. Heat up your glue gun.
4. Place a little bit of glue on the twine and press it down on the glass jar using a bamboo skewer or your fingers. Using a bamboo skewer prevents burning your fingers on the hot glue. Putting the glue on the twine versus directly on the glass prevents globs of glue from showing up on the glass or getting all over the glass.
5. Because you’re not using a lot of glue, it will set quickly, so work fast. It helps to have a design in mind before you start.
6. Rub off stray glue “threads,” fill jars with base material, and insert tealights.
7. Tie a bow or wrap twine several times around the top of the jar for a more finished look.

Heart Jar:
Laying down a little glue at a time, create a heart-shape perimeter with the twine. Gradually, coil the twine around and around inside the heart-shape, putting down small spots of glue on the back side of the twine as you go. I coiled small circles in between the hearts to balance the design.

Lace Jar:
Starting at the “back” of the jar, I tacked one end of lace to the jar, wrapped it around the jar cutting off the right length, and glued it down on top of where I started. Twine was then centered on the ribbon in between the lace and glued down on the back of the jar. Lace jars in of themselves are pretty, but I felt twine had to be incorporated into the lace design to create a cohesive design grouping.

Loopy Jar:
I started at the bottom of the jar and just looped the jute in a free-form pattern around the jar. When making the loops, it is easier to glue the contact points of a loop before tacking it to the jar.

Love Jar:
This was created in a similar fashion as the loopy jar, except I spelled out the word “love” on the front and back of the jar.

candle holders made from glass jars and jute

Enjoy your candle holders!

Read Full Post »

We do not remember days,
We remember moments.

Cesare Pavese

The courtship . . .
The ring . . .
The dress . . .

May you have many more unforgettable moments!

Looking for a special and unique card for a bridal shower or a wedding? Why not make your own? Using a paper doily and following the easy directions for an origami paper dress in a You Tube video, I created an origami wedding dress card for my future daughter-in-law’s bridal shower. I also fashioned an envelope for the card by using a large square doily. By using any paper with a small print, you can create cute dresses for use on other cards for different occasions, too!

Origami Wedding Dress Card with Doily Envelope
Supplies:
Glue that dries clear
Sticky adhesive dots
Glitter glue or self-adhesive small rhinestones
Foam pop-up dots, optional
Text-weight paper or card stock for printing card insert
Repositional glue, optional
Pretty paper or paper doilies

Small square doily for the dress

Large square doily for envelope

If you cannot find square doilies, you can always attempt to cut a round doily down to a square.

Card Instructions:
1. Watch the video to learn how to fold the dress:

2. On the back of the folded dress, glue down strategic areas to keep the dress together and let dry.

3. Add a little sparkle to the dress by using glitter glue or self-adhesive rhinestones. Let dry.

4. Using sticky dots, adhere dress carefully to the front of a piece of scored and folded card stock. Glue can be used here instead, but I find that sticky dots are more efficient because there is no drying time involved and they adhere well to metallic or pearlized paper.

5. If desired, apply pop-up dots underneath the dress in key areas to help the dress keep its three-dimensional form.

6. Either use the sentiment I used above or select your own. Print it up and trim it to fit the interior of the card. Adhere it to the inside of the card.

Envelope Instructions:
1. Using another card or piece of paper the same size as the wedding dress card, center it in the middle of the large doily and fold all four sides down around it like a diaper: fold bottom flap up first, fold in the two sides, and then fold the top flap down. It is important to use another card the same size or else your pretty paper dress card can be damaged during the process of folding and gluing the envelope.

2. Open up the flaps and carefully apply glue to the inside edges of the lower portions of the two side flaps. Press them down to adhere them to the bottom flap.

3. Apply repositional glue to the edges of the top flap. Reposistional glue is advised here, so that the envelope can be opened and closed repeatedly. If using a permanent-type glue, there is a chance the delicate doily will tear upon opening.

4. Remove the dummy card and insert the real card. Fold the top flap down and press to adhere.


Have fun designing dresses and making cards!

Read Full Post »

Cradled in the arms of trees, the moon rested. Stars and planets hovered subserviently nearby, knowing that the bright light emanating from the full moon dimmed their own magnificence. But, if the truth be told, the moon didn’t want to stand out – he longed to be in the night sky clustered together with the others. He was lonely, but not alone. As the night evolved and the moon rose, he dimmed his light a bit and the stars twinkled with appreciation. The moon’s lesson: it’s not as important to be on center stage as it is to share the stage with others. And, with a little help, others can have their moments to shine.

#1 – Earth Day

Imagine what it’s like to view the earth from the moon. How majestic and pristine our planet must appear from afar. Celebrate our planet on Earth Day, April 22nd. The Nature Conservancy plans on celebrating by organizing a record-setting picnic. If you’d like to be part of the Conservancy’s attempt to set a Guinness World Record for the most people picnicking in 24 hours or if you want to learn different ways in which you can help our planet, click here.

#2 – Photograph or Painting?

I would be over the moon if I had the talent and patience to paint like Pedro Campos! Using oil paints, the Spanish artist creates amazingly realistic still life paintings that are often mistaken for photographs! Check out his website to view more of his incredible artwork!

#3 – Moonlight in a Jar

Stars twinkle and the moon glows in this DIY project. Mason jars are painted or “dotted” on the inside with glow-in-the-dark paint. They are allowed to dry and then are charged with sunlight or lamplight. I fell in love with these jars when I first saw them and they are definitely on my “to do” list!

#4 – Brain or Moon?

From mental_floss comes this quiz that tests your familiarity of moon and brain nomenclature. For example, is the Dorsum Scilla a part of the brain or a part of the moon?

#5 – Sailing to the Moon
“What can we gain by sailing to the moon if we are not able to cross the abyss that separates us from ourselves? This is the most important of all voyages of discovery, and without it, all the rest are not only useless, but disastrous.”
Thomas Merton

Look at the moon this weekend and have fun making up your own story about it!

Read Full Post »

For a person who likes to collect things, recycle, and drink wine, this was the perfect rainy day project for me! Several years ago I received a small, child-sized chalkboard as part of a gag gift. Being the perfect size for a desk top message board, I decided to hang on to it and figured I’d put it to good use one of these days. Well, that day arrived after I spied a project I liked and could easily make myself, while browsing through Etsy, an internet shopping site for handcrafted goods. After about a half hour’s worth of work – most of which was spent on deciding which corks to use – I have a wine lover’s chalkboard, complete with a little shelf to store the chalk! I made good use of the chalkboard and recycled some of the corks I’ve saved, not to mention, I have a decorative way to display messages! Now, what to do with all the rest of the corks I’ve collected?

Supplies Needed to Make the Wine Lover’s Chalkboard:
1 small chalkboard with frame
Hot glue gun and glue stick
About 2 dozen wine corks, depending on the size of the chalkboard
Scrap paper
Chalk

Directions:
1. Select the wine corks for the project. I looked for corks that had interesting phrases or designs printed on them.

2. Place corks on the wooden frame and rearrange them until you’re satisfied with the layout. By using varying lengths of cork, I was able to avoid cutting any of them.

3. Cover the “slate” portion of the board with a piece of scrap paper to protect the surface from glue.

4. After selecting which part of the corks are to be face up,  glue them down one by one. Start gluing the corks end-to-end on the top border and then work down one side and then the other. Finally, glue the bottom ends of the corks (they should be standing up) to the bottom part of the frame to create a shelf.

6. Break the chalk in half and place the chalk on the shelf.

7. A sawtooth picture hanger or picture wire could easily be added to the back if you want this project too hang on a wall versus lean against a wall.

I’m working on a few other creative ideas for wine cork usage, but if you have any brilliant ideas, pass them on to me. I’d love to hear about them!

Read Full Post »

Steve loved birds. That’s all I could think of two nights before his memorial service. As I sat in my house dealing with my own feelings of regret and wishing I could do more for his family, I came up with the idea of making birds for Steve. Bird pins to be exact. My creative mission became to make as many bird pins as I could, so that members of his family and selected friends could wear a “Bird for Steve.”

Strangely, as I crafted these pins, I felt signs of Steve’s presence. Just small silly things. Unable to stop the flow of creative juices, I stayed up late the first night working on the pins. My husband and dog had given up on me and had long gone to bed. The house was quiet and still – just the way I like it when I’m in deep, creative concentration. Out of nowhere a gust of wind swept in from a small work area window and caused a pair of paper wings to take flight. They fluttered all around before landing. One wing was easily found on the carpet; the other was never found. I searched and searched for it and finally sighed and said, “Hi Steve, thanks a lot.” The next morning as I was cutting, gluing, and painting my baby birds, a real bird outside my window raised a ruckus like I’d never heard before. It was chattering and squawking like an irate drill sergeant, which made me smile and say, “Good morning to you, too, Steve. Do you approve of my birds?” And then much later in the day when a glob of super glue was growing on my thumbnail and my back and neck were protesting, a subtle wisp of air snuck in around me and scattered all the little birds’ eyes off a piece of paper and onto the floor, while leaving the vial of beads standing on the paper still upright and intact. “Very funny, Steve!” I remarked sadly sarcastic.

Sixty-seven unique little birds were at last ready for their journey. With wings poised for flight, they all found homes on the clothing of those that loved or cared about Steve. During the service I saw some of the birds go up to the church’s lectern and in my head I envisioned Steve grinning and saying, “That’s very cool.” Just for you, Steve.

Read Full Post »

The old song goes, “A tisket, a tasket, a green and yellow basket . . .” except in my case the baskets were pearlized baby blue. For Easter dinner I wanted to make something special for each of my guests, so I searched the internet and found a project on AllFreeCrafts.com. I made cute little paper baskets, filled them with my favorite chocolate Cadbury Mini Eggs, and placed one basket at each place setting on the dining table. Because they are easy to make, I thought they could make sweet flower-filled Mother’s Day Brunch favors as well.

Supplies you will need to make these baskets:

*Stiff paper – construction paper or card stock
*Pencil,  embossing tool, or a small point knitting needle
*Ruler
*Scissors
*Hole Punch
*Brad fasteners
*Candy or tiny flowers (in which case you’ll need plastic condiment cups, too)

Instructions:

To make a template, measure and draw a 4-1/2″ square on stiff paper. Divide the square into nine equal squares with your pencil and ruler. Round off each corner with your scissors. Measure and cut out a handle template that is 6″ long by 5/8″ wide. Using your ruler as a straight edge, score the lines that form your nine-square grid. To do this place your ruler on a vertical line and run the embossing tool down the line. Repeat with the remaining vertical line and the two horizontal lines. Now fold the template along these lines.

Place your template on top of your paper and trace around it with a pencil or an embossing tool. I favor the embossing tool because it does not leave any marks that have to be erased later. It only leaves indentations. If you have a fine point knitting needle, this could be used as well. Repeat the procedure for the handle.

Do not remove the template. To score your basket so it can be folded, carefully place your ruler on top of your template and paper (make sure template and paper are lined up according to your tracing) along one of the vertical lines. Fold back the template along the rulers edge, and run the embossing tool down the edge. Repeat procedure on the remaining vertical line and two horizontal lines.

Cut the rounded-square and the handle out. Cut two slits along the center top and center bottom squares.To form one side of a basket, fold two round edges over a center square until they overlap. Punch with a tiny hole punch or fat needle through the three layers. Also punch a hole into each end of the handle making sure your you’ve left at least 1/4″ of paper at the end.

Again fold two round edges over the center square, lining up the holes. Now insert one end of the handle in between the center square and the overlapping rounded ends. Line up the holes and stick a brad in securely. If you do not have mini brads, you could use a staple and then cover the staple with a sticker. Repeat the procedure for the other side of the basket and handle.

Either fill the completed basket with candy or put a disposable plastic condiment cup in the basket. Fill the cup with a little bit of water and arrange some tiny flower stems in it.

Little baskets of flowers would also be very pretty additions to a bridal shower table-scape. Vary the paper or even enlarge the template to make larger baskets. Only your imagination limits you as to how these little baskets can be used!

Read Full Post »

Older Posts »