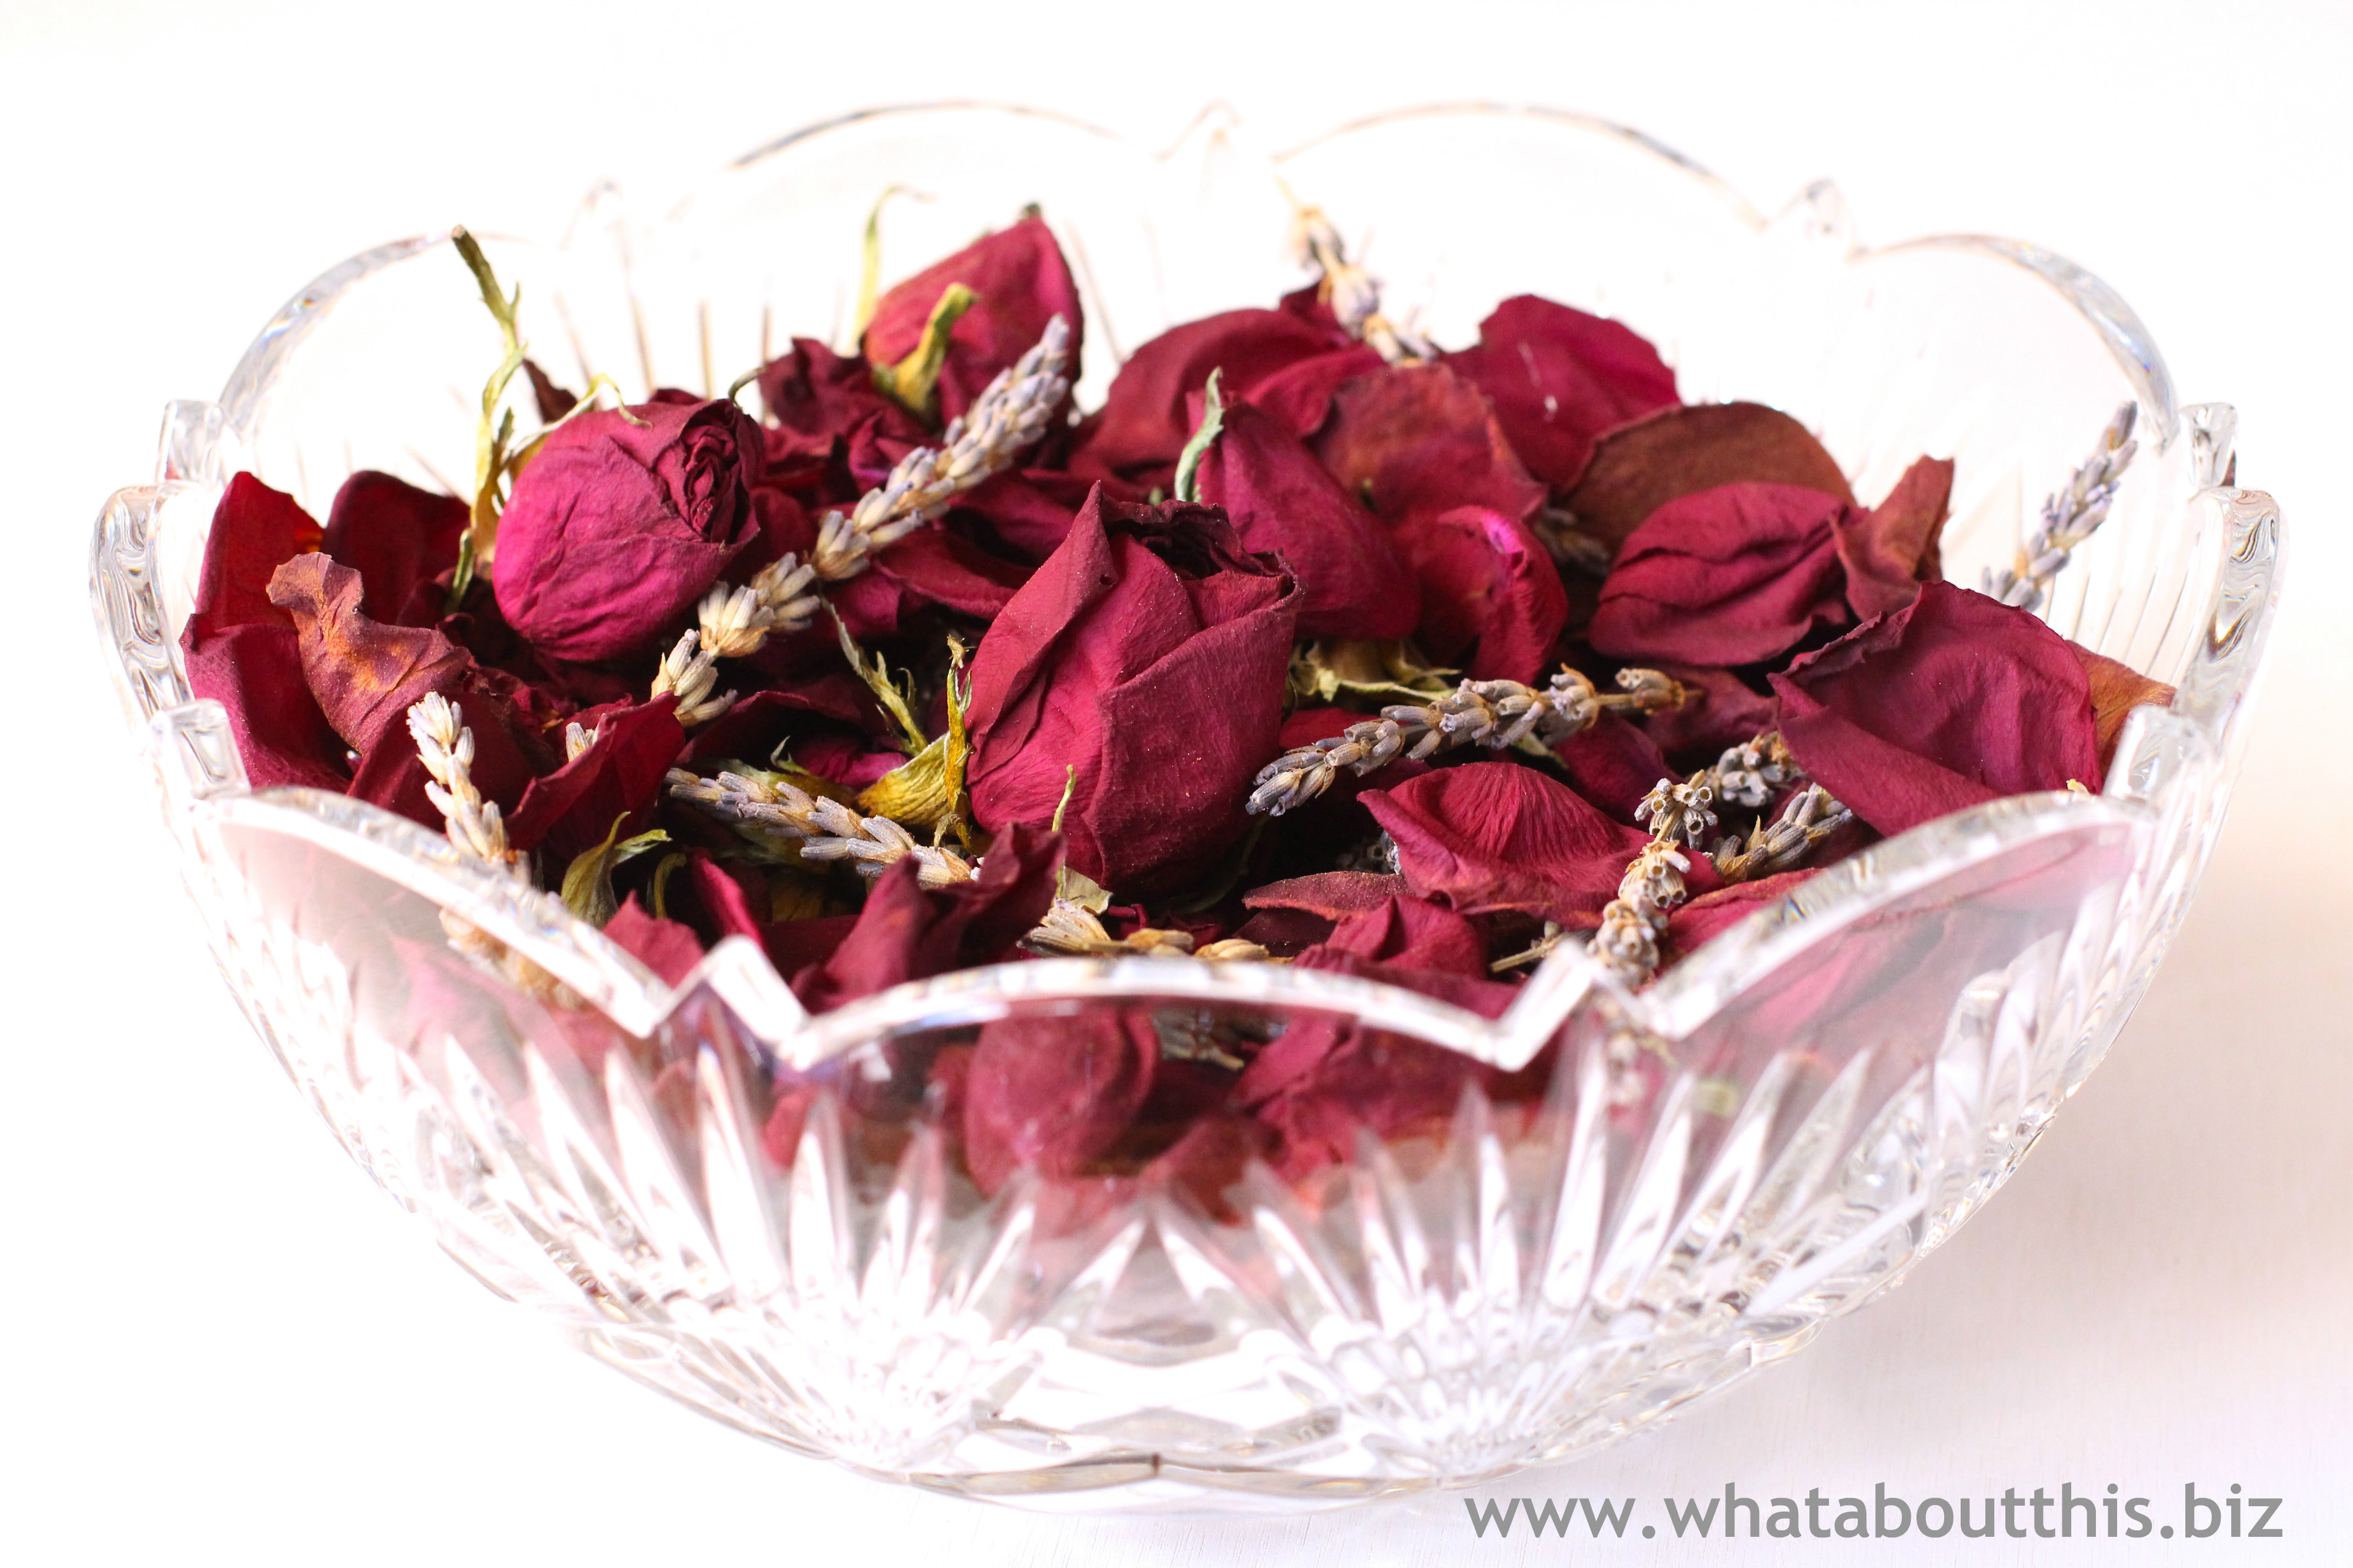
 When life gives you lemons, make lemonade. And if life gives you six dozen red roses, make potpourri. When the heads of my birthday roses started drooping, it was time to say goodbye to the lovely bouquet. It seemed a shame to toss them in with the green garbage when only the outer petals were dried up, so I decided to use the rose petals to make potpourri. The Queen of Hearts often said in Alice’s Adventures in Wonderland, “Off with their heads,” and that’s exactly what I did. I cut off the heads of the roses, removed their petals, and dried them in a microwave oven. After mixing in some aromatics, spices, and a fixative, I now have potpourri that preserves my lovely gift of roses and makes my home smell heavenly.
Drying Roses
1. Cut the rosebuds off of their stems, leaving about an inch of stem on each bud. Toss the long stems into the garbage. Gently peel off any unsightly outer petals and discard them. Decide which heads will remain intact for dried rosebuds and set them aside. 
2. Hold onto the bud and grasp the short end of the stem, twist it and pull out the center. Discard the center. 
3. Gently unfurl the blossom, separating the petals. Place petals in a microwave safe container lined with paper towels. I used a 9-inch by 13-inch glass casserole dish. 
4. When the dish is sparsely covered with petals, put it in the microwave for about 1 minute. Check the petals and if they still feel moist, put them back in the microwave for 30 seconds more. Continue microwaving them at 30-second intervals until petals feel dry. Transfer to a paper towel-covered wire cooling rack to cool. 
5. Set aside the dried petals if making potpourri or store in an airtight container for future use.

6. The same process is used to dry the rosebuds. Peel off unwanted outer layers of petals. Lean the rosebuds against the sides of a paper towel-lined microwavable dish. Microwave them for one minute. Check for pliability and moistness. Microwave again for one minute. Check them again. Microwave them for 30-second increments until they are sufficiently dried.
Rose and Lavender Potpourri
Recipe from The Book of the Rose by David Squire
INGREDIENTS
4 cups of dried rose petals, preferably red or deep pink as these usually have the strongest scent
1 cup whole pink or red dried rosebuds
1 cup dried lavender flowers
1/2 cup powdered orris root
1 tablespoon ground allspice
1 tablespoon ground cinnamon
1 tablespoon ground nutmeg
1/2 tablespoon ground cloves
Several drops of essential rose oil
DIRECTIONS
1. Combine all the dry ingredients in a large bowl, sifting and mixing them well with your fingers.
2. Add drops of essential oils judiciously until the scent is strong enough.
3. Transfer into a paper bag and seal.
4. Leave in a cool dark place for six weeks to cure, shaking it occasionally.
5. Display it in shallow baskets or bowls and decorate the top with large dried rose blooms or little bundles of whole cinnamon sticks.
6. If the fragrance fades after a while, simply refresh it with a few more drops of rose essential oil.
LINNELL’S NOTES
1. I decided to keep some of the lavender flowers on their stalks for appearance. Otherwise most of the small lavender flowers will sink to the bottom of the potpourri.
2. Orris root is a common fixative in potpourri recipes. According to Save On Crafts, “The fixative absorbs and retains the volatile scented essences. Essential oils or fragrance oils are used to reinforce the natural perfumes and to boost the scent. Without adequate fixative the life goes out of potpourri very quickly.” Powdered orris root can be purchased at health or craft stores.
3. I recommend mixing the powdered components together first and then gently folding in the flowers. The essential oil is added last.
4. I used a few drops of both essential lavender oil and essential rose oil for a refreshing blend of scents.
5. I sealed the paper bag with clothespins, so that it would be easy to check the potpourri’s progress.
Enjoy!
Read Full Post »
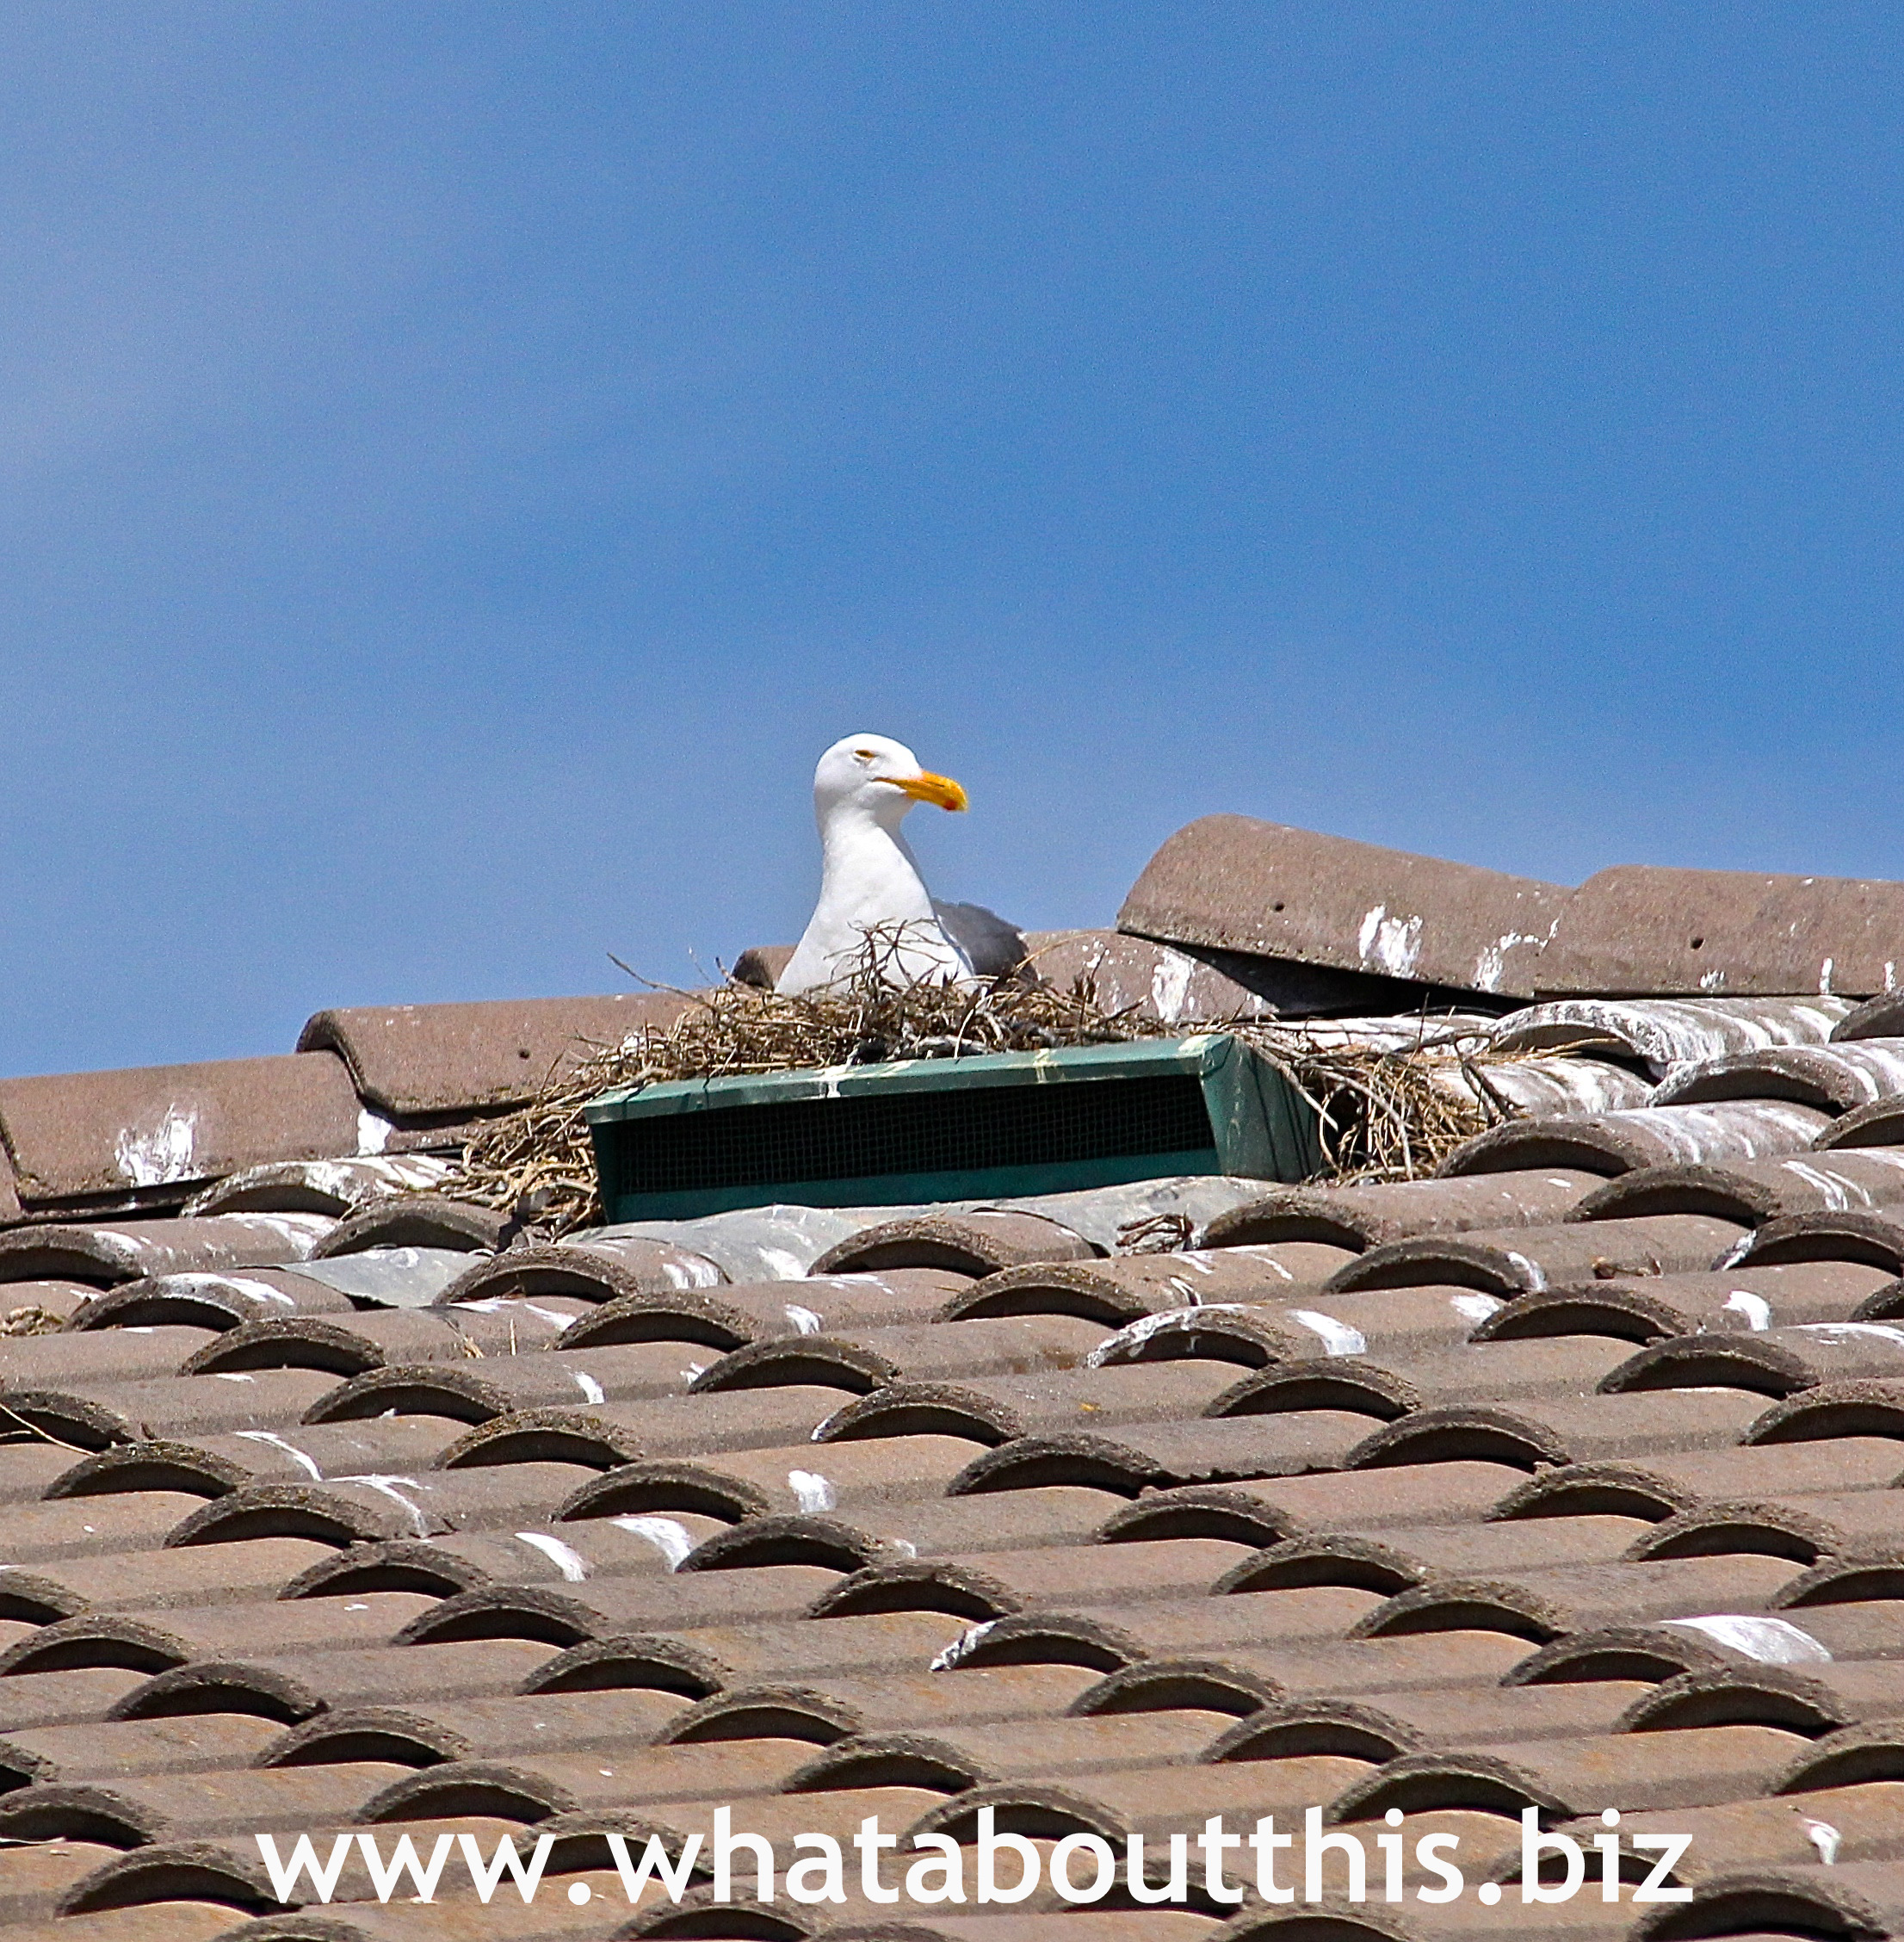 A sunny high-rise home with an ocean view and plenty of fresh air ventilation sounds like a perfect place to rest a spell and, perhaps, even raise a family. That’s what this seagull thought as it sat on a comfy nest on top of a roof. Roman author and naturalist Pliny the Elder once philosophized, “Home is where the heart is.” What is your heart telling you?
 For $1.1 million dollars the Mushroom House in New York can be yours. Check out photos of this unique home and eleven other homes in 12 Strange and Unusual Homes for Sale.
 Did you know that the Arctic Tern has the longest migration of any animal? Read how far it travels and learn more about other animals who “go the distance” in the Top Ten Most Amazing Migrations.
 Homesthetics presents a nice variety of ideas in its post 35 Easy to Make DIY Gift Ideas That You Would Actually Like to Receive. From bath and body products to photo pendants to stepping stones and more, you’ll feel creatively inspired to try out one of these ideas.
 Meet Duke, a part Corgi, part Dachshund, and part Jack Russell bundle of love. Duke is a rescue dog whose owners recently surrendered him, because they are expecting a baby. That action gives Duke two strikes on his rap sheet, not to mention a few behavioral issues born from insecurity. He is currently being fostered by my oldest son, until someone steps ups to love and adopt him. To learn of ways you can help Duke and other animals in his situation, read 10 Ways to Help Homeless Pets, Even If You Can’t Adopt.


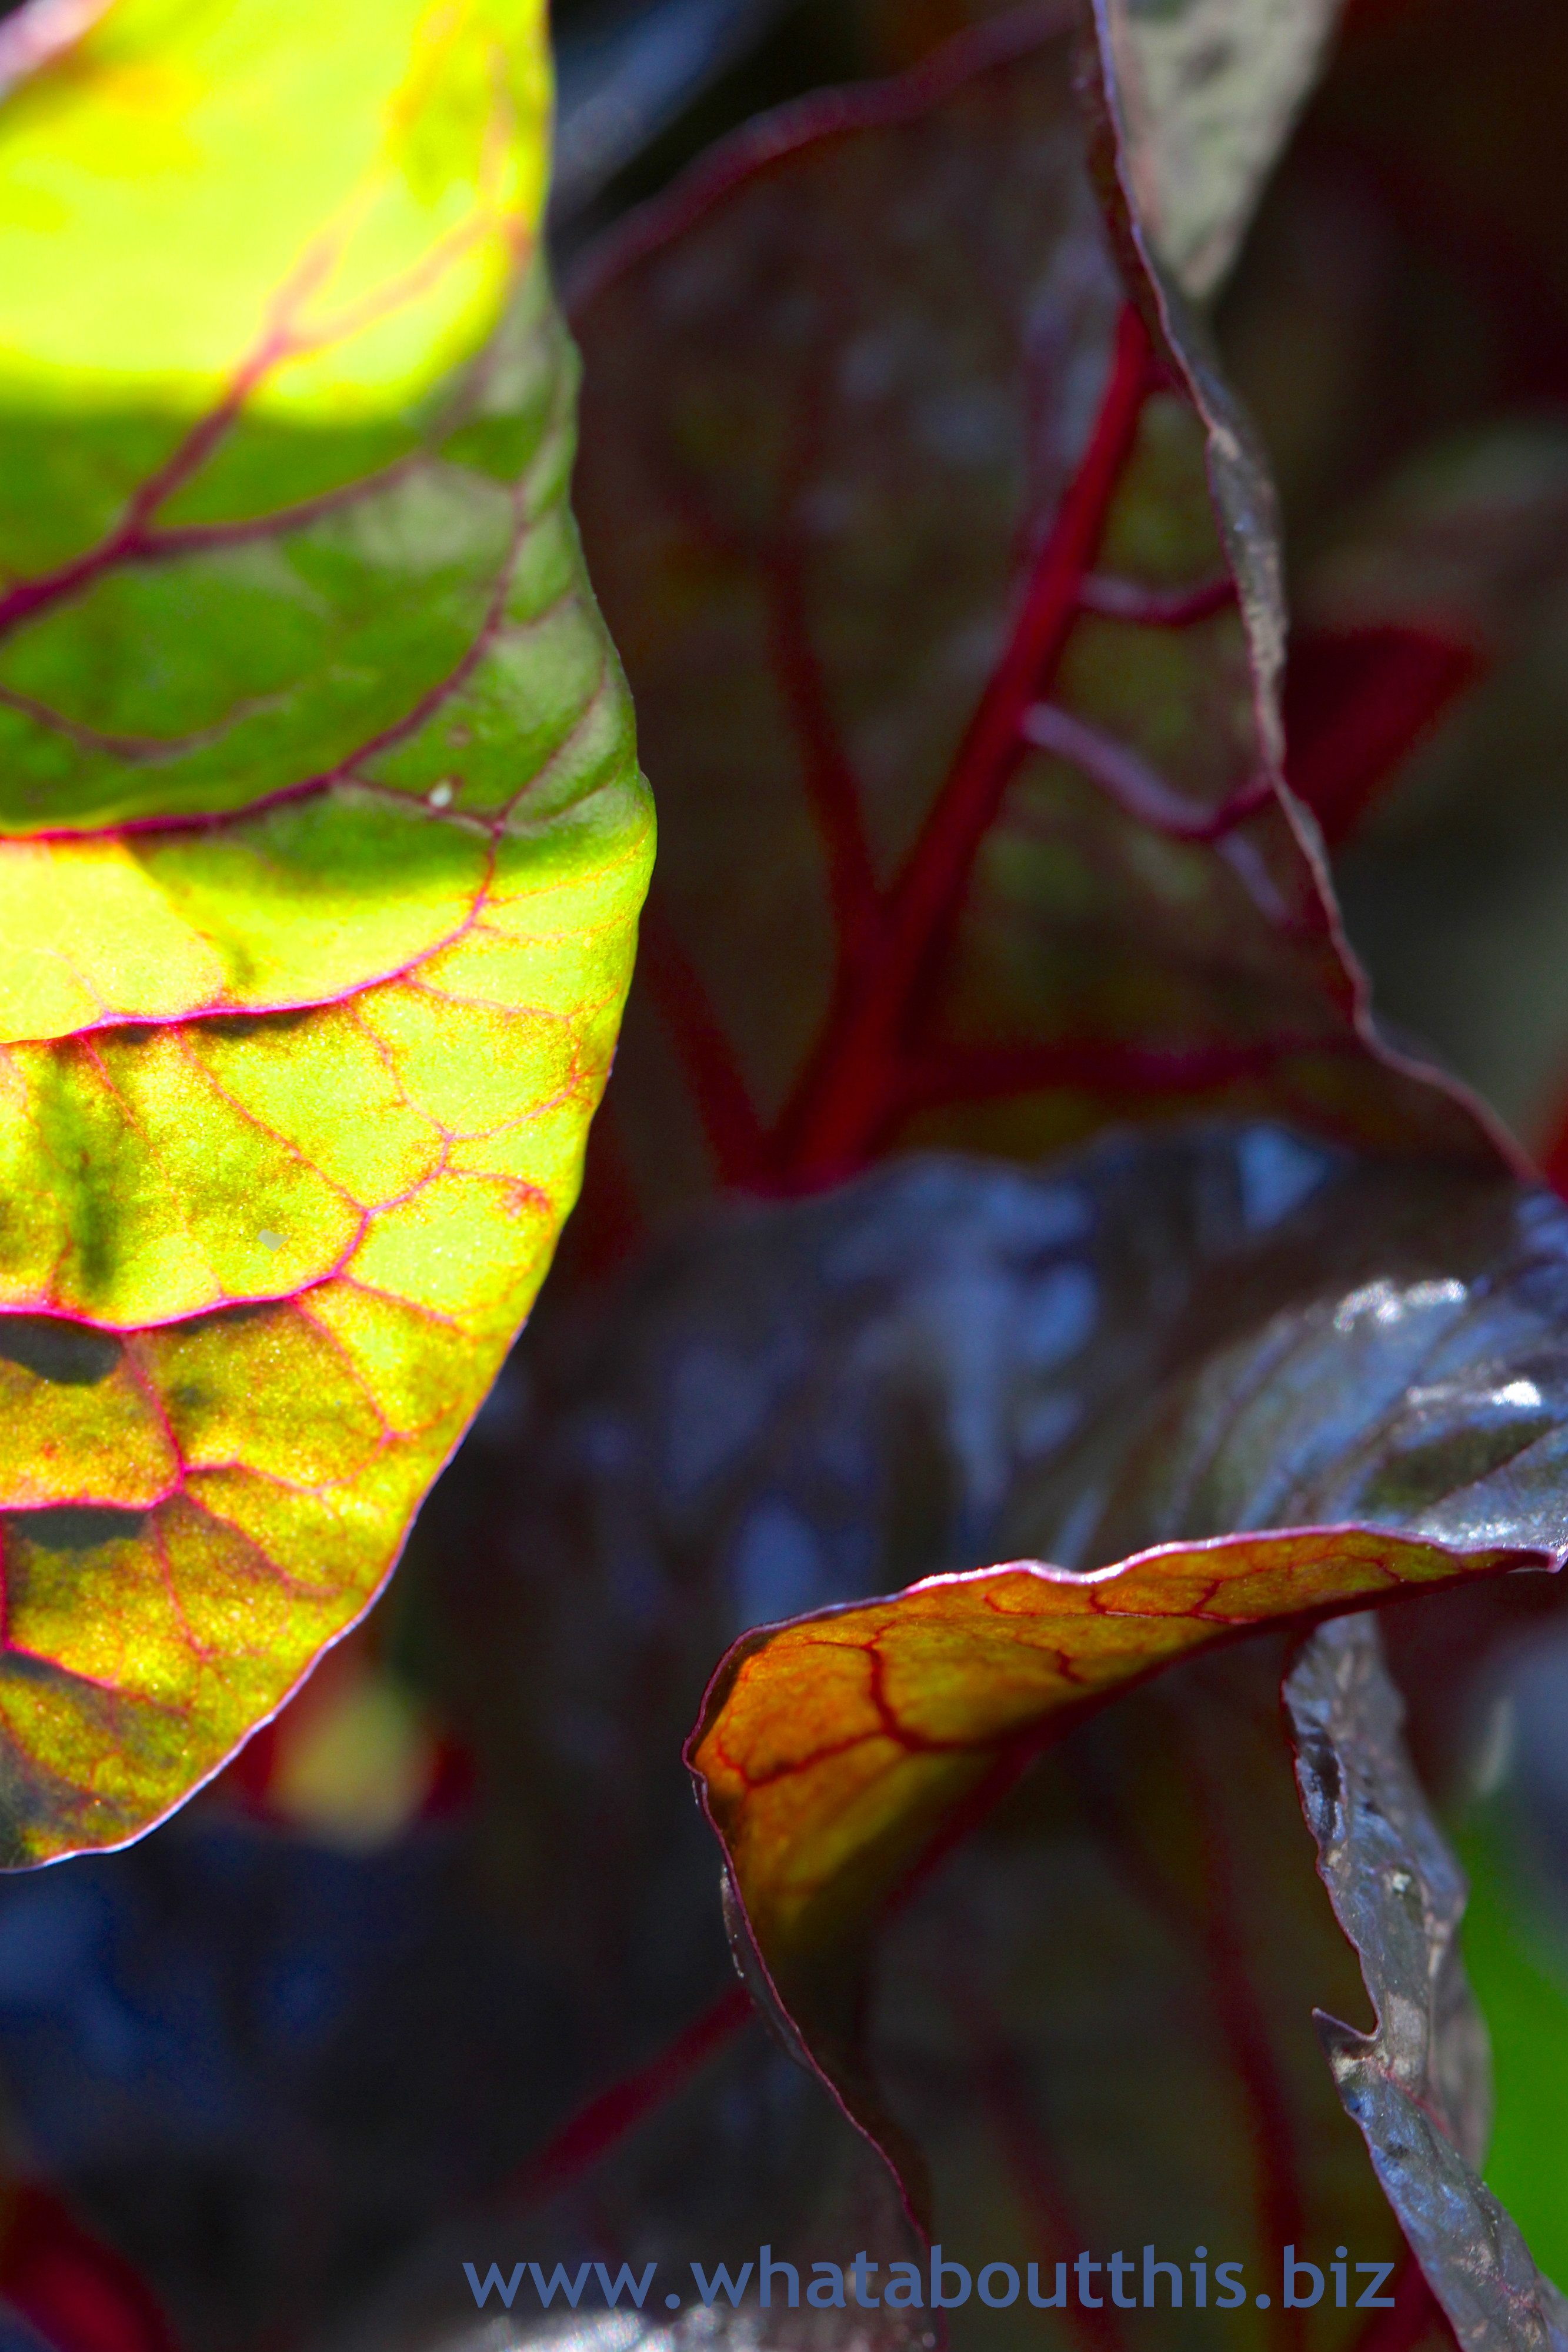


 Here’s another example. What usually happens to photographs that are misprinted for one reason or another? Most people throw them away, but, of course, I do not. I save them for reasons unknown. Then one day I was making a birthday card for a neighbor and thought wouldn’t it be great if I cut up these colorful, but imperfect photos, and make a design with them? I took out scissors and paper punches and became engrossed with the bits of color and shapes as my design came into being.
You must be logged in to post a comment.