Feeds:
Posts
Comments

Posts Tagged ‘entertaining’

Appetizer Roundup: 6 Party Appetizers Revisted “Ugh, I have to bring appetizers again! Any ideas on what I should make for the party next week?” grumbled my daughter. “Why don’t you check out the appetizer recipes on my blog?” I replied, trying not to smile. “You could make “Bloomin’ Onion Bread, Pepperoni Pizza Puffs, or Kate’s Cheese Squares. They’re always crowd-pleasers. You could make something healthy like a Trio of Dips served with crudités. Or, if you’d rather bring something more exotic, make Sushi Casserole or Banh Mi Bruschetta,” I suggested to her. “Oh, I don’t know . . . . I’ve got to think about this,” sighed my daughter.

That conversation reminded me of some of the great appetizers that I’ve prepared in the past, so I thought I would revisit them – just in time for holiday and New Year’s entertaining!

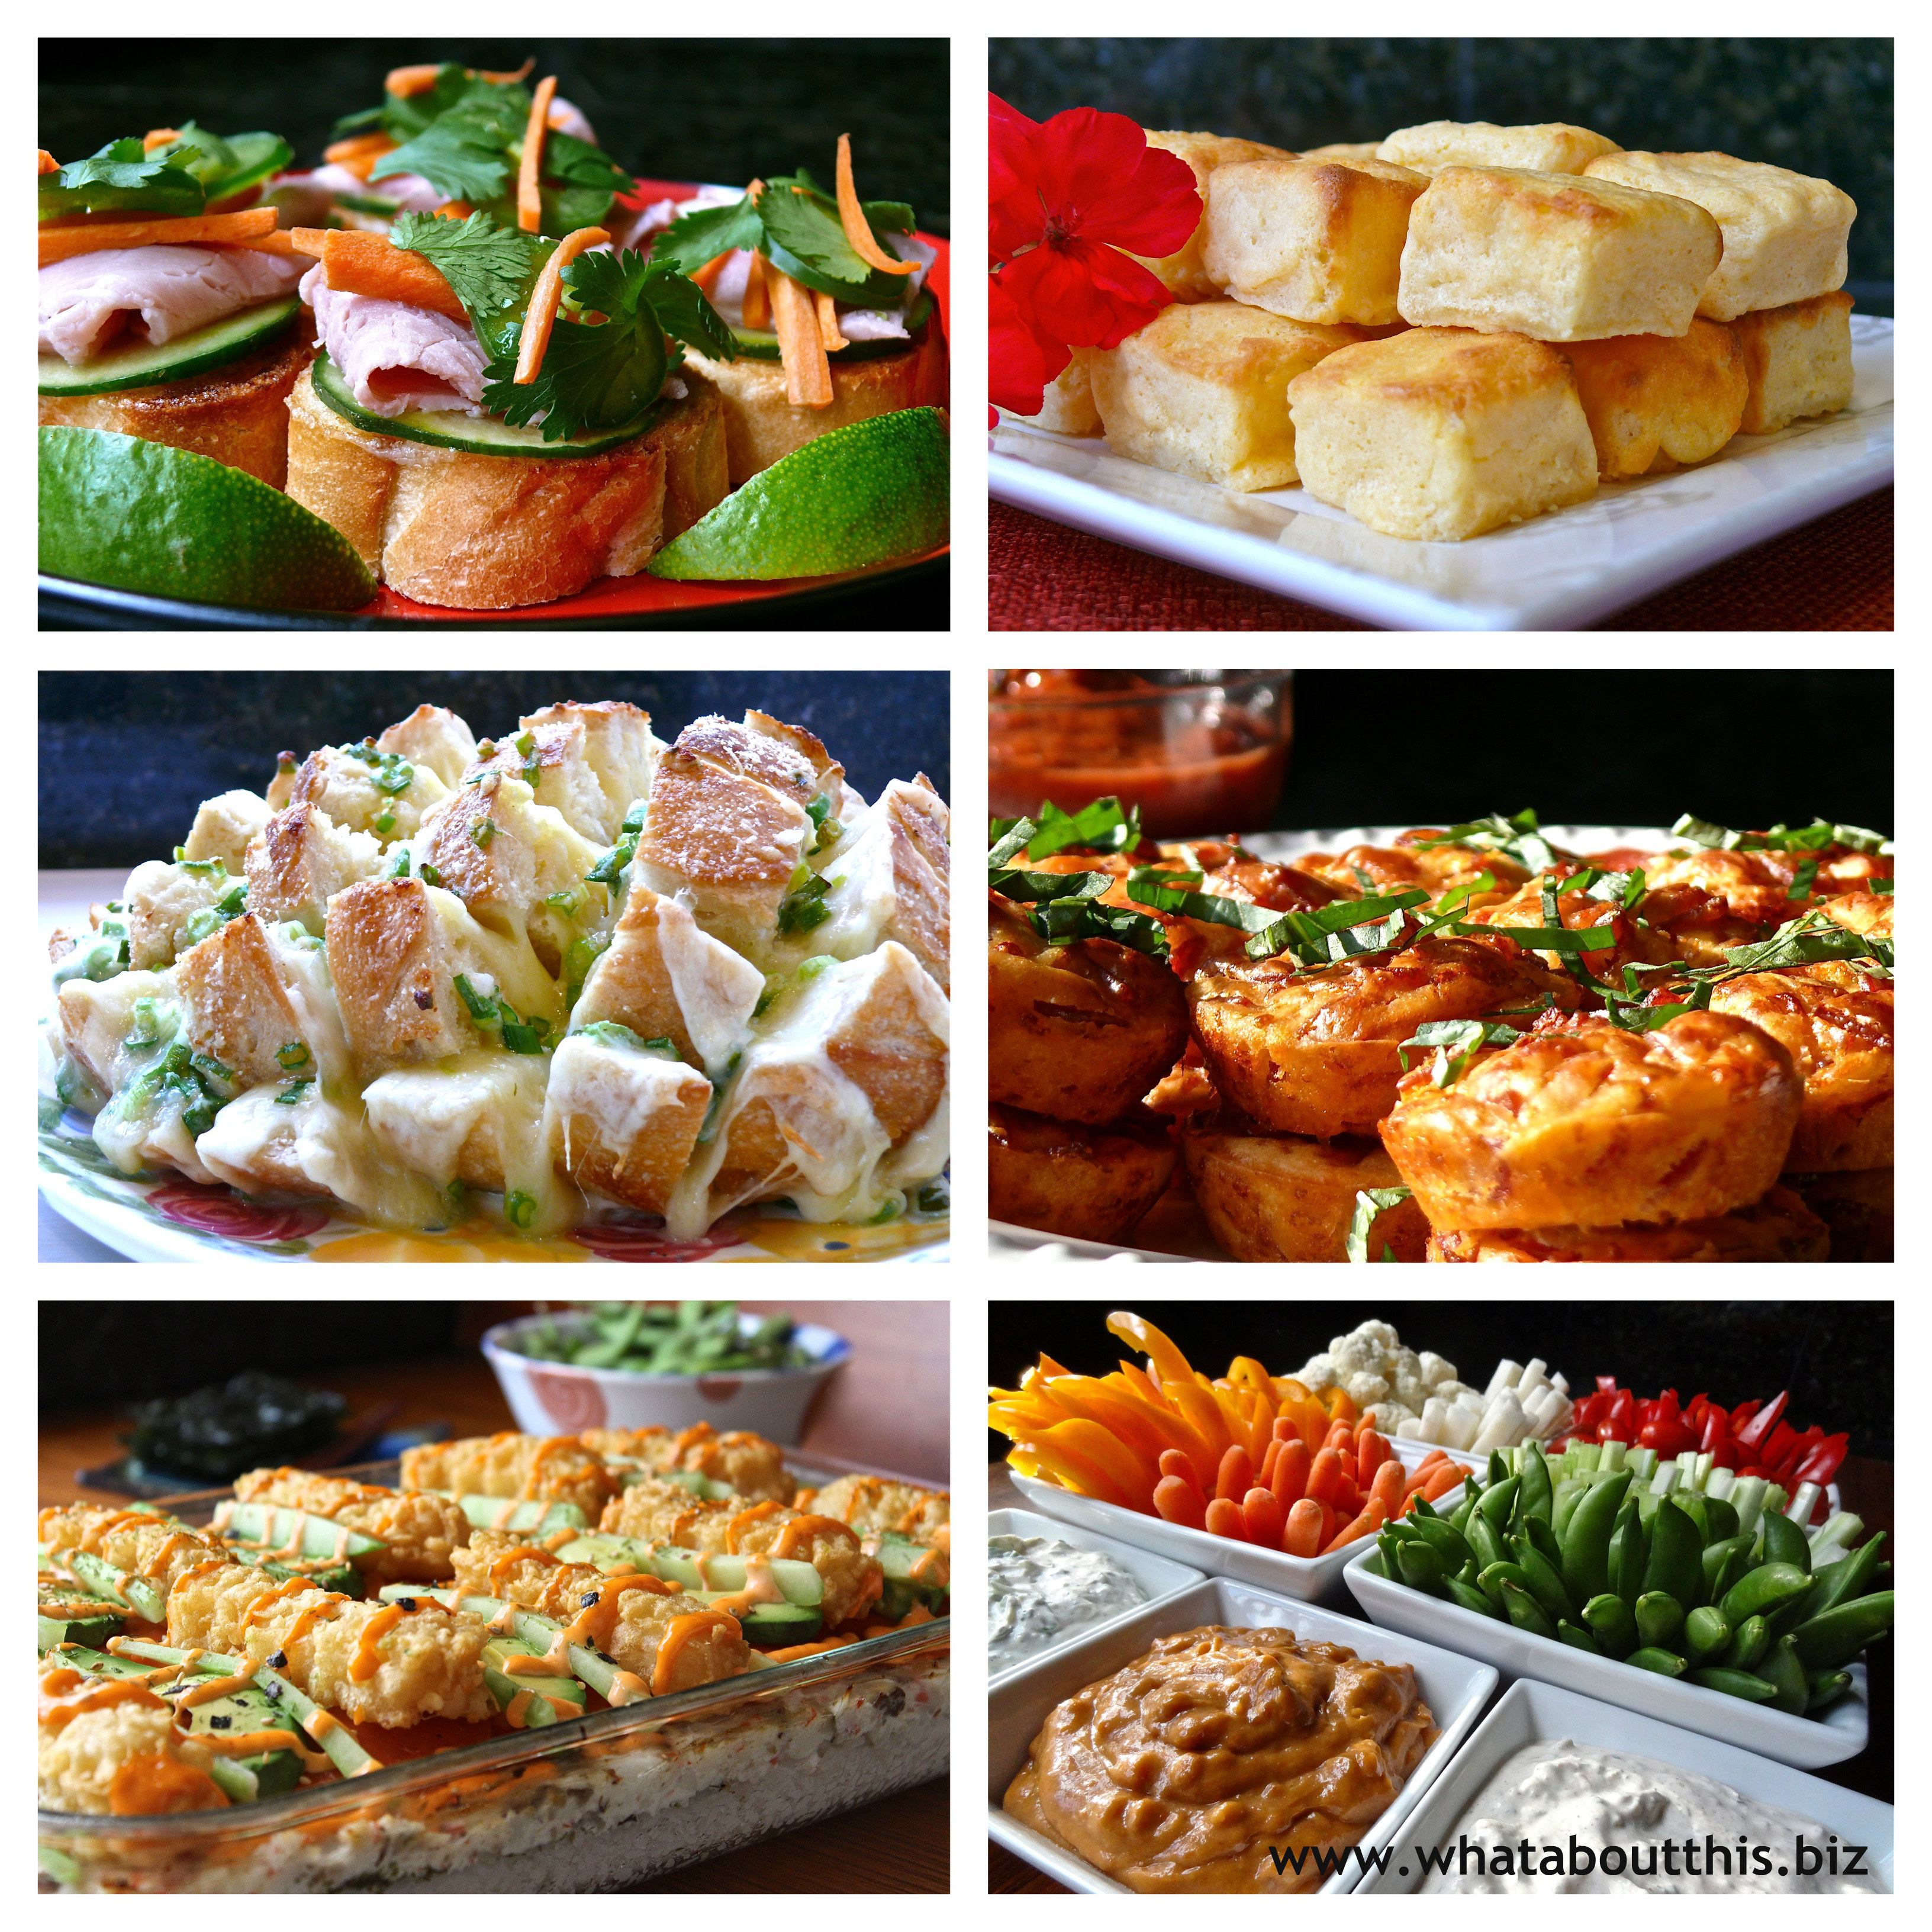
Banh Mi Brushetta (Top left)
Bruschetta with a twist or Banh Mi simplified? Either way, this appetizer brings together some incredible flavor combinations.

Bloomin’ Onion Bread (Left center)
Sourdough bread, Monterey Jack cheese, butter, green onions, garlic powder, and Parmesan cheese . . . need I say more?

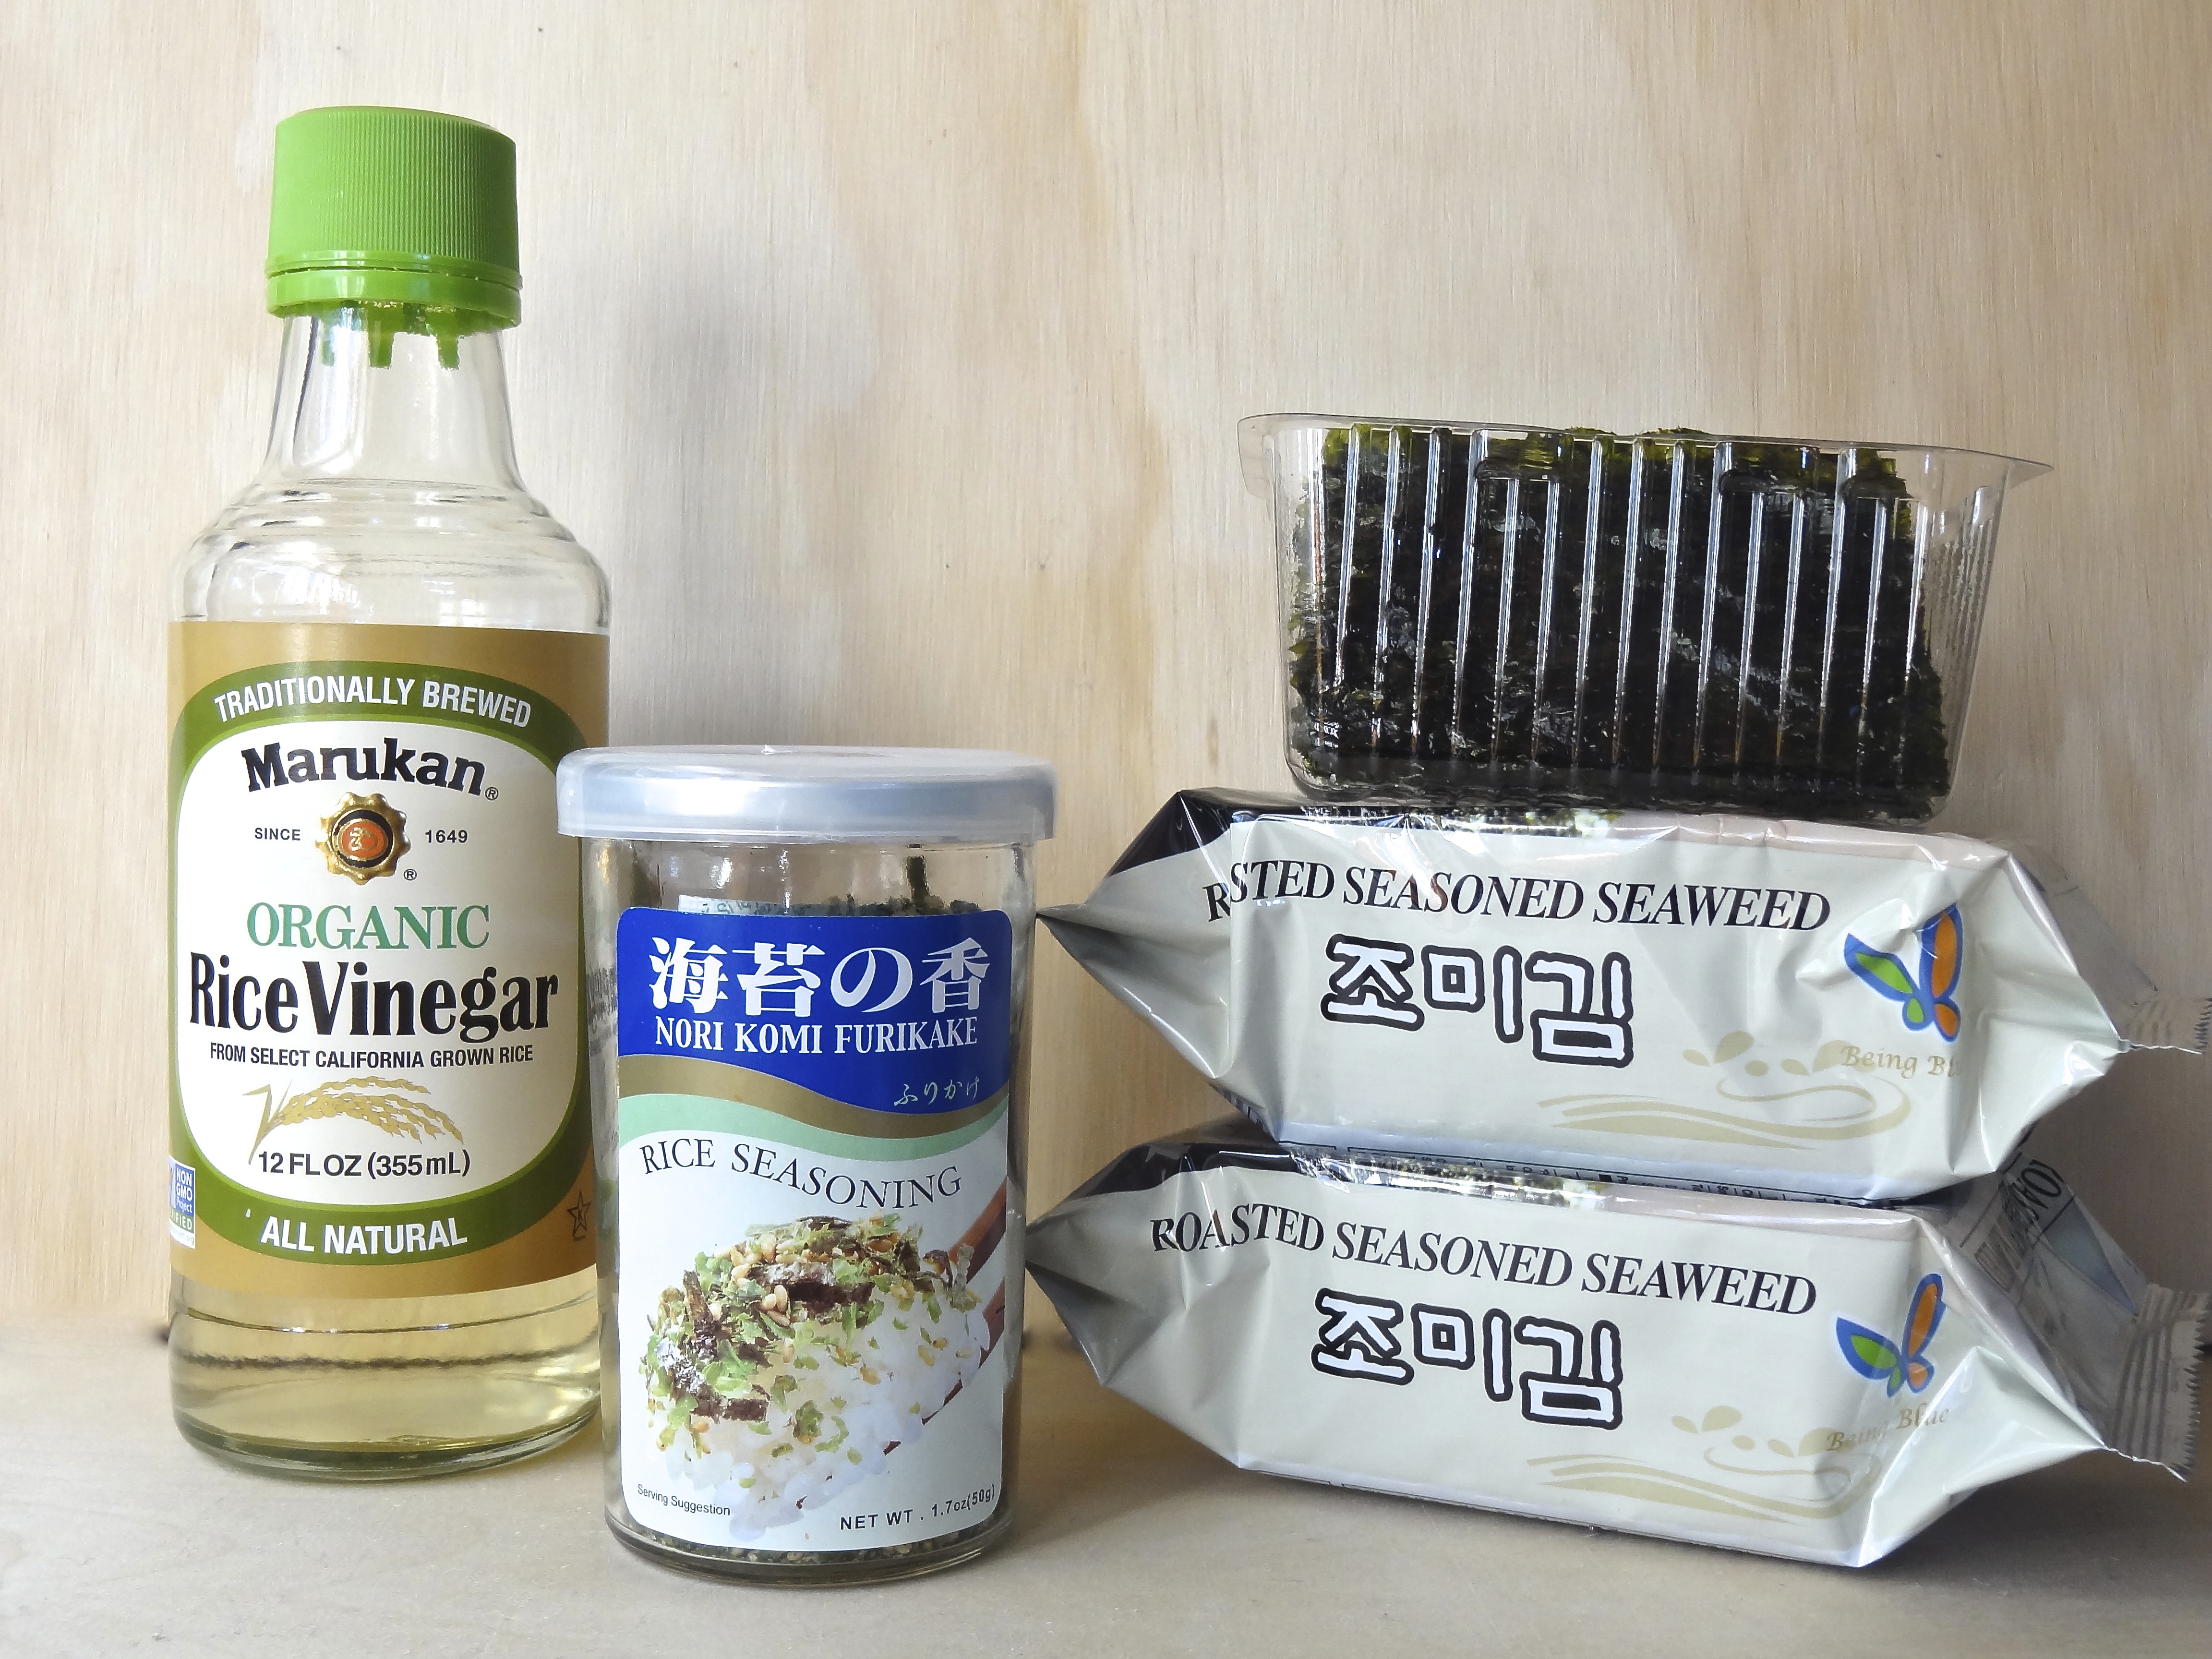
Sushi Casserole (Bottom left)
This recipe serves a crowd and can be easily adapted. What ingredients you layer and the order you layer them is part of the fun in making this appetizer. Sushi rice will always be the base layer, but be creative with everything else!

Kate’s Cheese Squares (Top right)
A tried and true recipe that’s been around for decades is the best way to describe these cheese delights. They are light in texture, yet sinfully rich.

Pepperoni Pizza Puffs With Homemade Pizza Sauce (Middle right)
The smell of these small puffs of pizza will drive you crazy while they are baking, but they will be even more irresistible fresh out of the oven. They are best eaten hot, but they’re never around long enough to cool down!

Trio of Dips for Crudités (Bottom right)
Healthy does not mean blah. These three dips paired with fresh vegetables creates an explosion of flavors and colors!

ENJOY!

Read Full Post »

Sushi Casserole Creating extraordinary sushi requires great skill and passion. After watching Jiro Dreams of Sushi, a documentary about Jiro Ono, an 87-year-old sushi master, I’m almost embarrassed to share the following recipe. This recipe is far removed from the precise art of sushi-making, but the rumblings of my imagination wouldn’t let go of the idea of creating a sushi casserole. I searched online, sorted through my notes and newspaper clippings, and reread my sushi cookbooks to figure out what layers I wanted for the casserole. My experiment began and, after a fair amount of improvising, I ended up with a tasty casserole that yielded bite-sized squares of “sushi” that were served with roasted Nori. There are endless possibilities to a layered recipe such as this. And, yes, it is possible to stick a square peg into a round hole!

Sushi Casserole
Sushi Rice
The ratio of vinegar solution added to sushi rice varies with the type of sushi being made. In this case, I’m using a vinegar solution used for making maki-sushi. Normally, the vinegar solution is added to the rice after the rice is cooked. The rice is usually fanned while cooling to give the grains a lustrous or shiny appearance. I cheated by adding the vinegar solution into the rice cooker at the beginning and didn’t fan the rice at all.

Ingredients:
4 cups of uncooked sushi rice (rice must be short or medium grain only)
1/2 cup (8 tablespoons) of plain rice vinegar
5 tablespoons sugar
1 teaspoon salt
Water (approximately 4 cups plus 4 tablespoons)

Directions:
1. Wash and drain rice.
2. Put the rice in the rice cooker.
3. Combine vinegar, sugar, and salt in a small bowl.
4. Add vinegar solution to rice in rice cooker.
5. Add water up to the specified cup level.
6. Start the rice cooker.
7. After the rice is cooked, let it cool to body temperature.

Crab Layer
Ingredients:
1 pound imitation crab
3/4 cup mayonnaise
1 cup sour cream

Directions:
1. Chop the imitation crab or place it in a food processor and pulse. Small chunks are desired, not large chunks nor a smooth paste.
2. Combine mayonnaise and sour cream in a medium-sized bowl.
3. Add crab to mayo-sour cream mixture and stir until thoroughly combined.

Spicy Sauce
Ingredients:
1/2 cup mayonnaise
2 tablespoons Sriracha sauce

Directions:
1. Blend both ingredients together.
2. Pour into a squeeze bottle with a small nozzle tip.

Additional Toppings
Smoked salmon slices
Shrimp tempura
Cucumber sticks
Avocado slices
Aji Nori Furikake (a seasoned mix in a jar)

Assembling Casserole
1. In a small bowl, mix 1 cup of water with 2-3 tablespoons of vinegar. Rub this solution on your hands and on any utensils you use to prevent the rice from sticking.
2. Take handfuls of rice and gently and evenly press it into the bottom of a 9-inch by 13-inch pan. This layer should be at least 1/2-inch thick, but no more than 3/4-inch thick. There may be leftover rice.
3. Spread the crab layer over the rice.
4. At this point I put a thin layer of smoked salmon slices over the crab mixture.
5. The next layer, I alternated between the shrimp tempura, avocado slices, and cucumber strips.
6. Finally, I sprinkled some Aji Nori Furikake over the top of the casserole and then drizzled the spicy sauce up and down the rows of toppings.

To Serve
Ingredients:
Nori/sheets of seaweed
Wasabi
Pickled ginger

Directions:
1. Cut the casserole into small squares. You can either serve the sushi squares directly from the pan or you can plate them on a serving platter.
2. Accompany sushi casserole with squares of roasted Nori, wasabi, and pickled ginger.

Linnell’s Notes:
1. Sushi should not be put in the refrigerator, because the rice will become hard. It’s most delicious when served just after making it.

2. I made my rice base too thick, so I recommend using enough rice to form a solid base, but not so much that each bite is all rice.

3. I used frozen shrimp tempura from Costco and baked it in the oven while the rice was cooling.

4. For easier cutting and serving, the shrimp tempura could be cut into bite-sized pieces and placed intermittently in rows across the casserole. Another consideration might be to place the shrimp tempura under the crab layer. The same goes for the cucumber sticks. The cucumber sticks could be diced and sprinkled over the casserole.

5. Instead of toasting sheets of Nori/seaweed and cutting them into squares, I cheated and opened several roasted-seasoned seaweed snack packs. See packages in photo along with Furikake and rice vinegar: Partial Ingredients for Sushi Casserole

Enjoy!

Read Full Post »

DIY jar and jute candleholders

Get out those skeins of macrame cord you’ve been saving since the 1970s and pull out those empty glass jars from underneath your kitchen sink. It’s time to upcycle them into retro-chic candle holders! I made these candle holders in just one morning. Their relaxed vibe makes for great centerpieces (outdoor or indoor) or thoughtful gifts. For a morning coffee gathering or a brunch, put a base layer of coffee beans in the jars and let the candles help release the aroma of freshly-roasted coffee!

Materials:
Glass jars (for a more interesting arrangement, choose jars of different heights)
Jute, twine, or macrame cord
Hot glue gun
Assorted lace trim
Bamboo skewers
Tealights
Nonflammable base material such as rice, beans, coffee beans, sand, etc.
Scissors

General Directions:
1. Remove labels from jars. If some adhesive remains, use a solvent such as Goo Gone to remove it.
2. Wash and try jars thoroughly.
3. Heat up your glue gun.
4. Place a little bit of glue on the twine and press it down on the glass jar using a bamboo skewer or your fingers. Using a bamboo skewer prevents burning your fingers on the hot glue. Putting the glue on the twine versus directly on the glass prevents globs of glue from showing up on the glass or getting all over the glass.
5. Because you’re not using a lot of glue, it will set quickly, so work fast. It helps to have a design in mind before you start.
6. Rub off stray glue “threads,” fill jars with base material, and insert tealights.
7. Tie a bow or wrap twine several times around the top of the jar for a more finished look.

Heart Jar:
Laying down a little glue at a time, create a heart-shape perimeter with the twine. Gradually, coil the twine around and around inside the heart-shape, putting down small spots of glue on the back side of the twine as you go. I coiled small circles in between the hearts to balance the design.

Lace Jar:
Starting at the “back” of the jar, I tacked one end of lace to the jar, wrapped it around the jar cutting off the right length, and glued it down on top of where I started. Twine was then centered on the ribbon in between the lace and glued down on the back of the jar. Lace jars in of themselves are pretty, but I felt twine had to be incorporated into the lace design to create a cohesive design grouping.

Loopy Jar:
I started at the bottom of the jar and just looped the jute in a free-form pattern around the jar. When making the loops, it is easier to glue the contact points of a loop before tacking it to the jar.

Love Jar:
This was created in a similar fashion as the loopy jar, except I spelled out the word “love” on the front and back of the jar.

candle holders made from glass jars and jute

Enjoy your candle holders!

Read Full Post »

gyro meatloaf

Whether from a vendor on the streets of New York City or from a takeout counter in Monastiraki Square in Athens, Greece, my family loves to eat gyros. Delicious memories of warm circles of pita bread wrapped around flavorful slices of meat, tomatoes, onions and french fries, drizzled with a wonderfully refreshing Tzatziki sauce, prompted me to search for a homemade version. Normally gyro meat is slow-roasted on a vertical spit, but this recipe simplifies that by baking the meat in a loaf pan. Then, after some time in the refrigerator, the meat is thinly sliced and pan fried or grilled to give it a crispy texture – as if it’d been on a rotisserie for hours. A platter of gyro fixings would make for a fun family dinner or make great Super Bowl party fare.

Favorite Meat Loaf Gyros
Recipe from Taste of Home

Ingredients:
1 egg, lightly beaten
6 garlic cloves, minced
3 tablespoons dried oregano
1½ teaspoons kosher salt
1 teaspoon pepper
1 pound ground lamb
1 pound ground beef

TZATZIKI SAUCE:
1 cup (8 ounces) plain yogurt
1 medium cucumber, peeled, seeded and chopped
2 tablespoons lemon juice
2 garlic cloves, minced
1/2 teaspoon salt
1/4 teaspoon pepper

GYROS:
8 whole pita breads
3 tablespoons olive oil, divided
16 slices tomato
8 slices sweet onion, halved

Directions:
1. In a large bowl, combine the egg, garlic, oregano, kosher salt and pepper. Crumble lamb and beef over mixture; mix well.

2. Pat into an ungreased 9 x 5-inch loaf pan.

3. Bake, uncovered, at 350° for 60-70 minutes or until no pink remains and a meat thermometer reads 160°.

4. Cool completely on a wire rack. Refrigerate for 1-2 hours.

5. For sauce, in a small bowl, combine the yogurt, cucumber, lemon juice, garlic, salt and pepper. Cover and refrigerate until serving.

6. Brush pita breads with 1 tablespoon oil; heat on a lightly greased griddle for 1 minute on each side. Keep warm.

7. Cut meat loaf into very thin slices. In a large skillet, fry meat loaf in remaining oil in batches until crisp.

8. On each pita bread, layer the tomato, onion and meat loaf slices; top with some Tzatziki sauce. Carefully fold pitas in half. Serve with remaining sauce.

Yield: 8 servings.

Linnell’s Notes:
1. This was an easy recipe, but it does require some planning ahead. The meat loaf needs to be refrigerated for a couple of hours to allow it to be firm enough to slice into thin slices.

2. Although the meat was flavorful, it seemed a tad dry to me. The next time I try this recipe, I will chop my own beef and lamb, so that the mixture is more coarse – resulting in better flavor and texture. I’d also like to try making other meat versions of gyros. Here are links to other versions to try:

Pork Gyros
Chicken Gyros

3. The next time I’ll also experiment by adding chopped onions, ground rosemary, and ground thyme to the meat mixture.

4. I fried the meat slices in a nonstick frying pan, so no additional oil was needed.

5. I doubled the recipe and gave some to my son and daughter-in-law, so they’d have one less dinner to cook during the week!

ENJOY!

Read Full Post »

%d bloggers like this: