We do not remember days,
We remember moments.
Cesare Pavese
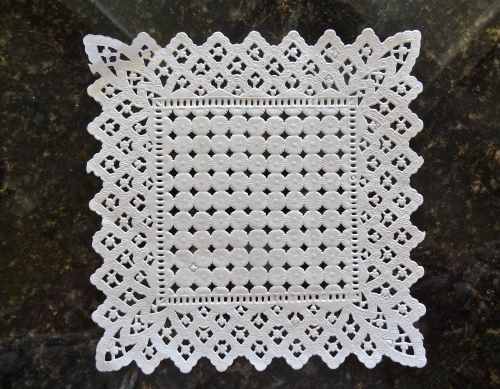
The courtship . . .
The ring . . .
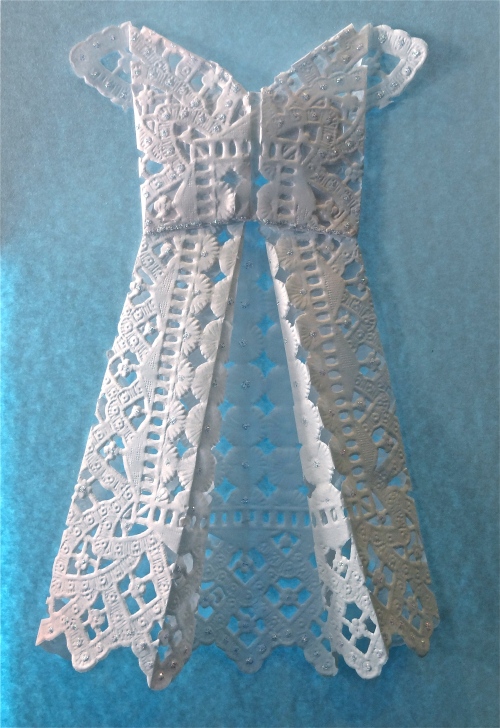
The dress . . .
May you have many more unforgettable moments!
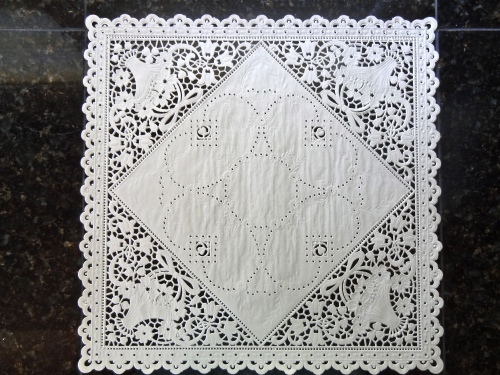
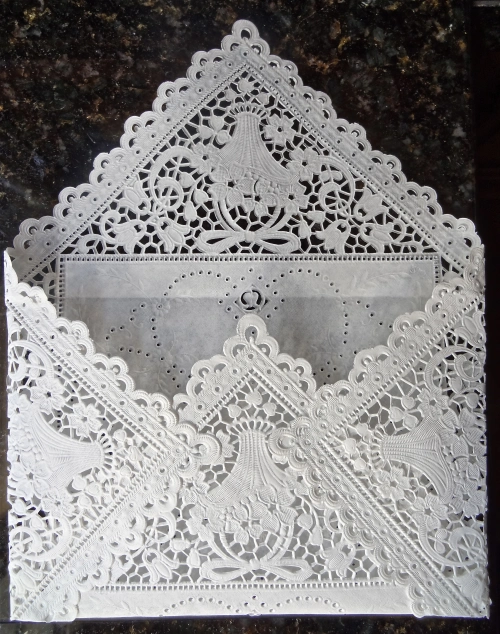
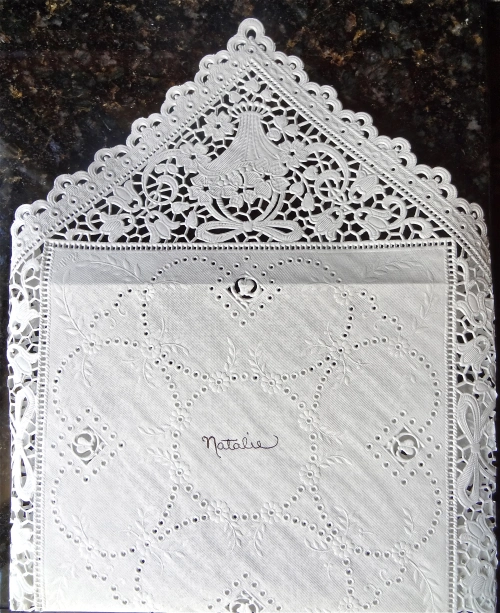
Looking for a special and unique card for a bridal shower or a wedding? Why not make your own? Using a paper doily and following the easy directions for an origami paper dress in a You Tube video, I created an origami wedding dress card for my future daughter-in-law’s bridal shower. I also fashioned an envelope for the card by using a large square doily. By using any paper with a small print, you can create cute dresses for use on other cards for different occasions, too!
Origami Wedding Dress Card with Doily Envelope
Supplies: 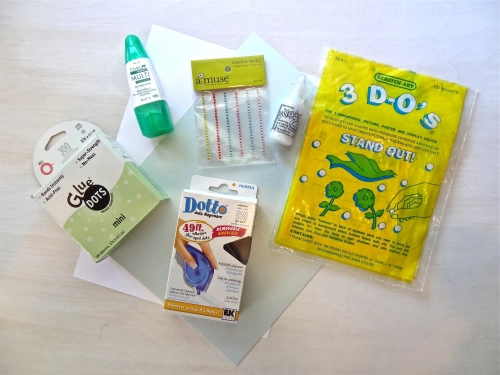
Glue that dries clear
Sticky adhesive dots
Glitter glue or self-adhesive small rhinestones
Foam pop-up dots, optional
Text-weight paper or card stock for printing card insert
Repositional glue, optional
Pretty paper or paper doilies
If you cannot find square doilies, you can always attempt to cut a round doily down to a square.
Card Instructions:
1. Watch the video to learn how to fold the dress:
2. On the back of the folded dress, glue down strategic areas to keep the dress together and let dry.
3. Add a little sparkle to the dress by using glitter glue or self-adhesive rhinestones. Let dry.
4. Using sticky dots, adhere dress carefully to the front of a piece of scored and folded card stock. Glue can be used here instead, but I find that sticky dots are more efficient because there is no drying time involved and they adhere well to metallic or pearlized paper.
5. If desired, apply pop-up dots underneath the dress in key areas to help the dress keep its three-dimensional form.
6. Either use the sentiment I used above or select your own. Print it up and trim it to fit the interior of the card. Adhere it to the inside of the card.
Envelope Instructions:
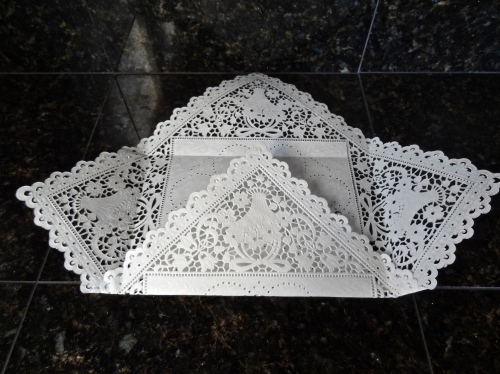
1. Using another card or piece of paper the same size as the wedding dress card, center it in the middle of the large doily and fold all four sides down around it like a diaper: fold bottom flap up first, fold in the two sides, and then fold the top flap down. It is important to use another card the same size or else your pretty paper dress card can be damaged during the process of folding and gluing the envelope.
2. Open up the flaps and carefully apply glue to the inside edges of the lower portions of the two side flaps. Press them down to adhere them to the bottom flap.
3. Apply repositional glue to the edges of the top flap. Reposistional glue is advised here, so that the envelope can be opened and closed repeatedly. If using a permanent-type glue, there is a chance the delicate doily will tear upon opening.
4. Remove the dummy card and insert the real card. Fold the top flap down and press to adhere.
Have fun designing dresses and making cards!
