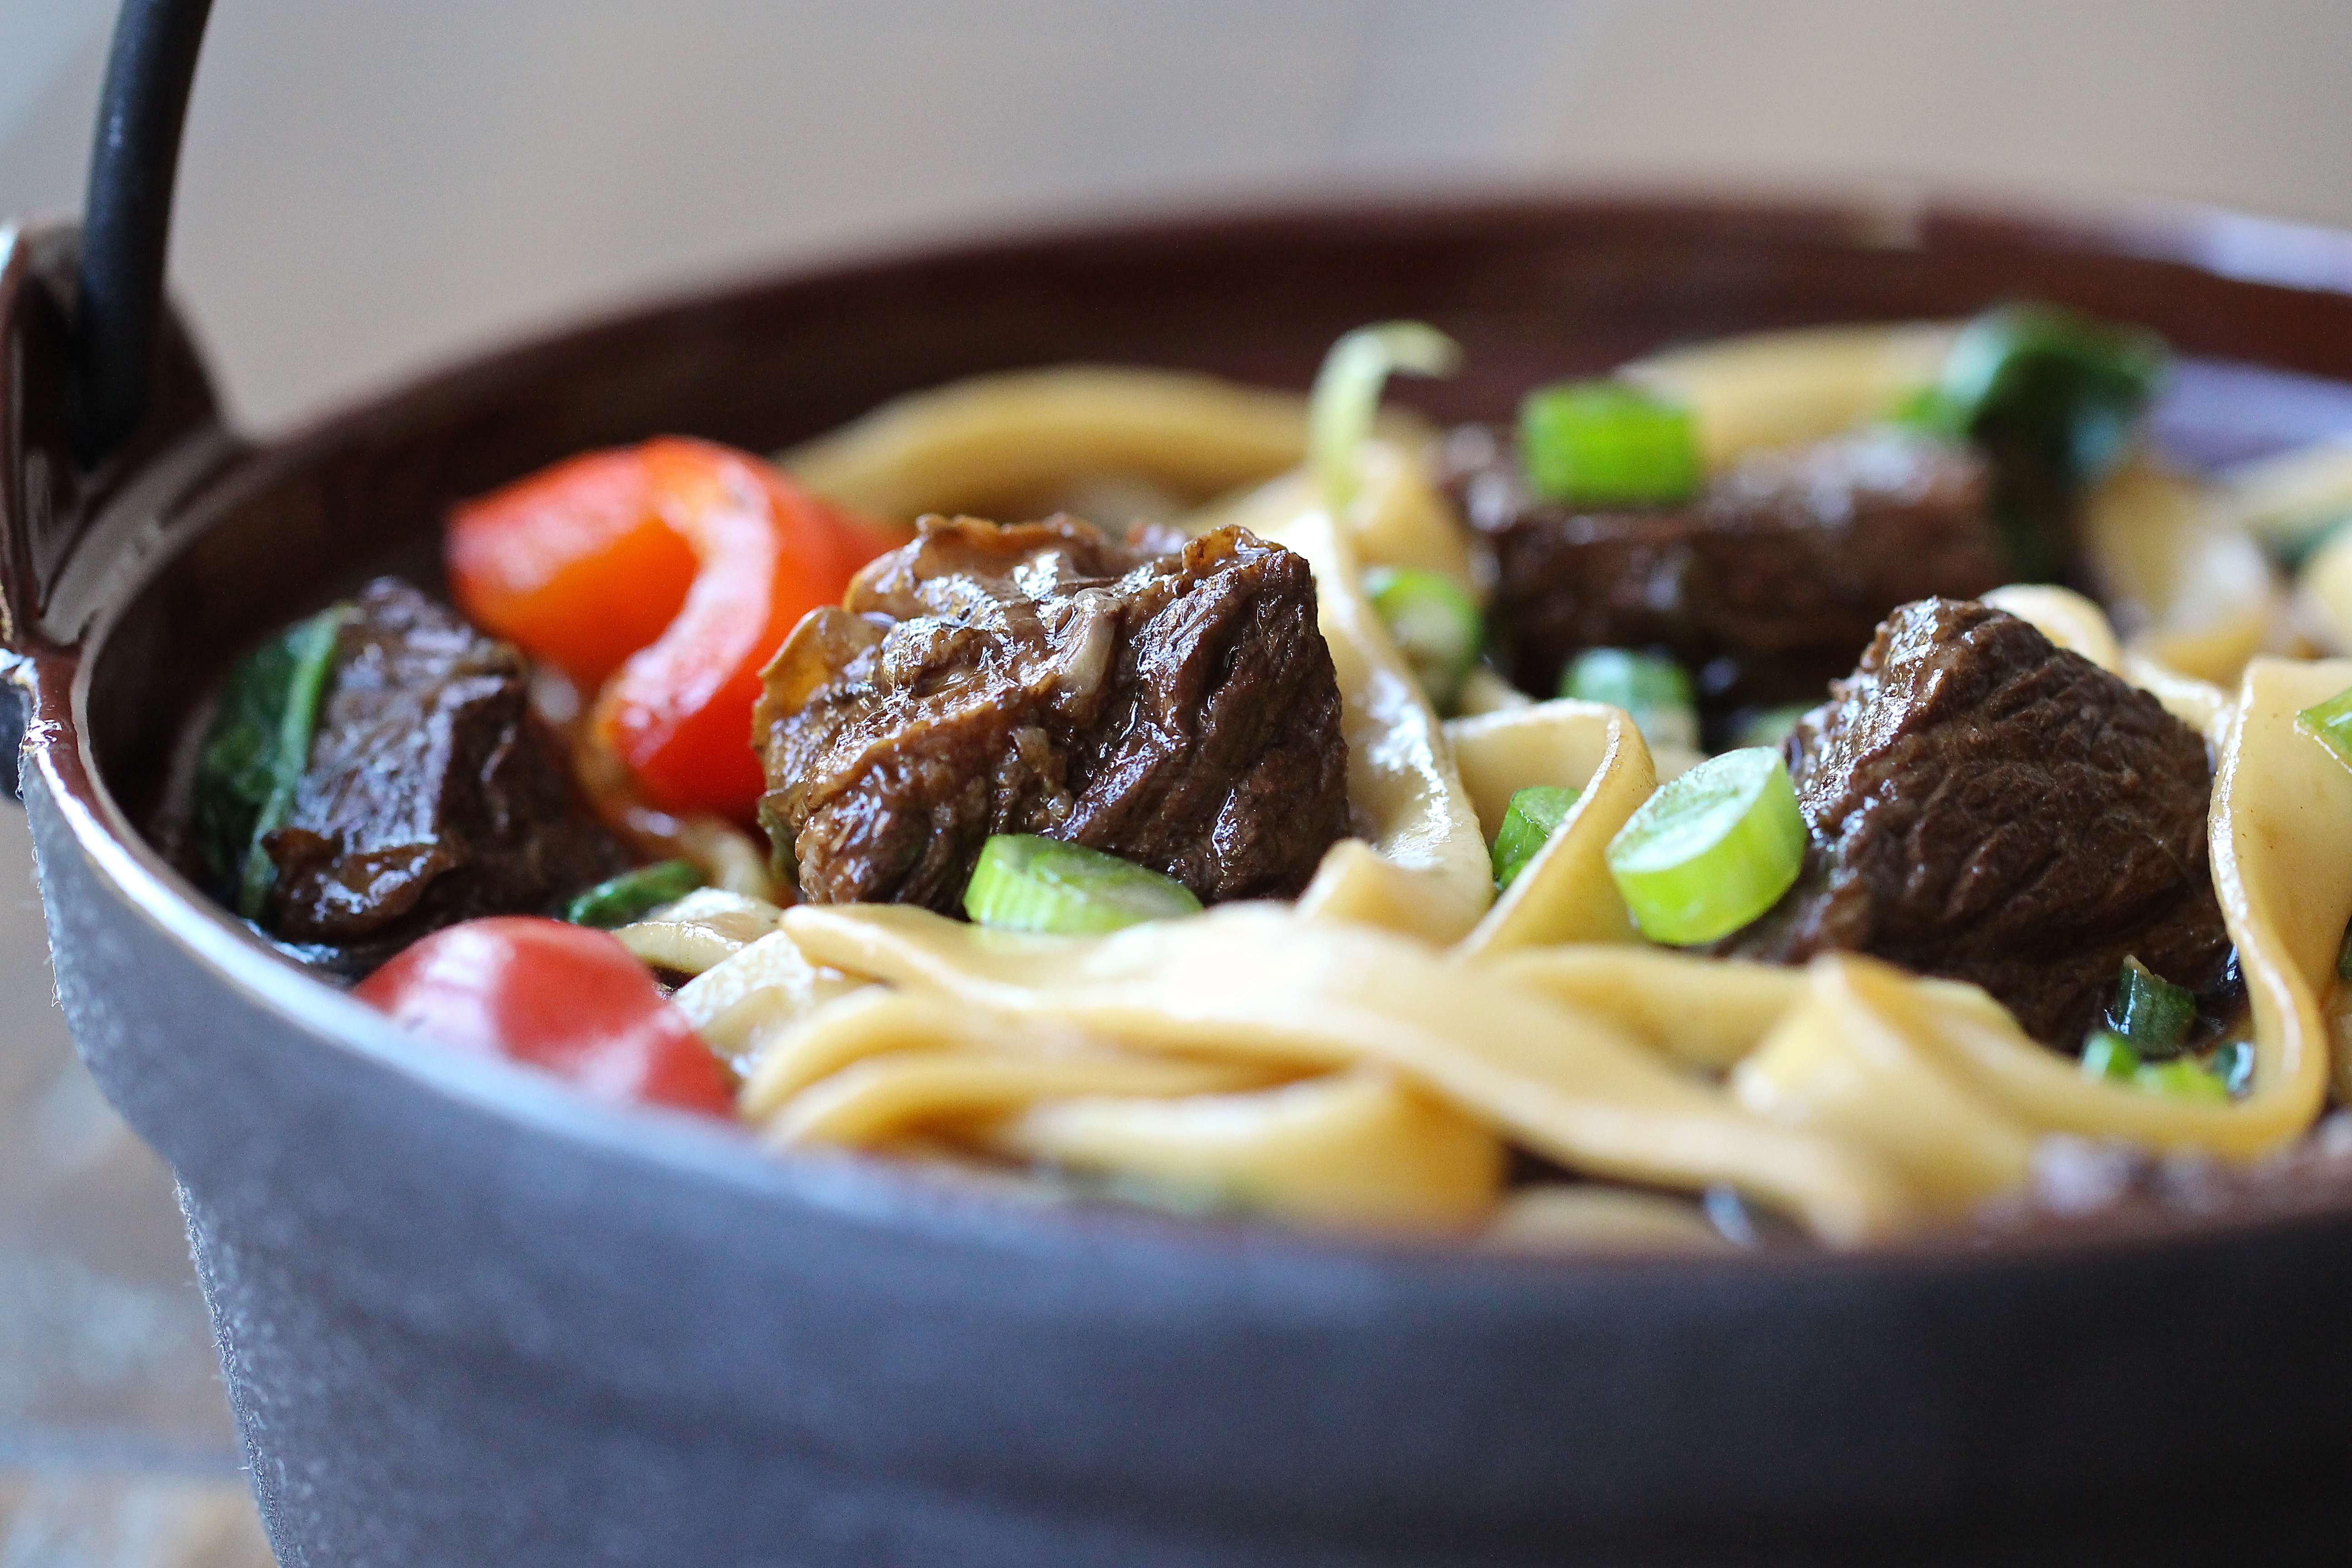
 Sometimes in life you have to color outside the lines, tell little white lies, or bend rules. It’s near impossible to toe the line all of the time. I experienced a moment like this, just the other day. Feeling cold and a little blue, I made Bacon and Cheddar Macaroni & Cheese for dinner. Without regret, I devoured a bowl of corkscrew pasta and crispy bits of bacon gliding in a sinfully rich and creamy cheese sauce. My house smelled incredible and my stomach bulged with happiness. So, yes, sometimes in life you have to choose comfort food over healthy food!
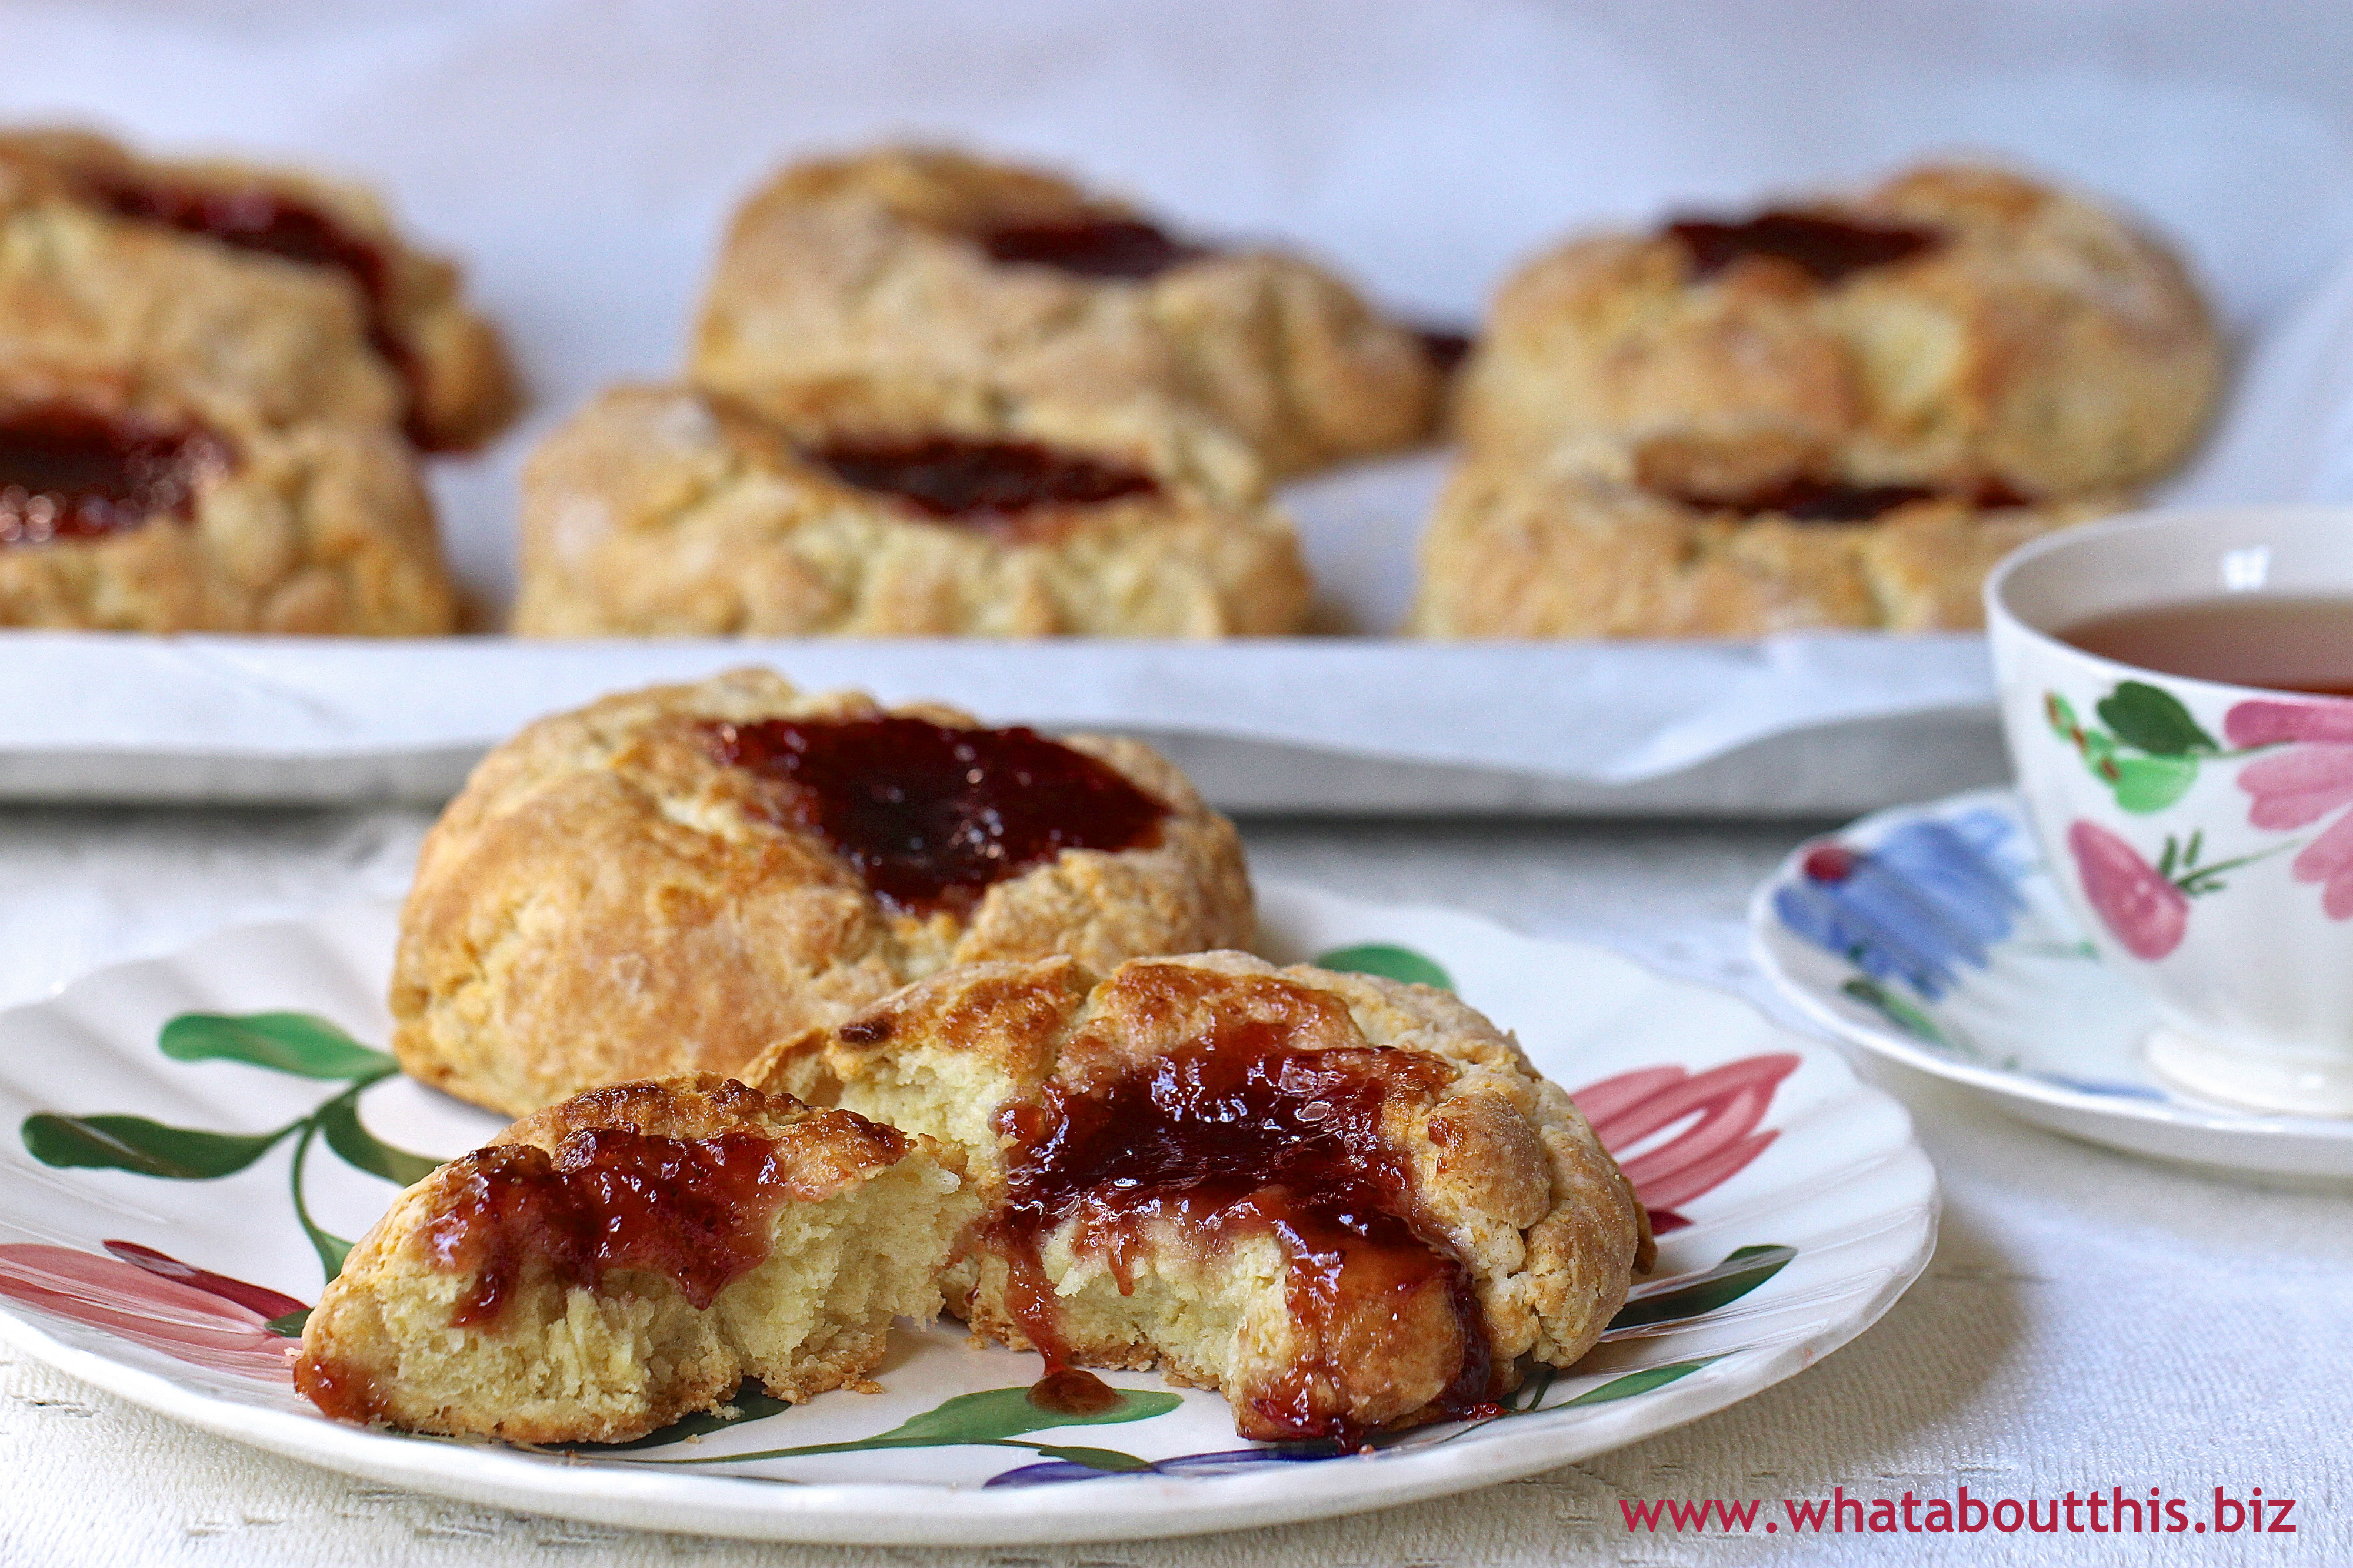
Bacon and Cheddar Macaroni & Cheese
Mother’s Best: Comfort Food That Takes You Home Again by Lisa Schroeder and Danielle Centoni
INGREDIENTS
1 teaspoon kosher salt, plus more for salting the pasta water
1 pound fusilli (corkscrew) or other pasta
3/4 pound bacon, diced (about 1 cup cooked)
3 cups heavy cream
2 cups firmly packed shredded sharp Cheddar cheese (about 1/2 pound)
1/4 teaspoon freshly ground black pepper
1/2 cup sour cream, for garnish
1/2 cup thinly sliced scallions, (white and green parts), for garnish
DIRECTIONS
1. Bring a medium pot of water to a boil. Salt it generously (it should taste like the sea). Stir in the pasta and cook according to the package directions. Drain (but don’t rinse, or you’ll rinse away starches that will help thicken the sauce) and return to the empty pot.
2. Meanwhile, place a large sauté pan over high heat for several minutes. When hot, add the bacon and sauté until browned and crispy (lower the heat to medium-high if necessary to prevent scorching), about 5 minutes. Remove the pan from the heat and, using a slotted spoon or spatula, remove the bacon from the pan and drain on paper towels.
3. Pour off the fat from the pan (into a metal can or heatproof cup) and return the pan to medium-high heat. Add the heavy cream and bring to a boil, scraping up any browned bits from the bottom of the pan. Lower the heat to medium and continue to simmer until the cream is reduced slightly, about 3 minutes.
4. Add the Cheddar cheese and bacon. Stir well and cook over medium-high heat, stirring now and then, until the cheese has melted and the mixture thickens, about 3 minutes. Season with the salt and pepper.
5. Stir the sauce into the cooked and drained pasta in the pot. Place over medium heat and simmer for 1 to 2 minutes to thicken the sauce and allow the pasta to absorb the flavors, stirring now and then.
6. Serve in individual bowls topped with a dollop of sour cream and a sprinkle of sliced scallions.
Serves 4 to 6 servings
LINNELL’S NOTES
1. I used Rotini pasta.
2. Although the bacon starts off crispy, it does not stay that way after soaking in the sauce. It does, however, lend a nice chewy texture to the dish.
3. I did not add the 1 teaspoon of salt as stated in the recipe. I waited until after the dish was completed, to see if any additional salt was necessary. Whether you add additional salt or not will depend on the saltiness of the bacon you use.
4. This dish did not fare well as a leftover, due to separation of the fat.
5. Thinking this recipe was plenty rich, I did not serve it with the optional sour cream garnish.
6. The authors of the cookbook offer this variation:
Lorraine Mac & Cheese
You can easily change up this recipe by using the classic flavors of a quiche Lorraine for inspiration. You just have to add caramelized onions and substitute Swiss cheese for the Cheddar.
Pour off all but 2 tablespoons grease from the cooked bacon. Add 2 cups of finely sliced yellow onions and sauté over medium heat until soft, brown and caramelized, about 20 minutes. Pour in 3 cups of cream and continue with the recipe (step 3), substituting firmly packed shredded Gruyère or Swiss cheese for the Cheddar.
If you have cooked, crumbled bacon and caramelized onions on hand, the recipe is even easier. When stirring the cheese into the reduced cream, just add 1 cup bacon crumbles and 1/2 cup caramelized onions, too. Then proceed with the recipe.
ENJOY!
Read Full Post »
 Shorter days and cooler air send signals to leaves to change their colors. As their veins constrict, leaves gradually loose their dominant green coloration, unmasking inherent yellow and orange pigments. Reds and purples, newly produced at the end of summer, make their appearance. But no matter what their color, these leaves ultimately fall slowly to the ground. Autumn is a season of change, revelation, and closure. And so it is with the autumn of our lives.
 Time, color, and movement are key components of Russian artist Ruslan Khasanov’s work. Like a scientist, he experiments with the properties of soap, oil, and inks, but like an artist, he plays with their colors, shapes, and movement.

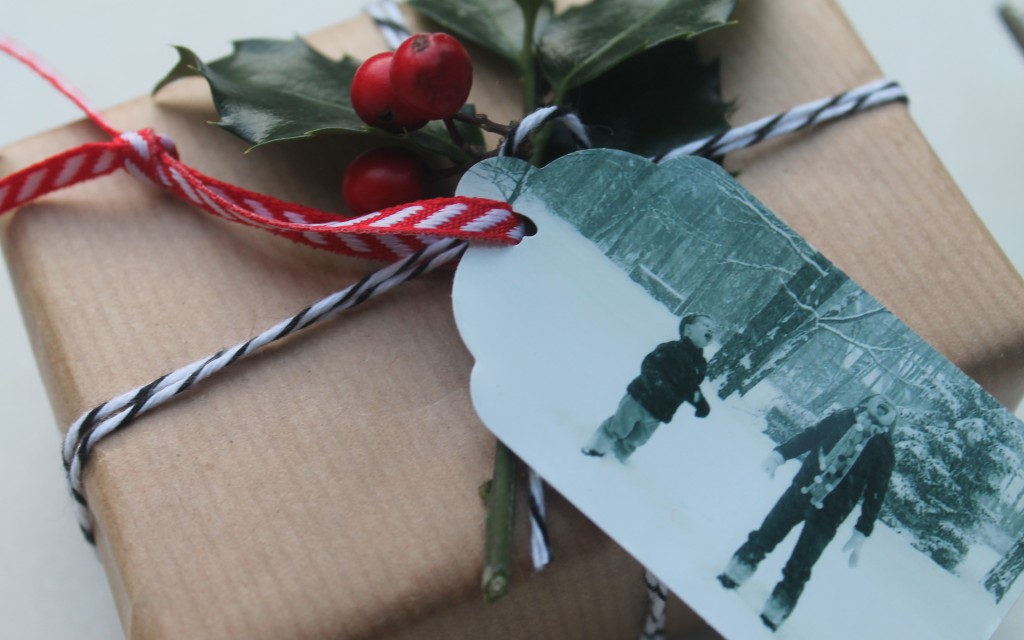 In last week’s Friday’s Fresh Five!, I featured a link to 25 DIY Christmas Ornament Ideas. To top that, this week I’m presenting 27 Christmas Decor Ideas. Unsurprisingly, my favorite project is the one using photographs. So many cute ideas, but so little time!


You must be logged in to post a comment.