Feeds:
Posts
Comments

Archive for the ‘Recipes’ Category

Miniature Rose 
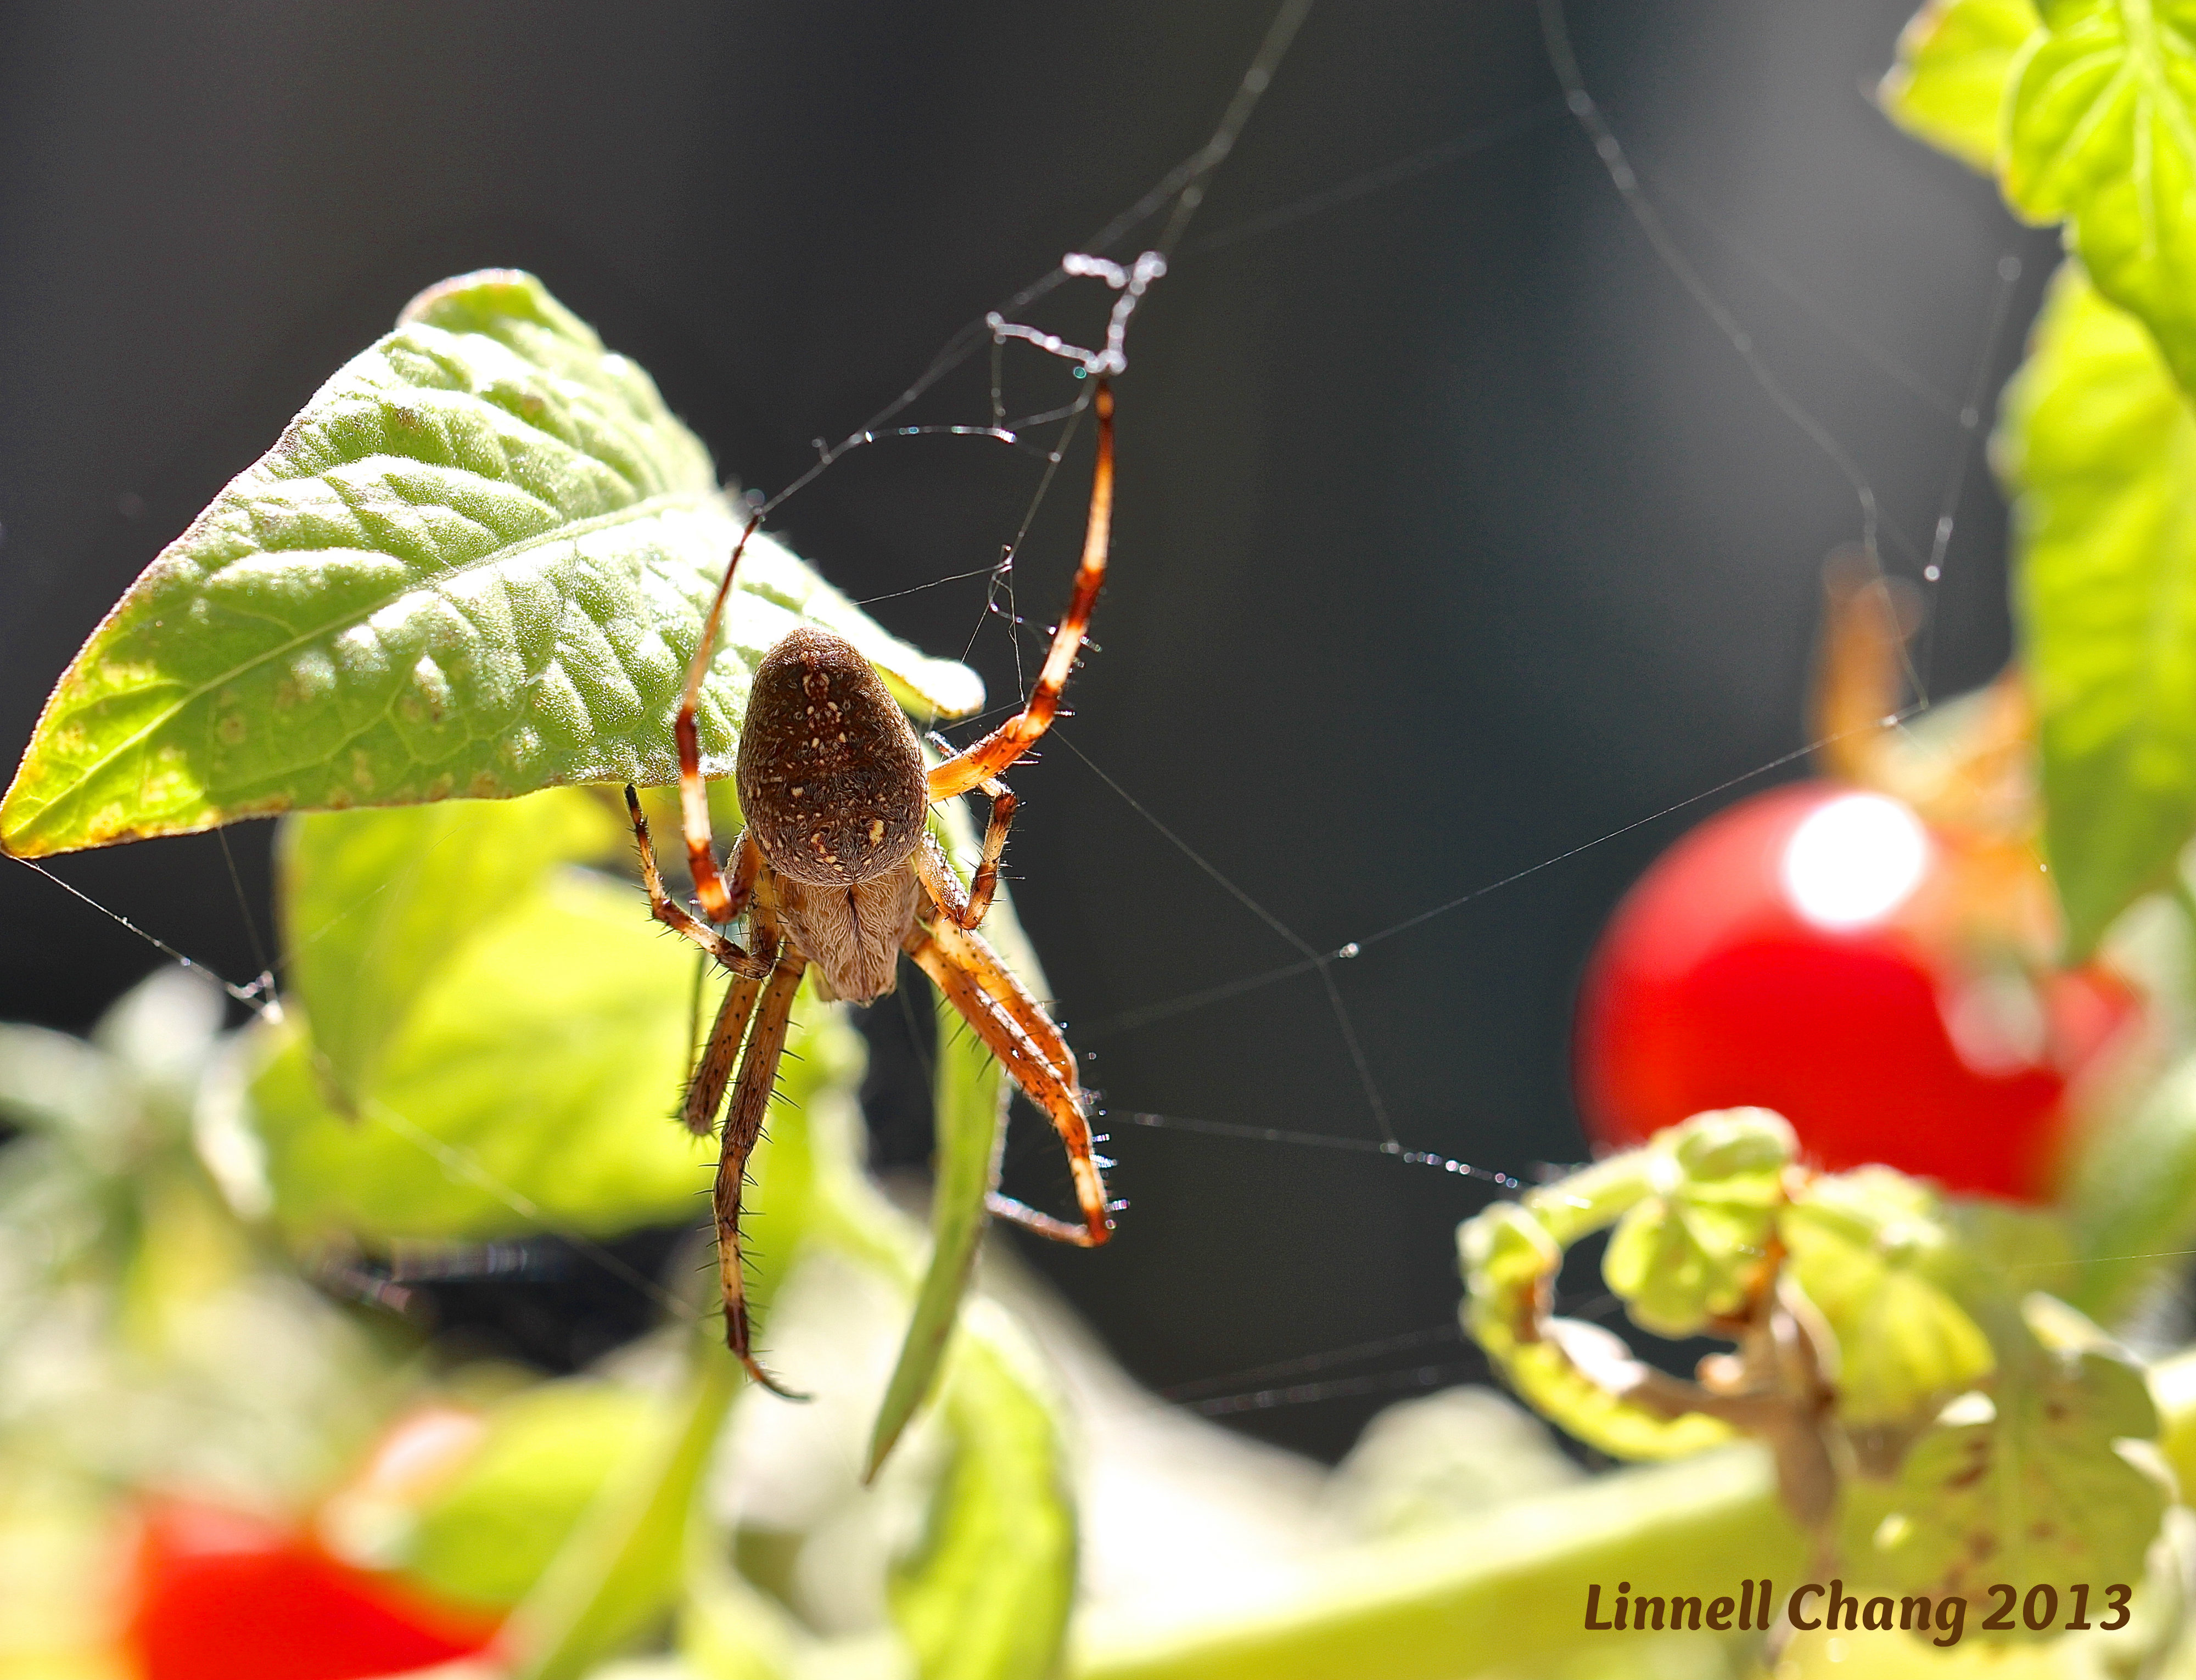
Several dozen rose bushes reside in my garden and, just like my children, I appreciate each one of them for their unique qualities and gifts. But, unlike my children, I have a favorite. With blossoms smaller than a penny, but just as pretty as their full-sized counterparts, this micro-miniature rose bush captures my fancy with its petite stature and amazing hardiness. In a world where everything is super-sized, don’t forget to appreciate the little things in in life.

#1 – The World of Miniatures

Video screenshot, Who Lives There, c Art+Practice.

Video screenshot, Who Lives There, © Art+Practice

After watching a four-minute documentary on Dawn Reese, a miniature artist and dollhouse builder from Ohio, I was reminded of my fascination with the world of miniatures and of my own small childhood collection. If you’ve ever been intrigued with teeny tiny things or played with dollhouses, you’ll enjoy watching Who Lives There. Both the video and additional information about Dawn Reese can be found in a well-written article on Yatzer.

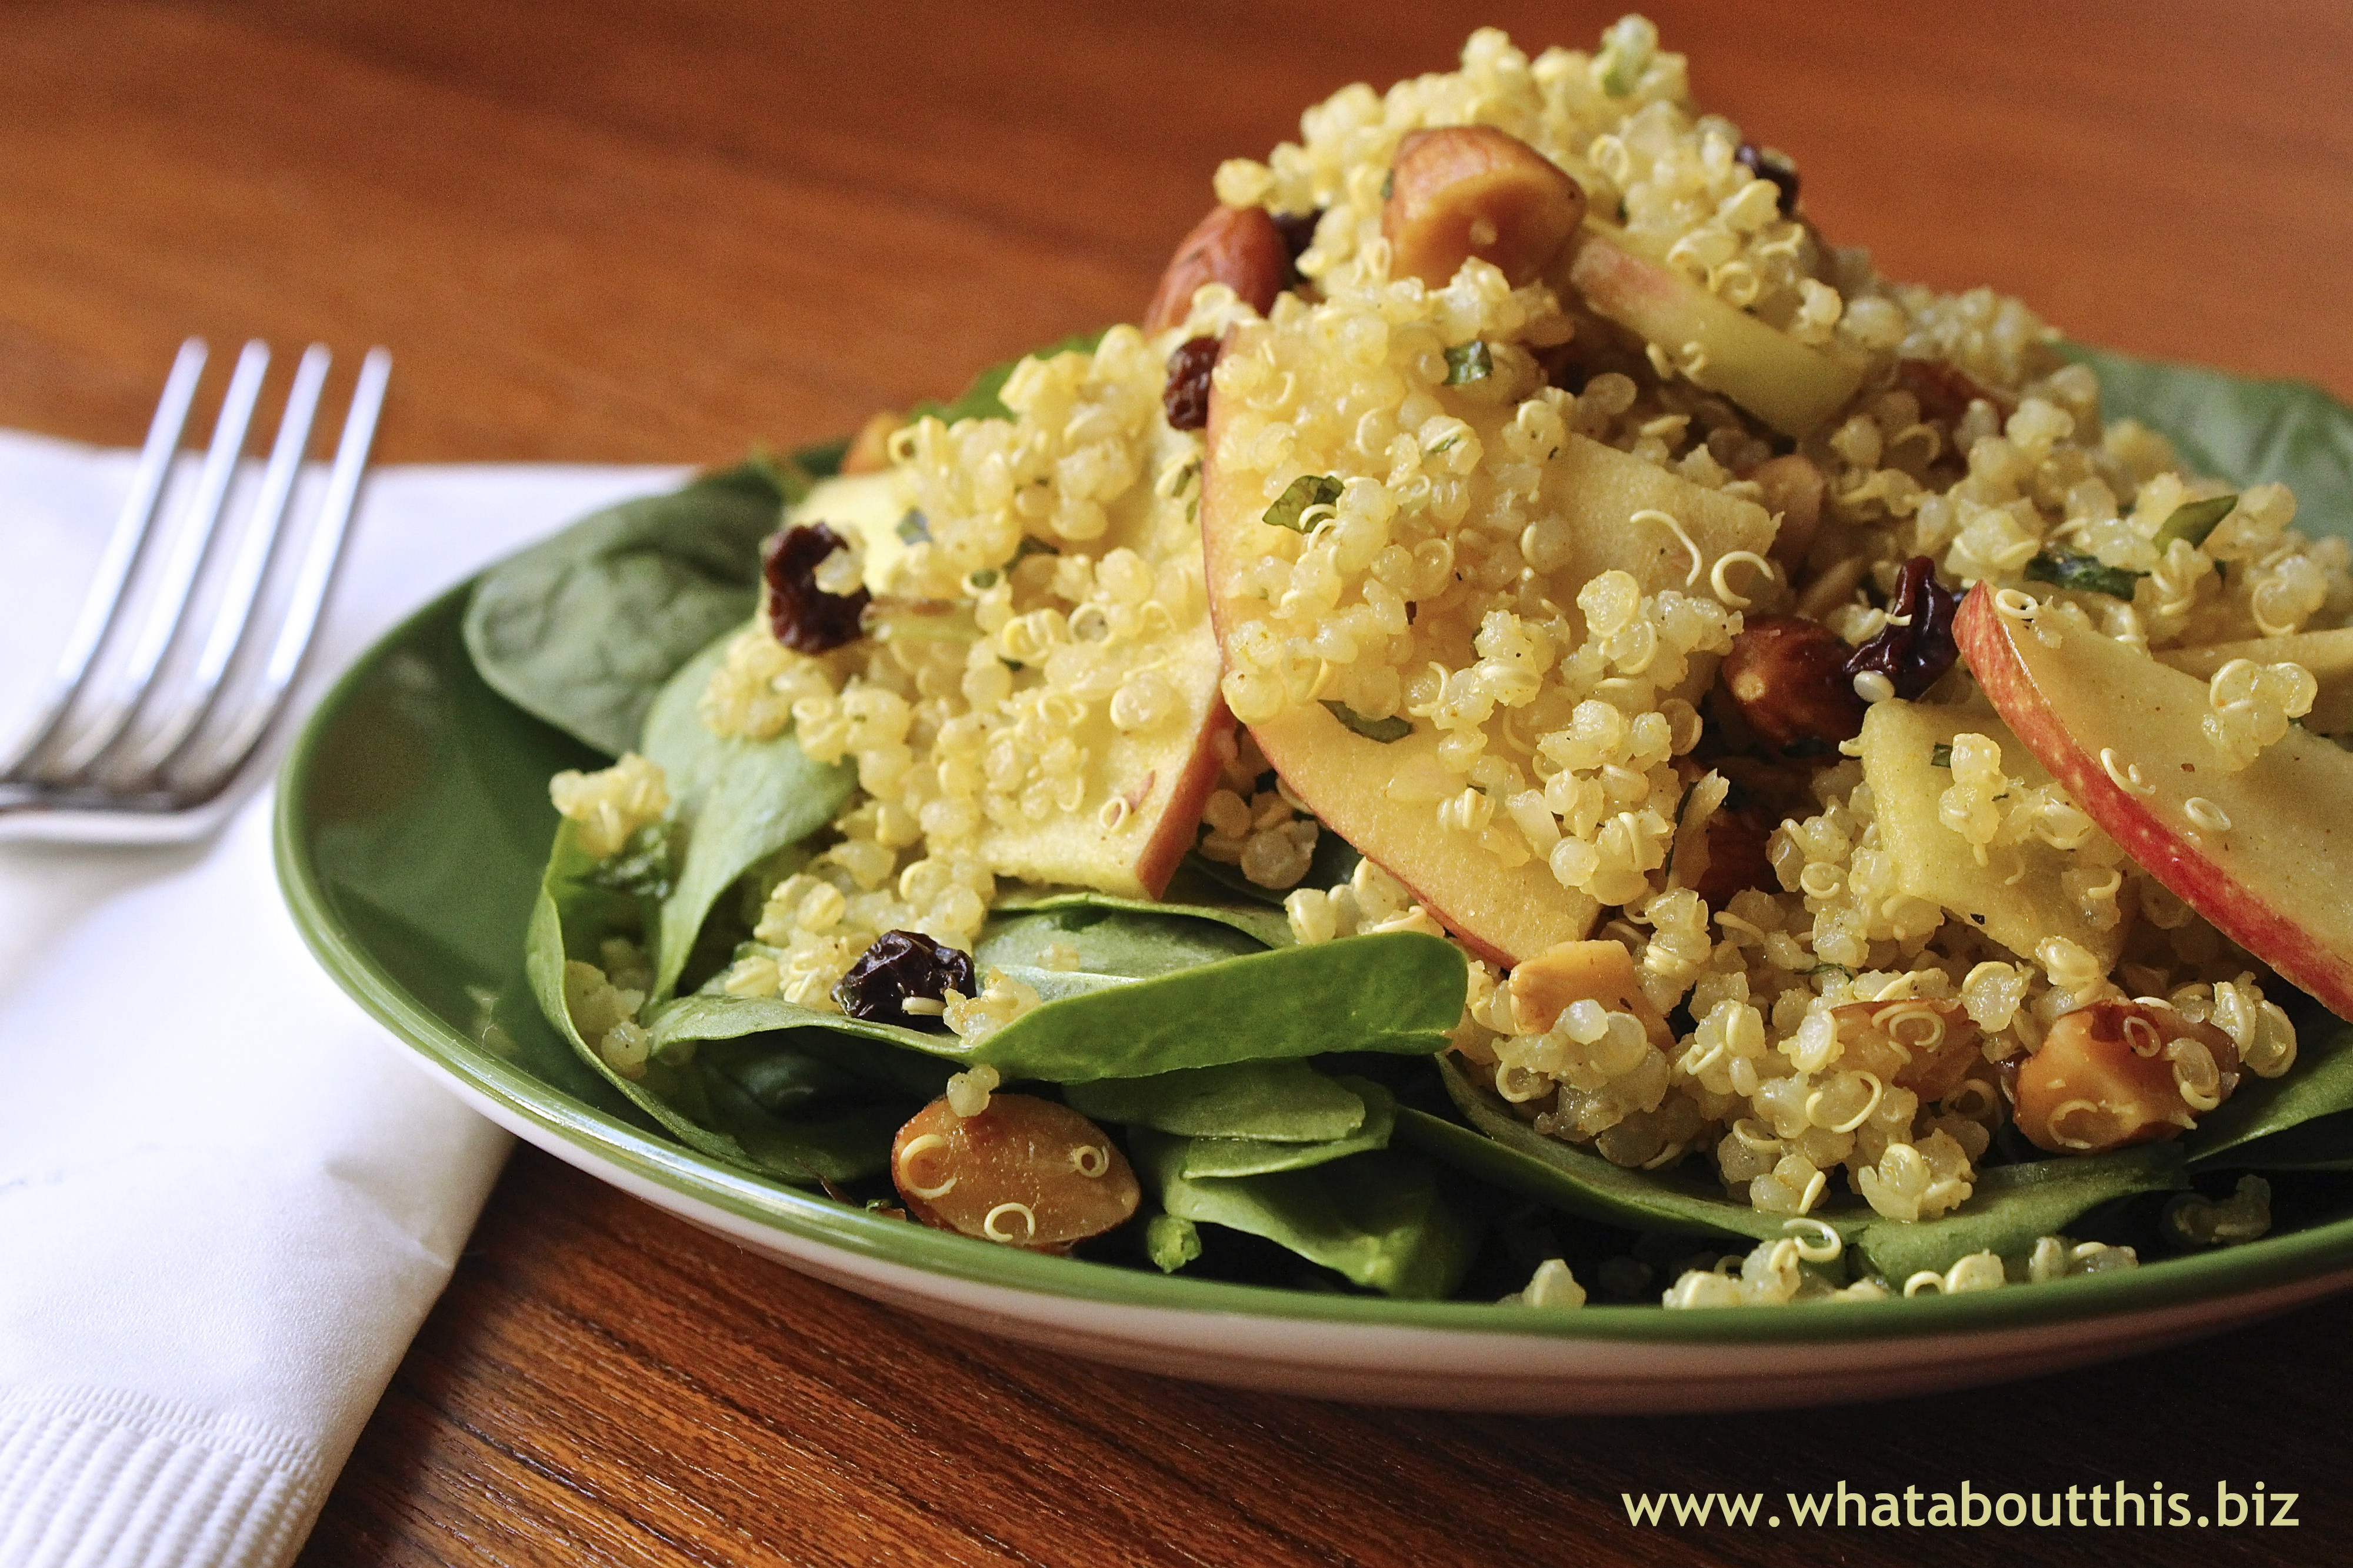
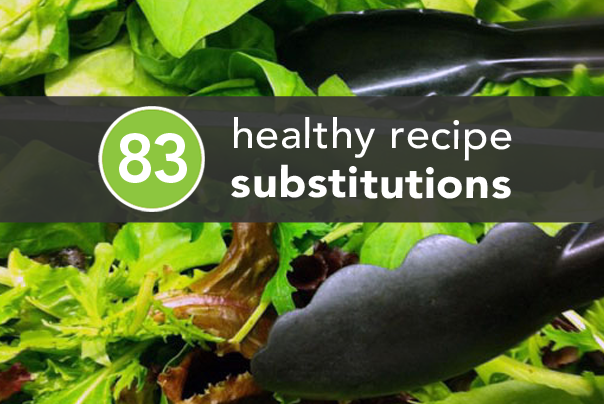
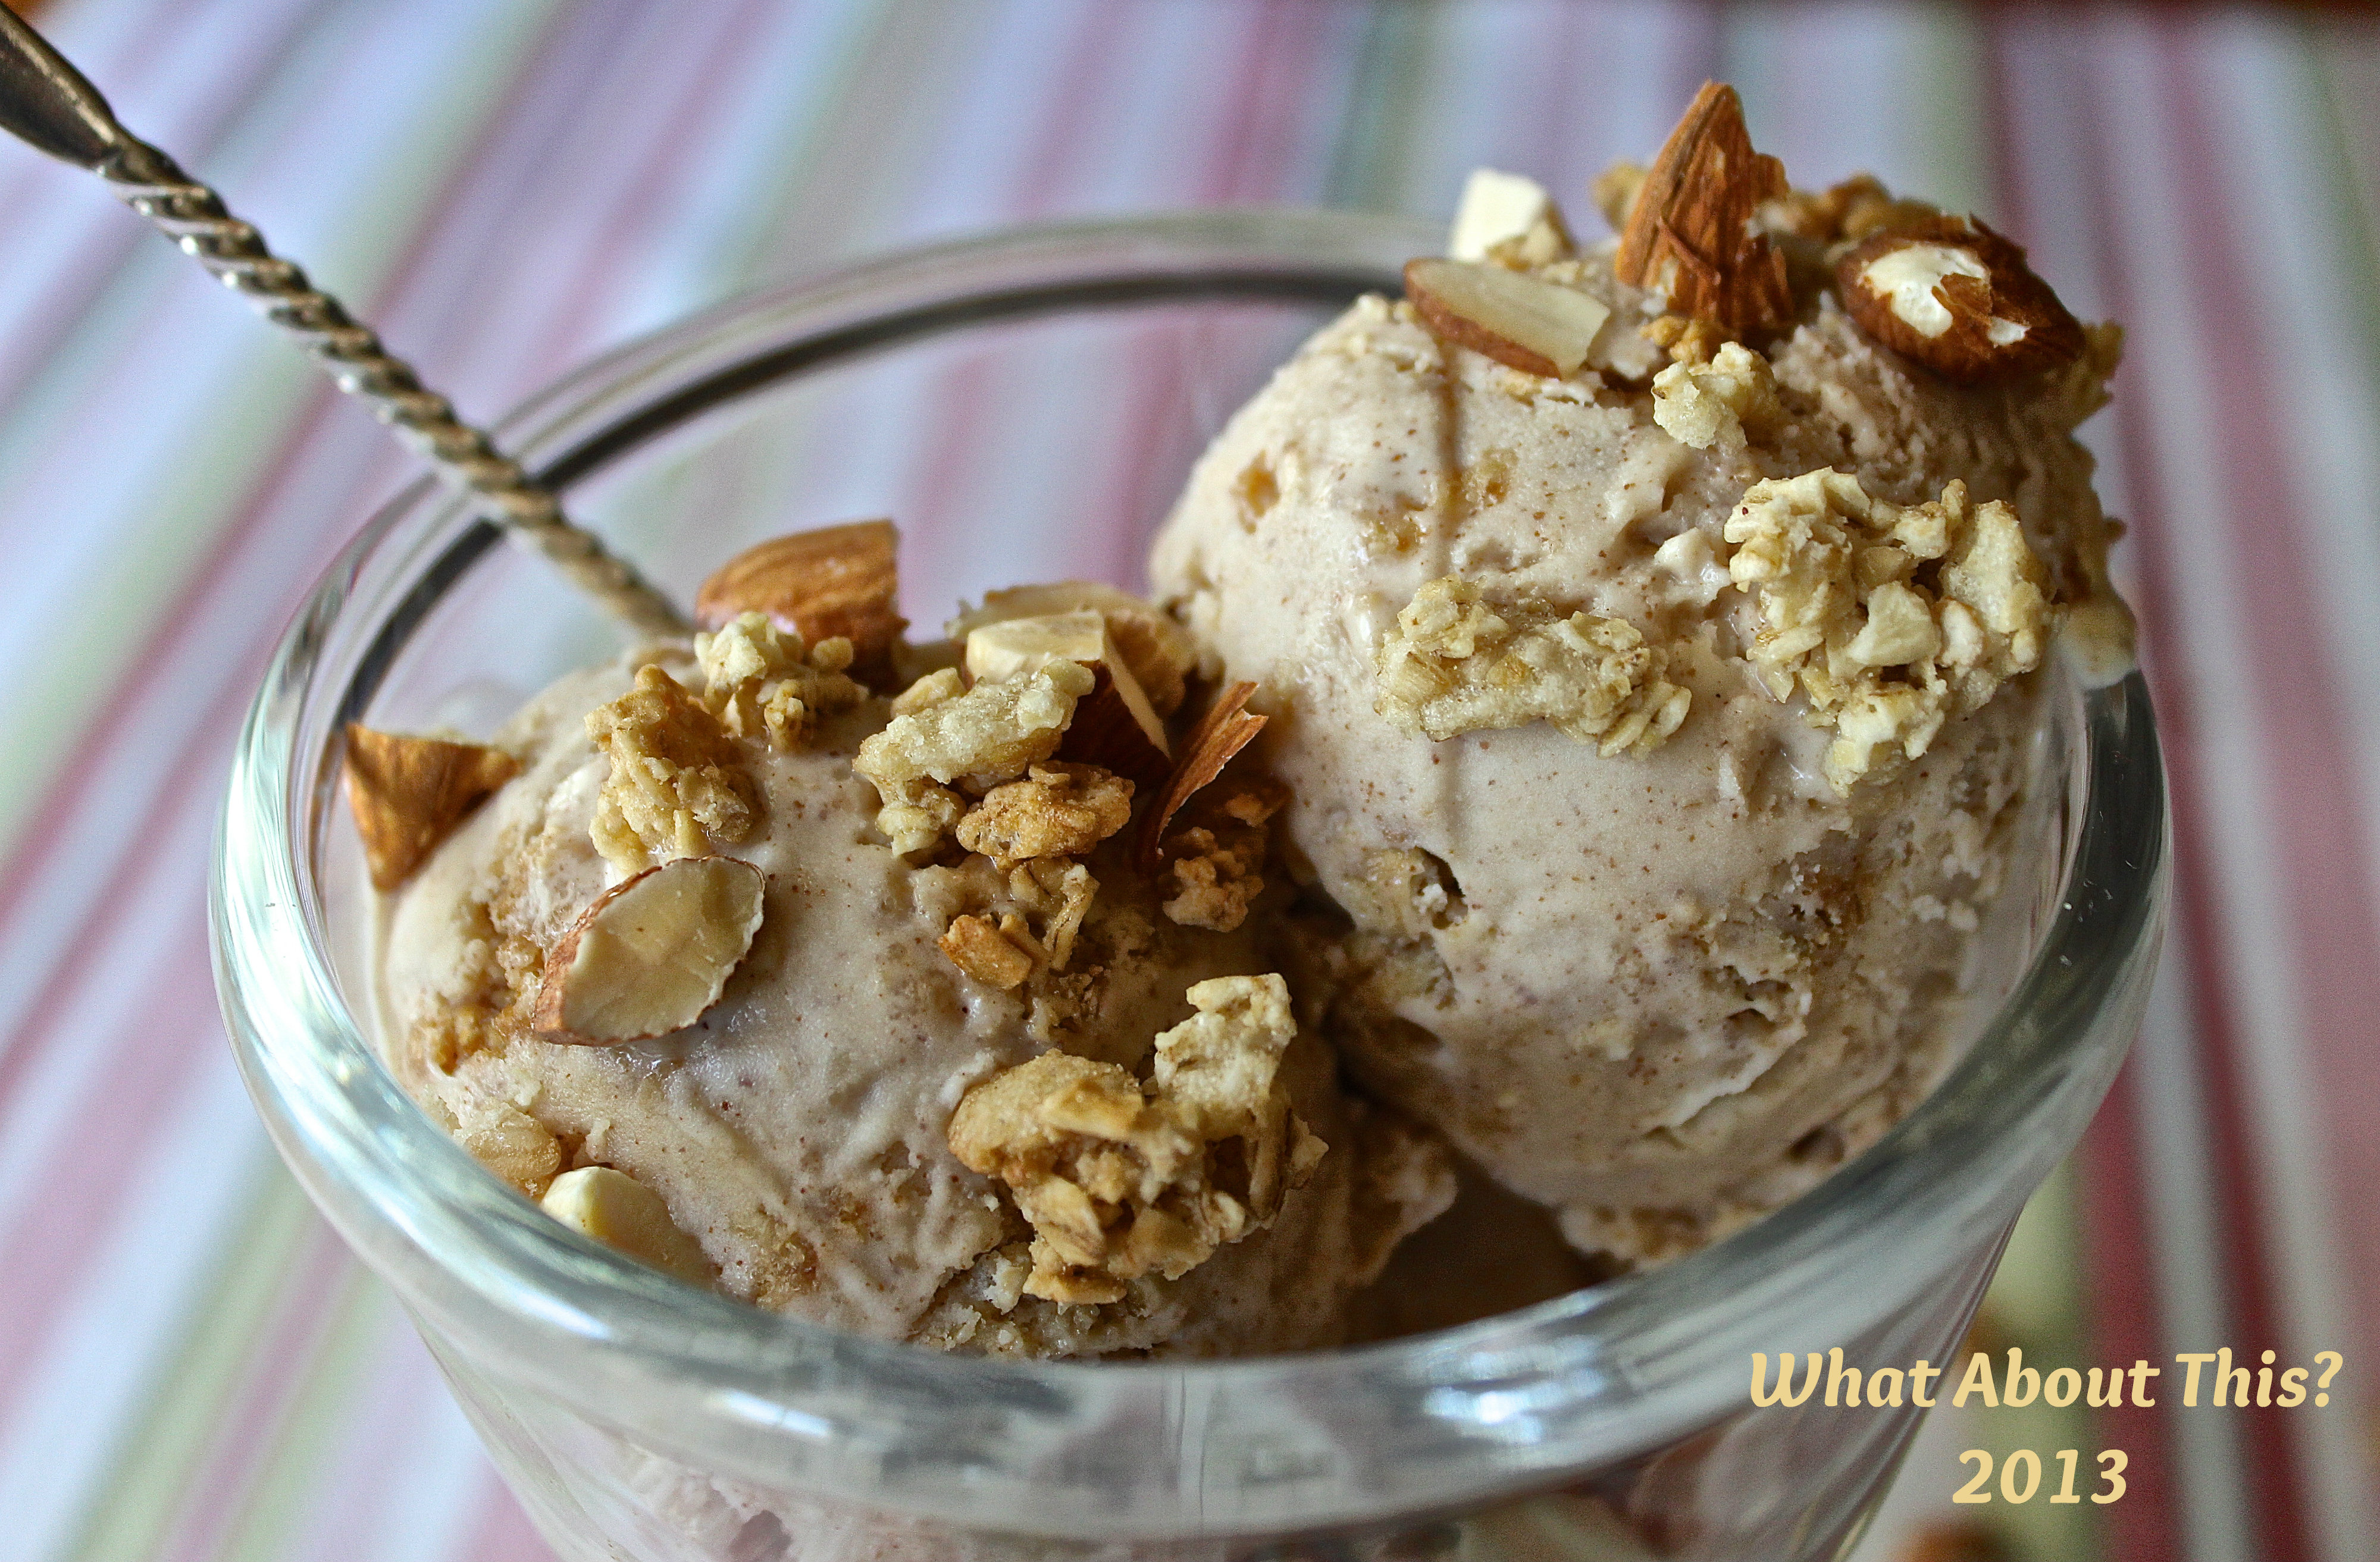
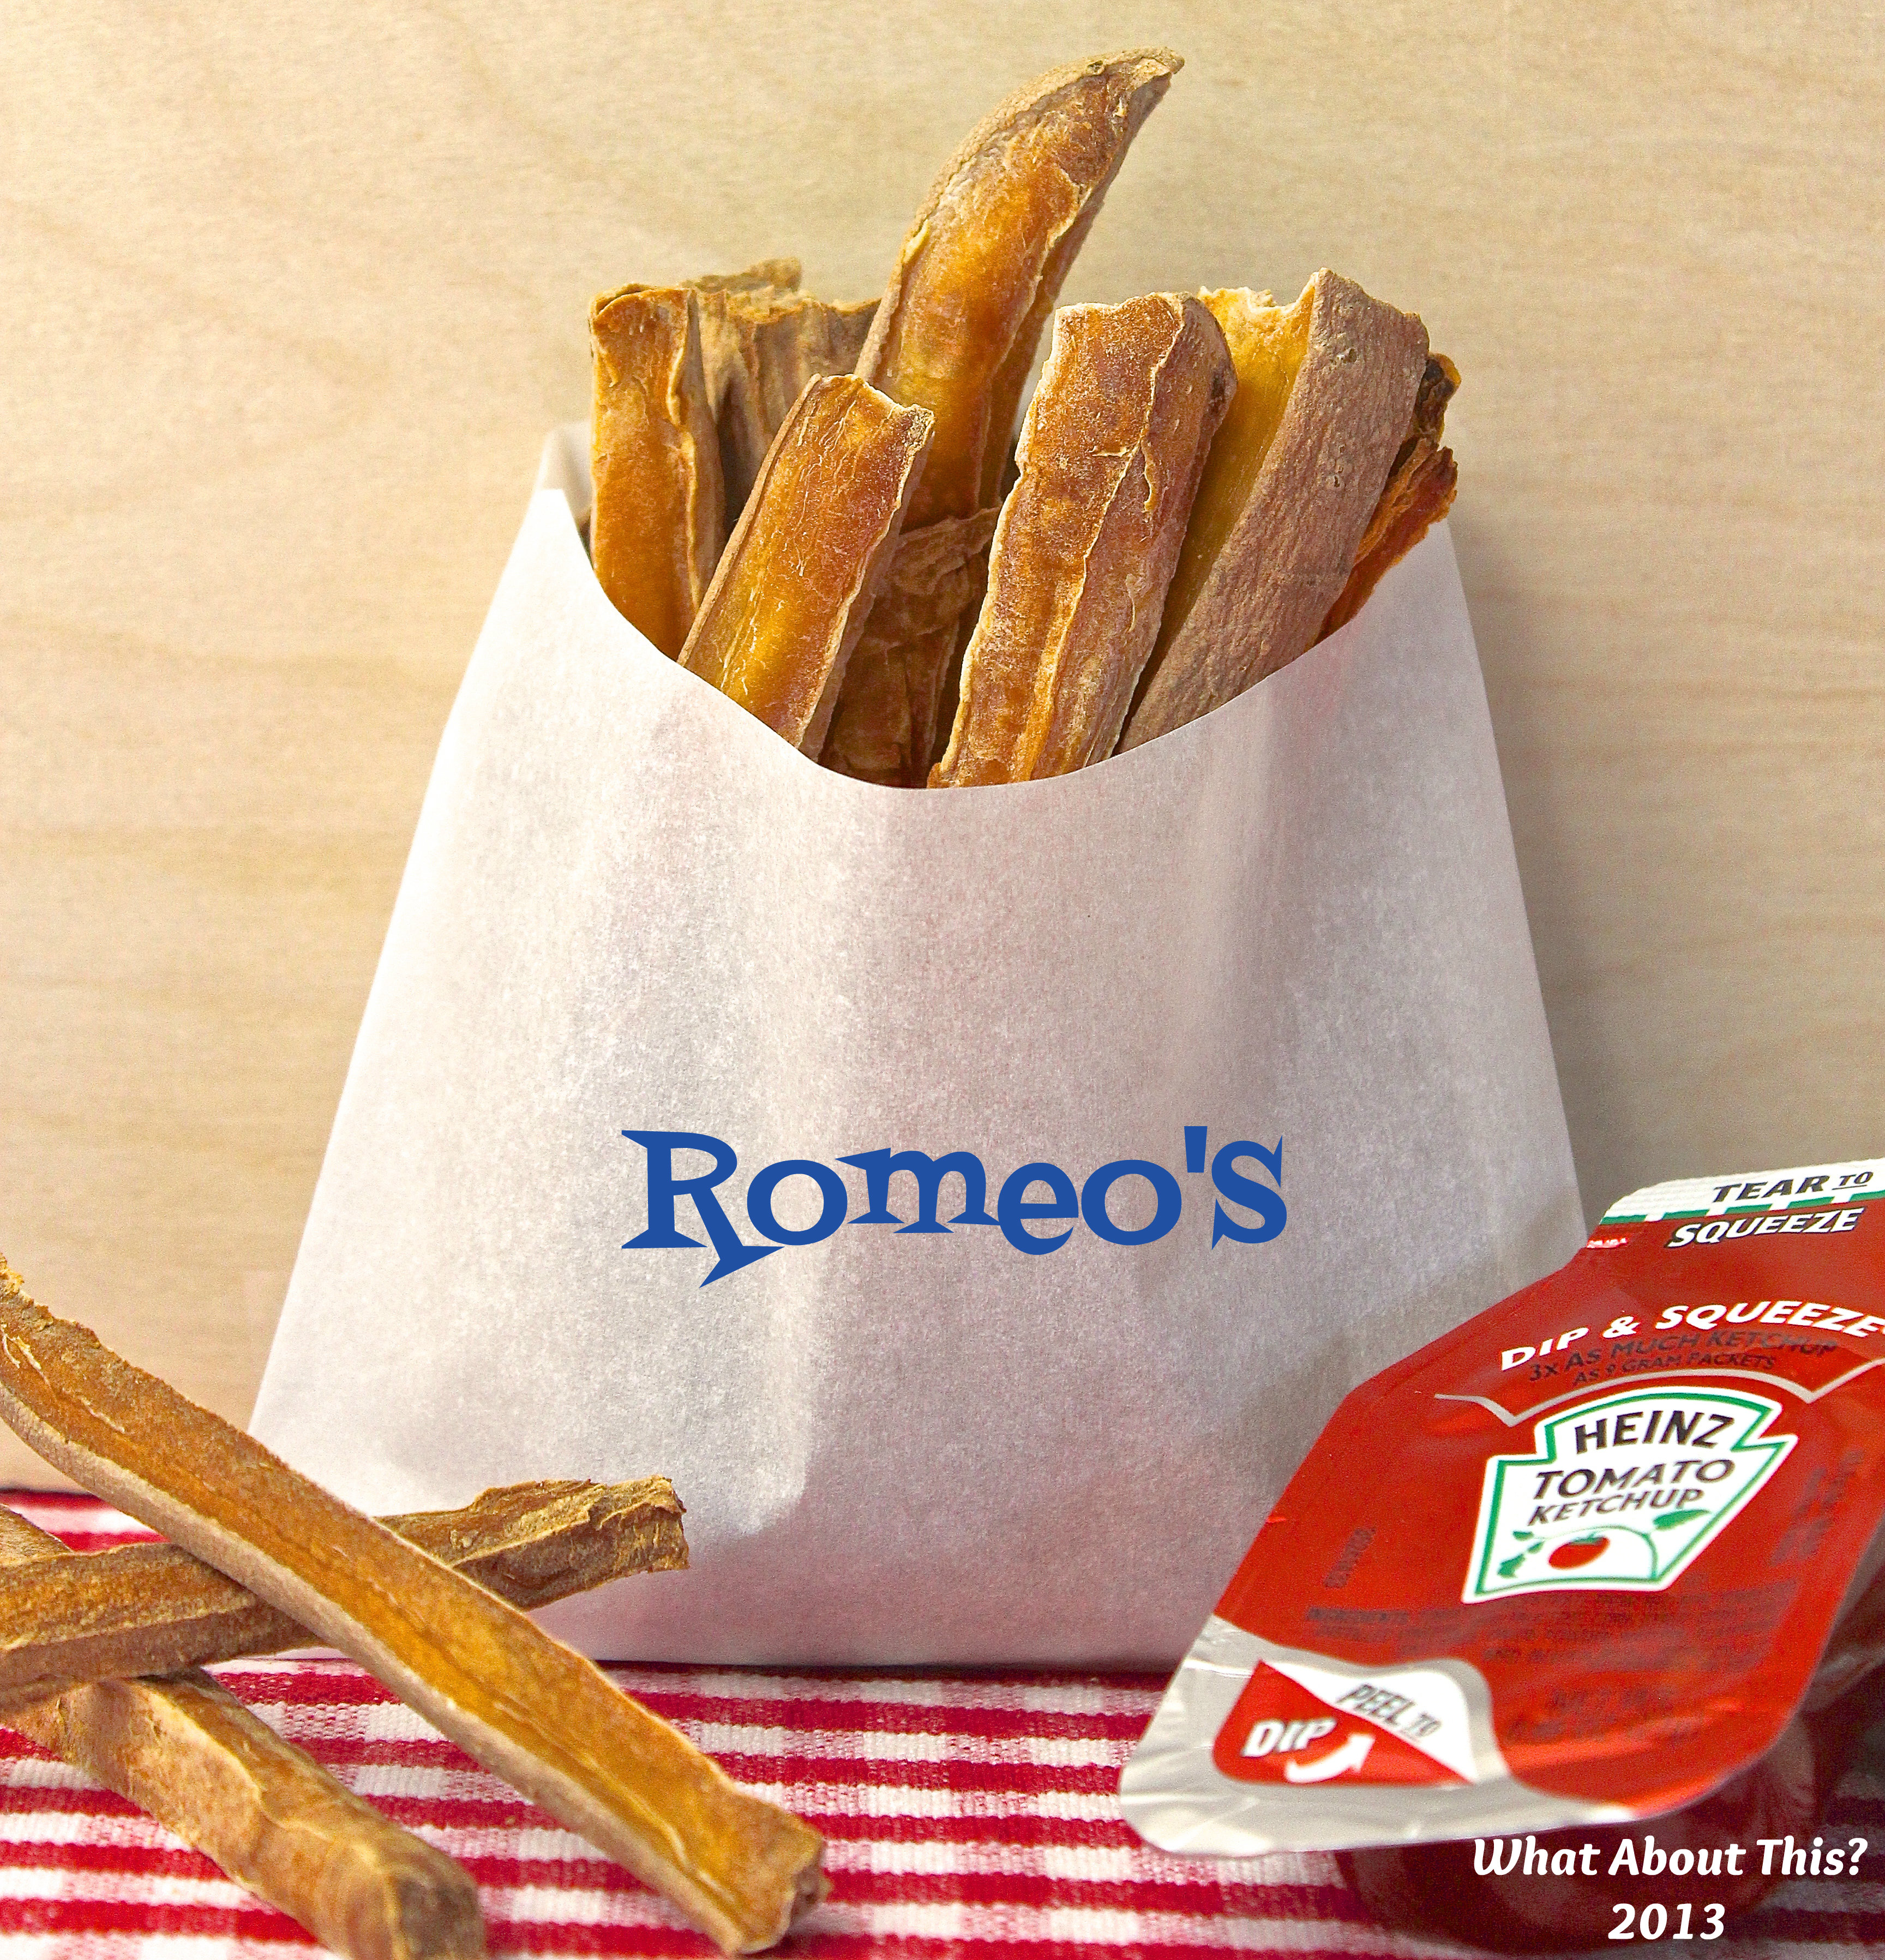
#2 – October Food Fest
Apple and Browned Butter Tart It will be no small feat to keep yourself from salivating as you peruse through the photos of BuzzFeed’s 31 Delicious Things to Cook in October. What will be even more difficult to do, will be to decide which recipe to try first! Mash Potato Cheddar and Chive Waffles or Pumpkin Bread Pudding with Dulce de Leche?

#3 – Travel Tips
40 Travel Tips to Help You Travel Smarter, Cheaper, Safer . . . Little tips can make a big difference when traveling. Flashpacker Family shares this list of 40 Tips to Help You Travel Smarter, Cheaper, Safer, Lighter . . . and my guess is that there’s at least one tip in it that you haven’t thought of before.

#4 – Less Is More
In this short TED video, writer and designer Graham Hill suggests that less can mean more in life. Watch it and see if you agree.

#5 – It’s the Little Things
“Everyone is trying to accomplish something big, not realizing that life is made up of little things.” Frank A. Clark

Enjoy life and spread joy!

Read Full Post »

Quinoa and Apple Salad with Curry Dressing If you are looking for a salad that is a little bit sweet, a little bit spicy, a little bit crunchy, and quite a bit healthy, look no more. Serve this easy-to-make salad year-round. But with the abundance of freshly-harvested apples here in North America, the best time to serve this salad will be in the fall. With flavor powerhouses such as curry, honey, lemon, and mint you wouldn’t expect this salad to be so mild and delicately balanced. On the nutritional side, this salad’s no slouch either. Per serving, as provided on the recipe’s original site, it contains: 304 calories, 14 gr fat, 0 mg cholesterol, 38 g carbs, 154 mg sodium, 8 g protein, and 5 g fiber. Good for you and great tasting – that’s what I call a win-win recipe!

Quinoa and Apple Salad with Curry Dressing
Martha Stewart Living Cookbook, Volume 2

INGREDIENTS
1/4 cup raw whole almonds
1 cup white quinoa
1 teaspoon honey
1 tablespoon finely chopped shallot
1 teaspoon curry powder
1/4 teaspoon coarse salt
2 tablespoons fresh lemon juice
Freshly ground pepper
2 tablespoons extra-virgin olive oil
2 tablespoons dried currants
1 small McIntosh apple, cut into 1/8-inch-thick wedges.
1/4 cup loosely packed fresh mint leaves, coarsely chopped, plus more for garnish

DIRECTIONS
1. Preheat oven to 375 degrees F. Spread almonds on a rimmed baking sheet; toast in oven until lightly toasted and fragrant, about 7 minutes. Let cool; coarsely chop nuts.

2. Rinse quinoa thoroughly in a fine sieve; drain. Bring 2 cups of water to a boil in a medium saucepan. Add quinoa; return to a boil. Stir quinoa; cover, and reduce heat. Simmer until quinoa is tender but still chewy, about 15 minutes. Fluff quinoa with a fork; let cool.

3. Whisk together honey, shallot, curry powder, salt and lemon juice in a large bowl. Season with pepper. Whisking constantly, pour in oil in a slow, steady stream; whisk until dressing is emulsified. Add quinoa, currants, apple, mint, and nuts; toss well.

4. Garnish with mint.

Serves 4

LINNELL’S NOTES
1. Here’s a time-saving tip: I roast different varieties of nuts (almonds, walnuts, and pecans) in bulk and after they’ve cooled, I put them in separate airtight bags and store them in the freezer. When needed, I just reach into the freezer and remove the required amount. Except for chopping the nuts, I was all but done with step 1.

2. The amount of curry specified results in a very mild curry flavor. For those of you who prefer a more distinct curry flavor, more curry powder can be added in step 3.

3. I couldn’t find a McIntosh apple, so I used a Honey Crisp. I cut the apple into 1/8-inch thick slices and cut those slices in half crosswise. I felt the whole slices would be too large in proportion to the rest of the ingredients. Thanks to the lemon juice in the dressing, the apples do not turn brown in this salad, even when refrigerated overnight.

4. The recipe just doesn’t taste as good without the mint leaves. It makes a difference – the cool mint flavor balances the slight spiciness of the curry very well.

5. I served the quinoa salad on a bed of baby spinach and arugula leaves. Next time I think I will make a double batch of the dressing and toss a little bit of it with the greens just prior to plating. The dressing will help the other salad ingredients cling to the leaves better.

Enjoy!

Read Full Post »

Twisted Oaks

It’s the golden dappled sunlight that dances on trees.
It’s the gnarly twisting branches that beg to please.
It’s the patches of lichens that soften the hard.
It’s the music of leaves scattering in yards.
It’s the warmth of friendship and much happy talk.
It’s the many pleasures of a lovely autumn walk.

Linnell Chang

#1 – Self-Improvement
The Only Way to Improve Your Situation Is to Improve Yourself In the article The Only Way to Improve Your Situation Is to Improve Yourself, the author offers easy and helpful suggestions of ways to improve your mind, body and soul. In my opinion, a long walk works on all three areas, but it must be done briskly, with frequent acknowledgements of the miracles around, and all the while living in the moment.

#2 – There’s No Substitution for Good Health
Healthy Recipe Substitutions It can be daunting to wade through the whys and hows of healthy eating. Thanks to this list of 83 Healthy Recipe Substitutions, all of that has become a little easier. Yes, the list is long, but that’s good. That means we have options. The list is broken down into these categories: baking, stovetop, meals, snacks, seasoning, alcohol, and cooking methods. Why not try green avocado puree in lieu of butter?

#3 – Kermit the Wise
Kermit the Frog Quote Speaking of green . . . Motivation and inspiration can be found in all sorts of places and from all sorts of people. In this case, it’s coming from the Muppet’s character Kermit the Frog. Check out these 12 Kermit the Frog Quotes for Your Bad Days. It will make you smile!

#4 – Never Too Old to Finger Paint
Painting by Iris Scott If you’re not too old to learn something from Kermit the Frog, then you’re definitely not too old to finger paint. Artist Iris Scott accidentally stumbled upon her technique of painting with her fingers. Wearing surgical gloves, she applies oil paints to her fingers and paints in a post-impressionistic style. I love what she says about her method, My fingers dance rapidly across the canvas – some say it reminds them of a piano player in action. The colors collide and meld into my composition, raw oils are squeezed straight from the tubes, the texture is thick and juicy. This chaotic scene goes on well into the evening. To stay focused I dance, I sing, I stretch. Her art is incredibly rich in colors and textures.

#5 – What Life Is About
“I wanted a perfect ending. Now I’ve learned, the hard way, that some poems don’t rhyme, and some stories don’t have a clear beginning, middle, and end. Life is about not knowing, having to change, taking the moment and making the best of it, without knowing what’s going to happen next.”
~Gilda Radner

Go and spread joy!

Read Full Post »

Grilled Fish Tacos If you raise children to have adventurous taste buds and you give them an appreciation for well-prepared food, most likely they will grow up to be good cooks. This little bit of parental advice may not hold true for everyone, but I’ve been rewarded in spades. All my children enjoy cooking good food as much as they enjoy eating good food. Not only do my children enjoy good food, they also share it. I’ve been the lucky recipient of some really wonderful meals prepared by them. A couple of weeks ago, my middle child and his wife treated me to delicious homemade fish tacos. Because they were so good, I had big-time cravings for them and had to make them for myself. These fish tacos are easy to prepare, moist, flavorful, and healthy. No batter or deep-frying involved. Fish Taco Fridays may become a regular occurrence in this household!

Grilled Fish Tacos
Adapted from a Bobby Flay recipe

INGREDIENTS
Tacos:
1 pound white fish, such as mahi mahi, orata, tilapia, basa, etc.
1/4 cup canola oil
1 lime, juiced
1 tablespoon ancho chili powder
1 jalapeño, coarsely chopped
1/4 cup chopped fresh cilantro leaves
8 flour tortillas*

Garnish:
Shredded white cabbage
Hot sauce, tomato salsa, or pico de gallo
Crema or sour cream
Thinly sliced red onion
Thinly sliced green onion
Chopped cilantro leaves
Queso Fresco, crumbled

DIRECTIONS
1. Preheat grill to medium-high heat.

2. Place fish in a medium size dish. Whisk together the oil, lime juice, ancho, jalapeño, and cilantro and pour over the fish. Let marinade for 15 to 20 minutes.

3. Remove the fish from the marinade and place onto a hot grill. Grill the fish for 4 minutes on the first side and then flip for 30 seconds and remove. Let rest for 5 minutes.

4. Place the tortillas on the grill for 20 seconds.

Serves 4

LINNELL’S NOTES
1. *I use corn tortillas instead of flour tortillas. I think they are a better choice for tacos and they are slightly healthier to eat.

2. If you don’t want to grill the tortillas, you can warm them up in a frying pan on your cooktop.

3. The Kachumbari Salad I prepared last week goes wonderfully with these fish tacos.

Enjoy!

Read Full Post »

Kachumbari Salad: A Kenyan Tomato Salad Sweet vine-ripened tomatoes, the gems of summer, make the perfect base for salads. From Kenya comes this recipe that pairs tomatoes with red onions, cilantro, chile, and lime juice. Visually attractive and packed with flavor, this salad is the perfect side dish for summer entertaining. Tonight, those incredible flavors will marry beautifully with the fish tacos I’m serving!

Kachumbari Salad
Share: The Cookbook that Celebrates Our Common Humanity

INGREDIENTS
1 lb firm and ripe tomatoes, sliced or diced
1-1½ red onions, very thinly sliced
4 tablespoons fresh cilantro, chopped
1/4 cup extra virgin olive oil
1 chile, sliced (optional)
1-2 tablespoons lemon or lime juice
Salt and freshly ground black pepper

DIRECTIONS
1. Place the tomatoes into a medium salad bowl with the onions. Stir in the chopped cilantro.

2. Drizzle with the olive oil and stir in the chile, if using. Season and gradually add the lemon or lime juice to taste.

Serves 4

LINNELL’S NOTES
1. One pound of tomatoes is approximately 2.5 large tomatoes. For this recipe I used about two pounds of assorted tomatoes (cherry, heirloom, and beefsteak).

2. I cut the cherry tomatoes in half from top to bottom, but the larger tomatoes, I sliced crosswise into rounds.

3. Because I sliced them into rounds, I gently mixed the salad in a large pan instead of a bowl. This salad is attractive when arranged on a platter.

4. I used half of a red onion instead of a whole one and I’m glad I did. Even with this reduced amount, there were a lot of onions in this salad.

5. Here are some tips from Craig Kielburger, the contributor of this recipe to the cookbook: If you prefer a milder onion flavor, rinse the onion slices in hot salty water before putting them in the salad. This will ensure the onion is less harsh on the palate. Squeeze the lemon or lime juice into the salad just before serving to avoid sogginess. If the tomato and onion are chopped more finely, this recipe also works well as a homemade salsa.

6. The chile is optional, but its heat adds a nice flavor dimension to the salad.

ENJOY!

Read Full Post »

Garden Spider Image Helen, named after the main character in a children’s book, makes picking cherry tomatoes and cucumbers in my garden a challenging experience. People with arachnophobia would avoid this task, since Helen, a large garden spider, has woven a three-foot by six-foot web around the plants. As I look at her work, I recall reading Be Nice To Spiders to my children several decades ago. The storyline revolves around Helen, a spider, who provides many useful services to a zoo. My quandary is what I should do with my new pest-guest and her giant web? Should I destroy it and relocate her or should I just leave her alone and let her do her job?

#1 – Time to Move On
Left undisturbed, Helen, the spider, moved on within two days of my discovering her. Perhaps it was the constant clicking of my camera shutter that annoyed her? How do most of us know when it’s time to move on in our lives? Marc and Angel Hack Life wrote an article titled 9 Reasons It’s Time to Move On that’s filled with insightful and motivating thoughts.

#2 – Chalk It Up!
DIY Chalkboard Projects Chalkboard paint projects are popping up everywhere, from walls to furniture to wine glasses. There’s no reason not to have fun with this product. Here are a few articles to rev up your creativity:

8 Easy Chalkboard Paint DIYs to Try
20 Ways to Use Chalkboard Paint
22 DIY Chalkboard Projects

#3 -Something to Smile About
Mona Lisa image Here’s a short and fun art history lesson by art historian Kathy Galitz. Watch this 3-minute video from the Metropolitan Museum of Art, where she examines the meaning of smiles during different time periods. We can never learn enough about the world of art, can we?

#4 – Mom’s Recipes
Hand-Written Dutch Apple Cake Recipe I felt like I had discovered lost treasure, when I stumbled upon this flickr site. Someone named Phil scanned and shared all the recipes in his mother’s extensive recipe collection. When I look at the images of handwritten recipes on worn index cards and yellowed newspaper clippings, I appreciate the slice (pun intended) of history and nostalgia that they represent. Plus, I’ve found a few more recipes to try!

#5 – Catching Love
“The means to gain happiness is to throw out from oneself like a spider in all directions an adhesive web of love, and to catch in it all that comes.”
Leo Nikolaevich Tolstoy

Enjoy your weekend!

Read Full Post »

Homemade Ice Cream: Almond Butter Crunch Ice Cream The subject line of an email to my husband read, “Make this for me.” The body of the email was blank, except for a link to an online recipe. Possessing a sweet tooth and being the thoughtful man that he is, my husband came home from work with a shopping bag filled with necessary ingredients. In our family, not only does he bring home the bacon, he makes the ice cream, too!

Almond Butter Crunch Ice Cream
The Noble Pig

INGREDIENTS
1 cup almond butter
3/4 cup sugar
1/2 teaspoon table salt
2 cups heavy cream
2 cups whole milk
2 teaspoons vanilla bean paste or regular vanilla
1 cup vanilla almond crunch granola (large almonds removed) or your favorite granola

DIRECTIONS
1. Add almond butter, sugar and salt to the bowl of a stand mixer. Blend on medium speed for at least 5 minutes.

2. Add cream, milk and vanilla and mix another 2 minutes until fully incorporated.

3. Add cream mixture to the freezer bowl of your ice cream maker and freeze according to manufacturer’s directions. Right before removing, add your favorite granola and let mix in. (If your granola has large chunks, just stir it in rather than pour into the ice cream maker while it’s running.)

4. Place into a container when it’s done and freeze for 3 hours in the freezer.

Makes 1¼ quarts

LINNELL’S NOTES
1. To me this had the saltiness of salted-caramel. Next time, I’ll ask my husband to cut back on the salt and we’ll see which version we like better.

2. I chopped up some toasted almonds that I had on hand and added it to the leftover granola. The additional nuts and granola made a great topping for this ice cream.

3. For those of you wondering if the granola remained crunchy, I can positively say it did–down to the very last spoonful!

Enjoy!

Read Full Post »

Sweet Potato Fries For Dogs Hold the ketchup! Hold the salt! These baked sweet potato fries are perfect just the way they are! Perfect for dogs, that is. If most people could adjust their palates to accept baked fries with no added sodium, these would be perfectly delicious for humans, too!

Sweet Potato Fries For Dogs
Adapted from a recipe from Food.com

INGREDIENTS
Uncooked sweet potatoes or yams

DIRECTIONS
1. Preheat oven to 250 degrees F.

2. Wash the skins of the sweet potatoes thoroughly and blot dry.

3. Cut the sweet potatoes in half lengthwise.

4. Cut the halves in lengthwise slices.*

5. Place the slices on a cookie sheet in a single layer.

6. Bake in the oven for about 3 hours.

7. After the fries cool down, it’s time for a taste test! Romeo keeps his eyes on the prize and he lifts his paw to a begging position . . . sniff, sniff . . . yes, he likes it! Romeo's Taste Test

LINNELL’S NOTES
1. I experimented with two varieties of sweet potatoes. My dog liked them both, but obviously the orange variety is more attractive-looking.

2. Try cutting the sweet potatoes as uniformly as possible for consistent baking. Leave the skin on for added fiber and micronutrients.

3. I set my oven to 280 degrees F. and baked the fries for 3 hours. Some of the fries were crunchy and some were chewy at this point. If your dog likes them crunchier, remove the crunchy ones from the sheet and continue to bake the chewy ones a little longer.

4. *As the slices bake and lose moisture, they will shrink. Take this into account when you are slicing the sweet potatoes and make the slices the appropriate size for your dog.

5. Sweet potatoes will release a sticky syrup as they bake, so I covered my baking sheets with parchment paper.

WOOF! WOOF! ENJOY!

Read Full Post »

Zucchini with Corn and Green Chilies Trying to think of different ways to prepare the summer bounty harvested from your vegetable garden? This recipe, from the famous Pink Adobe Restaurant in Santa Fe, New Mexico, utilizes summer favorites such as zucchini, fresh corn, and green chilies. For an additional fresh pop of flavor and color, dice and toss in some sweet vine-ripened tomatoes from your garden.

Zucchini with Corn and Green Chilies
The Pink Adobe Cookbook

INGREDIENTS
1/4 cup (1/2 stick) butter
1 T olive oil
1/2 cup chopped onion
1/2 cup chopped fresh green chilies
4 cups sliced zucchini, 1/2-inch thick
1½ to 2 cups fresh corn kernels, scraped from about 4 ears
1 tsp salt
1/4 tsp dried oregano
1/4 tsp cumin seed
1/2 cup chicken or beef broth

DIRECTIONS
1. Heat the butter and olive oil in a 12-inch skillet.
2. Sauté the onion and green chilies for about 3 minutes.
3. Add the zucchini, corn, salt, oregano, and cumin seed. Mix well. Stir in the broth.
4. Cover the skillet and simmer until the zucchini is crisp-tender, about 5 minutes. Serve hot.

LINNELL’S NOTES
1. The ears of corn I used must have been on the large side. I had a lot more than 2 cups of kernels. Not wanting the extra to go to waste, I threw them in to the mix. It probably would have been better if I measured the kernels after I cut three ears.

2. Try to cut the zucchini the same thickness, so that all the slices cook evenly.

3. In my post Creamed Summer Corn, I wrote a tip on how to safely and easily cut kernels off of a corn cob. Here’s the tip again: Place a damp kitchen towel on your kitchen counter. Place a tube pan or Bundt pan on the towel to prevent the pan from slipping. Insert the stem end of the corn cob into the hole of the pan. Hold the top of the ear of corn and slice down straight, pressing against the cob until you reach the bottom. The kernels will fall into the pan. Kitchen Tip: How to cut kernels off corn cob

4. When I cut chilies, I wear gloves that are designated for food preparation only. A little bit of chili oil rubbed in the wrong place (eyes, mouth, nose, etc.) can burn! Kitchen Tip: Designate a pair of gloves for food preparation

ENJOY!

Read Full Post »

Sparkling Ginger Lemonade Fizzy, spicy, tart, and sweet come together to create an intriguing beverage. Honey-lemon and lemon-ginger are well-known flavor pairings, but when you put all three flavors together and add some chilled sparkling water, you have a refreshing combination! I could have used this sweetly soothing drink a couple of months ago when I had a summer cold!

Sparkling Ginger Lemonade
Taste of Home Magazine

INGREDIENTS
2 cups water
1 cup honey
2 tablespoons minced fresh ginger
2 cups club soda, cold
1 cup freshly squeezed lemon juice

DIRECTIONS
1. In a small saucepan, combine the water, honey and ginger. Bring to a boil, then remove from the heat, cover and let steep for 10 minutes.

2. Place a mesh strainer over a bowl and strain the mixture into it, discarding the ginger. Transfer the mixture to a pitcher and cool completely.

3. Stir in the soda and lemon juice.

4. Serve over ice.

Serves 5

LINNELL’S NOTES
1. This was a bit too sweet for me, so the next time I make it I will cut back on the amount of honey.
2. The best way to peel ginger is to scrape it off with the edge of a spoon.
3. This recipe does not make very much. You will need to double or triple the recipe to fill an average-sized pitcher.
4. Adult version: add vodka or gin to taste!

ENJOY!

Read Full Post »

« Newer Posts - Older Posts »