Feeds:
Posts
Comments

Archive for the ‘Gift Ideas’ Category

Scarves for Homeless 
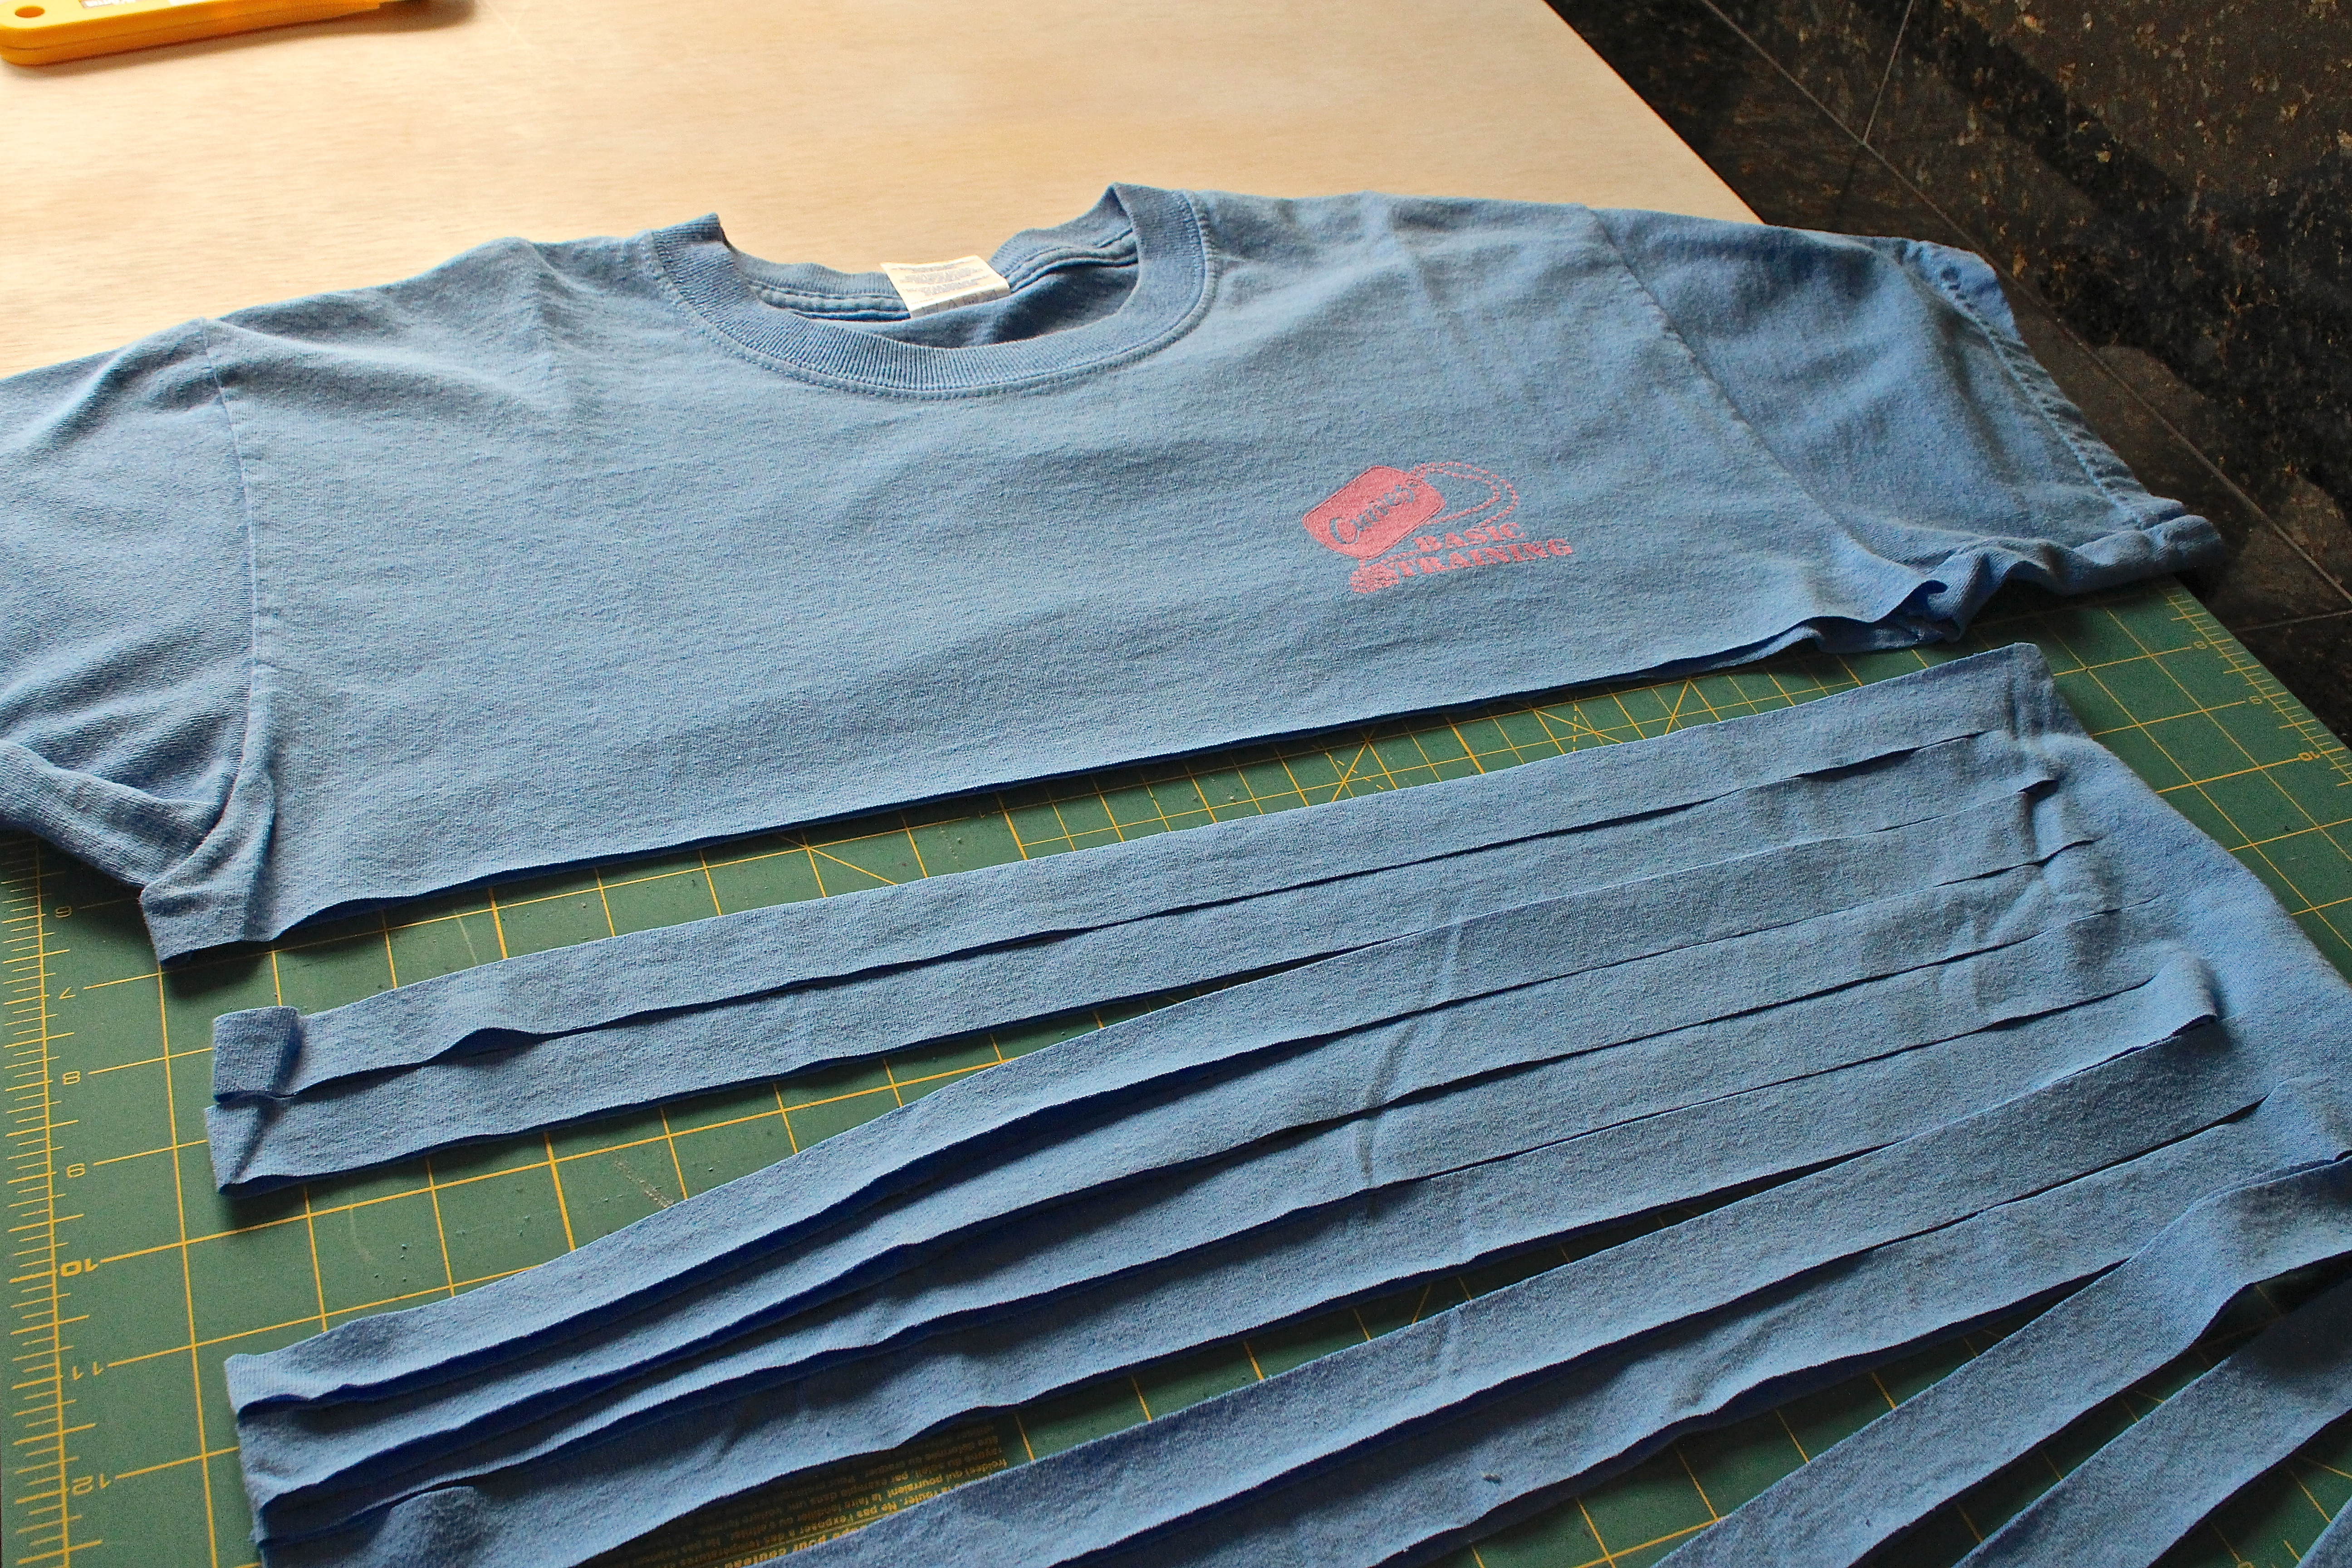
Rainbow lint covers every imaginable surface in my home. T-shirt scarves tagged and waiting to be bagged lie in yard-high heaps on my dining room table. 344 scarves to be exact, an amount that far exceeds my original goal of 100. These scarves and the two dozen t-shirt tote bags will go far to warm the bodies and hearts of the homeless. My right hand and wrist ache from all the repetitive cutting and pulling, but as I view the piled scarves, I am overwhelmed. Many thanks to all those who contributed t-shirts to my project and to my wonderful friends who shared part of their day to help me create some of the scarves. Start saving your clean and gently-worn t-shirts for me, because next year my project will be bigger and better!

#1 – Live Longer
Secrets to a Long Life Knowing the incredible feeling I get from helping others, I’m not surprised that number 13 of Secrets of a Long Life: 25 Simple and Surprising Tips to Help You Live to 100 is “Be helpful and lend a hand to others.” The article goes on to state that “A long-term US study found that people who volunteered regularly over a lifetime lived significantly longer than those who didn’t. Volunteers also experienced less depression, fewer pains and better general health.” Find a way to expand your heart and, perhaps, you’ll live longer.

#2 – One Second of Every Day
Time flies by. Hours become days, days become months, and months become years. How can we remember the many significant moments of our entire lives? Cesar Kuriyama talks in this TED video about his ongoing project of recording one second of his life everyday and why he does it.

#3 – Fall Fantasy
Japanese Garden at Royal Roads University in British Columbia Fall Fantasy is a photo collection that captures glorious fall images from around the world and pairs them with inspirational sayings. Autumn’s beauty is displayed at its height of splendor!

#4 – Christmas, Already?
25 DIY Christmas Ornament Ideas It’s only fall, so this entry may be jumping the gun. However, if you’re a DIY-type-of-person, the time to start holiday crafting is right now! There are so many cute and clever re-purposing ideas in 25 DIY Christmas Ornament Ideas, you’ll want to start a few projects today!

#5 – Relativity of Life

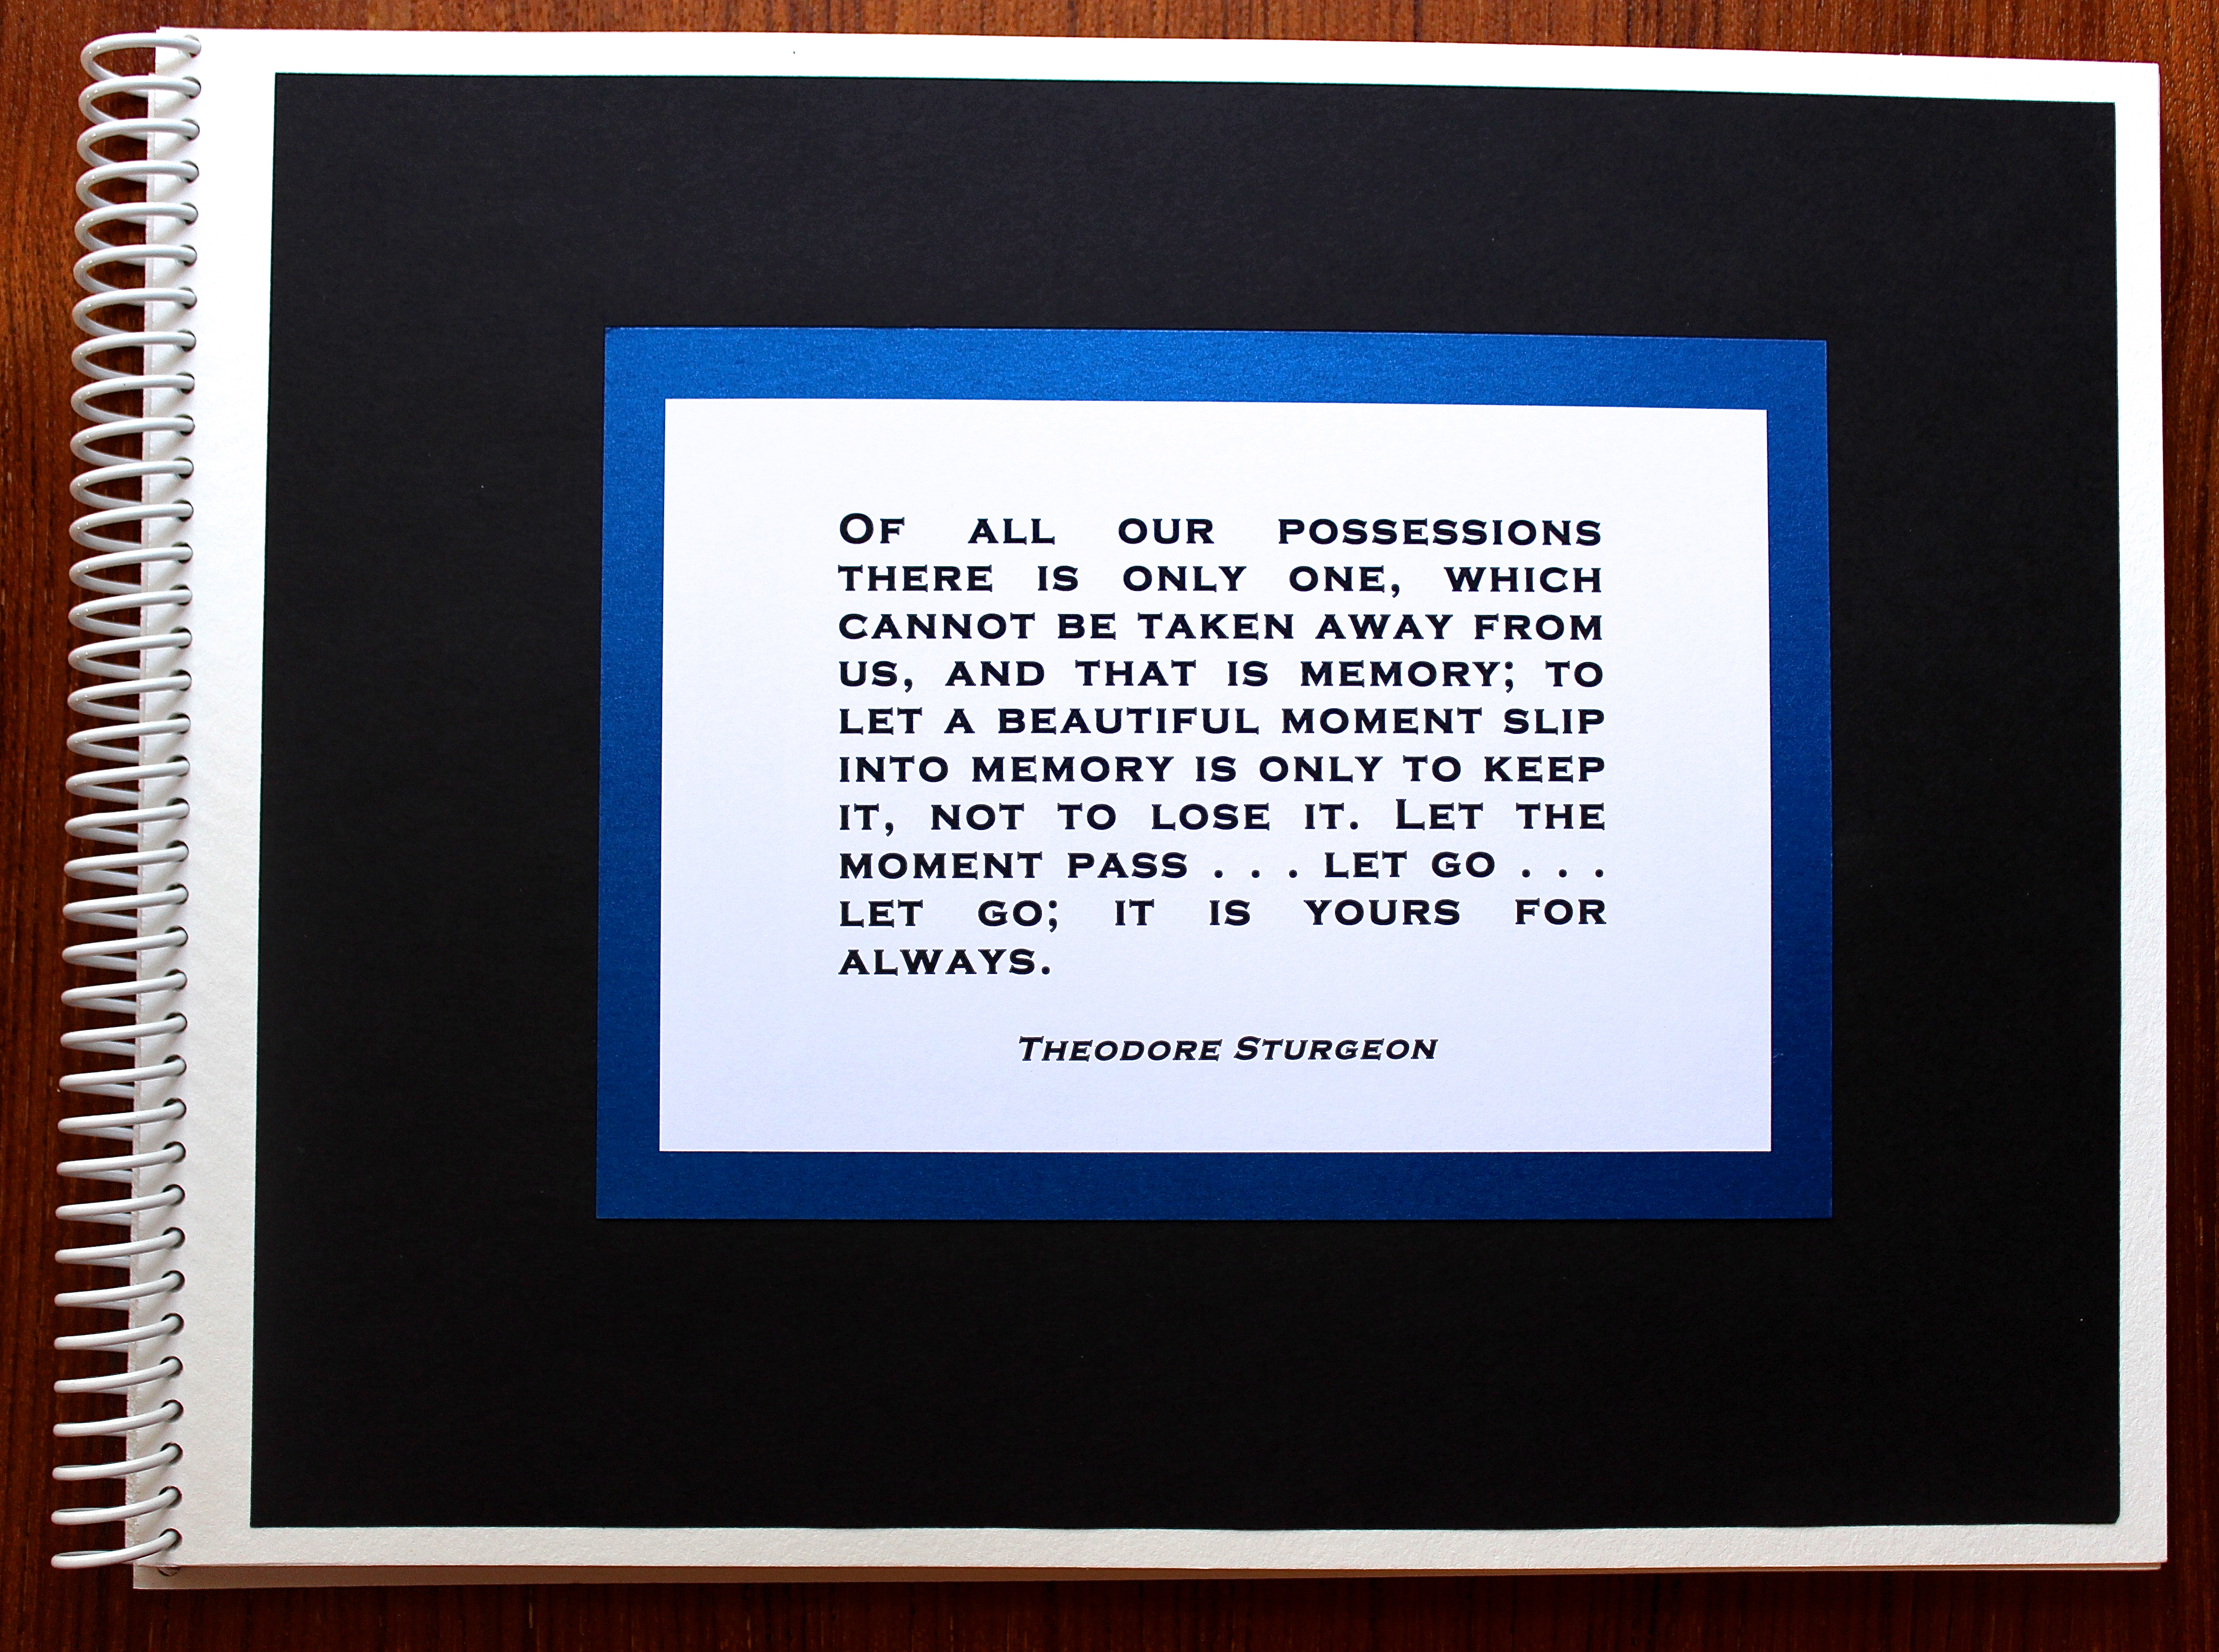
Strange is our situation here upon earth.
Each of us comes for a short visit,
not knowing why,
yet sometimes seeming to a divine purpose.
From the standpoint of daily life, however,
there is one thing we do know:
That we are here for the sake of others,
for the countless unknown souls
to whose fate we are connected
by a bond of compassion. Many times a day, I realize
how much my outer and inner life
is built upon the labors of others,
both living and dead,
and how earnestly I must exert myself
in order to give in return as much as I have received.
– Albert Einstein

Now Go and Spread Joy!

Read Full Post »

Lemon Tea Sugar Scrub Cold winds, dry heat, yard work, cooking, cleaning, etc. all contribute to making your skin rough and dry. Without spending a fortune and in only a few minutes, you can make a deliciously moisturizing scrub for your face and body. Keep containers of this wonderful scrub near your kitchen and bathroom sinks or your shower stall for whenever your skin needs a little tender loving care. To give away as gifts, put the scrub in cute jars, add labels, and tie on little spoons or scoops. Its fresh natural fragrance appeals to both guys and gals!

Lemon Tea Sugar Scrub
The Big-Ass Book of Crafts by Mark Montano

INGREDIENTS AND SUPPLIES
1 cup sugar
3 tablespoons Epsom salt
10 teaspoons olive oil
2 teaspoons honey
3 green tea bags
1 lemon to zest
Grater or zester
Large mixing bowl
Beautiful container

DIRECTIONS
1. Grate your lemon rind and set aside the zest.

2. In the large mixing bowl, combine and mix the sugar, Epsom salt, and loose tea (just rip open the bags and sprinkle the leaves in).

3. Add in the olive oil and mix.

4. Add the honey and combine well.

5. Add the lemon zest.

6. Mix everything in the bowl, then fill up your container.

LINNELL’S NOTES
1. Instead of using tea bags, I used loose-leaf green tea that I had at home. I estimated the amount of leaves that would be contained in three tea bags and I crumbled them into a bowl.

2. The next time I make this, I think I will try using a lemon-infused olive oil.

3. Little jars of this scrub make lovely hostess gifts or party favors.

ENJOY!

Read Full Post »

T-Shirt Scarves

I am only one,
But still I am one.
I cannot do everything,
But still I can do something;
And because I cannot do everything,
I will not refuse to do the something that I can do.

Edward Everett Hale

This quote resonates in my heart and propels me to find ways to help others. A few weeks ago, I hit upon an idea that not only helps others, but helps planet Earth as well. I am but one person, but I am one person who can make scarves for the homeless out of clean and gently-worn t-shirts. To some people scarves are fashion accessories that lend a splash of color to stylish outfits, but for the homeless scarves are necessities to help them survive the bitter cold. My goal is to make 100 scarves from donated t-shirts that otherwise would be discarded and distribute them to the homeless via a local homeless shelter. I will continue to make scarves for the homeless as long as I keep receiving t-shirt donations.

You are but one person, but you, too, can help. Follow the easy directions below to make scarves and call your local homeless shelters to find out the best way to distribute your scarves.

HOW TO MAKE T-SHIRT SCARVES

YOU WILL NEED
T-shirts, the larger the shirt, the longer the scarf loops will be
Sharp scissors or rotary cutter
Cutting mat, if using a rotary cutter
Yardstick

INSTRUCTIONS
1. Lay the t-shirt down on a flat surface. Smooth fabric and make sure bottom and sleeve hems are even.

2. Cut the bottom hem off. T-Shirt Scarf Instructions

3. Starting at the bottom of the shirt (on the right side of the photo), cut 3/4-inch strips from side to side on the shirt (bottom to top in this photo). Do not cut through the last inch. Stop cutting rows when you get to the sleeves. T-Shirt Scarf Instructions

4. When you reach the sleeves, cut shirt completely from side to side. T-Shirt Scarf Instructions

5. At this point you should have a series of loops attached by a “spine.”T-shirt Scarf Instructions

6. Thread the spine through your arm and pull each loop to make the fabric curl. T-Shirt Scarf Instructions

7. With the remaining shirt, cut a strip out of it and pull it to make it curl. Tie a knot at each end. T-Shirt Scarf Instructions

8. Gather the spine in one hand. T-Shirt Scarf Instructions

9. Using the small knotted strip, tie a knot around the gathered spine.
T-Shirt Scarf Instructions

10. Et voilà, you have a t-shirt scarf! DIY T-Shirt Scarf

Now go and spread joy!

Read Full Post »

Garden Spider Image Helen, named after the main character in a children’s book, makes picking cherry tomatoes and cucumbers in my garden a challenging experience. People with arachnophobia would avoid this task, since Helen, a large garden spider, has woven a three-foot by six-foot web around the plants. As I look at her work, I recall reading Be Nice To Spiders to my children several decades ago. The storyline revolves around Helen, a spider, who provides many useful services to a zoo. My quandary is what I should do with my new pest-guest and her giant web? Should I destroy it and relocate her or should I just leave her alone and let her do her job?

#1 – Time to Move On
Left undisturbed, Helen, the spider, moved on within two days of my discovering her. Perhaps it was the constant clicking of my camera shutter that annoyed her? How do most of us know when it’s time to move on in our lives? Marc and Angel Hack Life wrote an article titled 9 Reasons It’s Time to Move On that’s filled with insightful and motivating thoughts.

#2 – Chalk It Up!
DIY Chalkboard Projects Chalkboard paint projects are popping up everywhere, from walls to furniture to wine glasses. There’s no reason not to have fun with this product. Here are a few articles to rev up your creativity:

8 Easy Chalkboard Paint DIYs to Try
20 Ways to Use Chalkboard Paint
22 DIY Chalkboard Projects

#3 -Something to Smile About
Mona Lisa image Here’s a short and fun art history lesson by art historian Kathy Galitz. Watch this 3-minute video from the Metropolitan Museum of Art, where she examines the meaning of smiles during different time periods. We can never learn enough about the world of art, can we?

#4 – Mom’s Recipes
Hand-Written Dutch Apple Cake Recipe I felt like I had discovered lost treasure, when I stumbled upon this flickr site. Someone named Phil scanned and shared all the recipes in his mother’s extensive recipe collection. When I look at the images of handwritten recipes on worn index cards and yellowed newspaper clippings, I appreciate the slice (pun intended) of history and nostalgia that they represent. Plus, I’ve found a few more recipes to try!

#5 – Catching Love
“The means to gain happiness is to throw out from oneself like a spider in all directions an adhesive web of love, and to catch in it all that comes.”
Leo Nikolaevich Tolstoy

Enjoy your weekend!

Read Full Post »

DIY Gift Book Life is a series of bridge-crossings. We come to points in our lives where chasms, sometimes shallow and sometimes deep, appear before us. Questions swirl in and around our souls. Do we dare cross to the other side or do we stay in place? Will we be okay if we cross over to the unfamiliar and the unknown? Do we have the resolve and strength it takes to step onto the bridge? To cross a bridge is to make a commitment. It means we’ve decided to let go of where we stand and move forward.

As I watched a friend deal with back-to-back life-chasms, I witnessed the exhausting decisions she was forced to make. She bravely crossed one bridge after another, until she came to a big one: to sell her home, to leave behind memories, and to start anew. Knowing that this was a monumental step for her and knowing the memories that the house held for her, I gave her the only thing I could think of – a “bridge” book. My concept of this book was to link her memories with inspiration for the future. I accomplished this by taking photographs of beautiful and meaningful areas surrounding her home and paired them up with inspirational quotes. After informing her real estate agent about my project, I took most of the photos during an open house. On occasion, when I knew the lighting would be perfect in her garden, I’d sneak into her yard and snap a few more! With my friend’s permission, I’d like to share a few pages of her Bridge Book with you:

The Bridge Book: A n Inspirational Book for Moving On

Introductory Page

The Bridge Book: An Inspirational Gift For Someone Moving On

The Bridge Book: An Inspirational Gift For Someone Moving On

The Greenhouse: A Husband’s Hobby

The Bridge Book: An Inspirational Gift For Someone Moving On

Liquid Amber: A Father’s Gift

The Bridge Book: An Inspirational Gift for Someone Moving On

The Bridge

The Bridge Book: An Inspirational Gift For Someone Moving On

The Bridge Book: An Inspirational Gift For Someone Moving On

The Bridge Book: An Inspirational Gift For Someone Moving On

Closing Page: A New Beginning

As we cross the bridges that lie before us, may we remember to always move forward and to only look back for inspiration.

Read Full Post »

T-shirt Gift Bag The wanna-be artist in me was delighted when one of my nieces requested manga drawing materials for her birthday. Rather than spend money on a paper gift bag to hold her art supplies, I thought it would be more fun to put them in a cute and sturdy t-shirt bag. A while back I posted the instructions on how to make a T-Shirt Bag, but since this bag was a gift, I made the finished product nicer by adding a few steps: I “boxed” the bottom and sewed bias tape around the raw openings. After transforming a black and white “History of Art” t–shirt (leftover from my art docent days) into a bag, I tied it up with a large colorful ribbon. My talented niece now has a reusable gift bag/art tote and I’m pleased that I re-purposed another item!

#1 – Art in Clothes and Clothes in Art

Art by Kaarina Kaikkonen

Kaarina Kaikkonen: The Blue Route

Finnish environmental artist Kaarina Kaikkonen re-purposes t-shirts and other second-hand clothes with a different creative goal in mind. She creates dreamlike art installations. The power of her work lies in how she ties her message to each site of installation. Ms. Kaikkonen says of her work, “My work talks about people, how people from different backgrounds are connected together, about life as a journey.” You can see more of her work here.

#2 – Clever Kitchen Ideas
Reuse broken hangers as bag clipss A hanger can be used for more than hanging clothes as seen by this photo. Check out these 10 Clever Kitchen Lifehacks.

#3 -Made You Smile
We can all come up with clever and creative ways to make our lives easier and more enjoyable, but how about coming up with ways to make each others’ lives happier, at least for a moment? It can start with a smile. Mark and Angel Hack Life have compiled a list called 88 Ways to Make a Stranger Smile and the first entry is “Smile often.”

#4 – Exploring Caves
Fingals Cave in Scotland Exploring caves around the world is not at the very top of my bucket list, but I can say that I’ve been to at least one of the caves featured in 23 of the World’s Most Insane Caves That You Can Explore. After looking through this series of photos of nature’s amazing creations, I am now adding visits to a few of them to my bucket list!

#5 – Creativity According to Rainn
“Everyone is creative in their own way and that, that creativity is a great thing. It’s a human thing and it needs to be nurtured and it can help us go down life’s path and help us to become deeper, richer, more satisfied human beings.”
Rainn Wilson

“If it’s a pure expression of yourself no matter what it is or what medium, it’s going to shine. It’s going to resonate. You could look inside of yourself and you could have a canvas and you could paint a dot in it, but if that is where your creative purpose is taking you then it needs to be that dot.”
Rainn Wilson

Let your creativity shine this weekend!

Read Full Post »

Salted Butter Breakups Food always tastes better when it’s shared. But here’s the dilemma: Would you actually want to share a super-sized butter cookie that contains the perfect balance of flavors – not too sweet and not too salty – and the perfect balance of textures – crispy on the outside and delightfully soft and chewy on the inside? Its name, Salted Butter Breakups, indicates that this big delicious cookie is meant to be broken up and shared. Bake one up to share with friends or succumb to temptation and eat the entire sweet glory all by yourself. You choose.

Salted Butter Breakups
Adapted from From Around My French Table, by Dorie Greenspan

INGREDIENTS
1¾ cups all-purpose flour
2/3 cup sugar
3/4 to 1 teaspoon sel gris or kosher salt
1 stick plus 1 tablespoon (9 tablespoons) cold unsalted butter, cut into 18 pieces
3 to 5 tablespoons cold water
1 egg yolk, for the glaze

DIRECTIONS
1. Put the flour, sugar and salt in the workbowl of a food processor and pulse to combine. Drop in the pieces of butter and pulse until the mixture looks like coarse meal – you’ll have big, pea-size pieces and small flakes. With the machine running, start adding the cold water gradually. Add just enough water to produce a dough that almost forms a ball. When you reach into the bowl to feel the dough, it should be very malleable.

2. Scrape the dough onto a work surface, form it into a square and pat the square down to flatten it a bit. Wrap the dough in plastic and chill it for about 1 hour (or as long as overnight).

3. When you’re ready to bake, center a rack in the oven and preheat the over to 350 degrees F. Line a baking sheet with a silicone mat or parchment paper.

4. Remove the dough from the fridge and, if it’s very hard, bash it a few times with your rolling pin to soften it. Put the dough between sheets of plastic film or wax paper and roll it – or pat it – into a rectangle that’s about 1/4-inch thick and about 5-x-11 inches; accuracy and neatness don’t count for a lot here. Transfer the dough to the lined baking sheet.

5. Beat the egg yolk with a few drops of cold water and, using a pastry brush, paint the top surface of the dough with the egg wash. Using the back of a table fork, decorate the cookie in a cross-hatch pattern.

6. Bake the cookie for 30 to 40 minutes, or until it is golden. It will be firm to the touch, but have a little spring when pressed in the center – the perfect breakup is crisp on the outside and still tender within. Transfer the baking sheet to a rack and allow the cookie to cool to room temperature.

Serving: If fun is what you’re after, bring the breakup to the table whole and let everyone break off pieces big and small; if order suits you better, break the cookie in the kitchen and serve the pieces on a plate.

Storing: The baked cookie will keep in a container for about 3 days. You can make the dough up to 3 days ahead and keep it in the refrigerator, or you can wrap it airtight and freeze it for up to 2 months. Don’t brush the dough with egg wash until you’re ready to bake it.

Makes 4 servings

LINNELL’S NOTES:
1. Sel gris means gray salt in French. It is a coarse-textured flavorful salt harvested in France.

2. My husband liked the salty bite this cookie had, so the next time I make this cookie, I will try adding 1 teaspoon of salt instead of the 3/4 teaspoon that I used.

3. I baked the cookie for about 30 minutes. Because I thought the edges were the tastiest part, next time I will bake it a little bit longer to get more of the crispy browned-butter flavor throughout.

4. Although the cookie can be stored in an airtight container for a few days, it loses its crispiness. It’s best when consumed within a couple of hours after baking.

5. This cookie alone makes an easy dessert, but if you accompany it with some fresh seasonal fruit, such as peaches or berries, it becomes a fabulous dessert treat.

ENJOY!

Read Full Post »

First Kiss Rose Delicate porcelain-like petals unfurl into a creamy kiss of pink — First Kiss to be exact. All the qualities of a first kiss can be seen in its blossoms: blush, innocence, and joy. Admiring the beauty of this rose had me wondering about the person who named it. This person’s first kiss must have left an everlasting imprint. Do you remember your first kiss?

#1 – 96 Seconds of Joy
This video has been around for awhile, but it never fails to make me smile. The pure joy the dog exhibits is a reminder for all of us to live in the moment and to do what we love with gusto!

#2 – Amazing Product Designs

Bottle Opener Cell Phone Case

Bottle Opener Cell Phone Case

Loving clever and innovative designs, I always enjoy sharing them. Some of these designs, compiled by Glorious Mind, are Eco-friendly, some of them are extraordinarily clever, and some of them are just playful.

#3 – Homemade Hand Scrub
Black Sand Hand Scrub After a long day working in the garden or around the house, it’s nice to treat your hands to a moisturizing scrub. From the site StyleList comes this recipe for Black “Sand” Scrub, a scrub packed with good things:

1 cup leftover coffee grounds
2 tablespoons macadamia oil
1/4 cup of steel cut oats
Contents of 1 tea bag of high antioxidant tea

Combine coffee, oil, oats, and tea in a small disposable bowl until everything is well-blended in the oil. Scrub into skin using a circular motion.

#4 – Three Simple Materials

Art by Kumi Yamashita

By Kumi Yamashita

Last Friday I featured an artist who used thread and nails to create huge rainbow-like art installations. This week I’m featuring a talented Japanese artist named Kumi Yamashita who uses similar media to create portraits. Of her Constellation series, Yamashita says, “This body of work consists of three simple materials that, when combined, produce the portraits: a wooden panel painted a solid white, thousands of small galvanized nails, and a single, unbroken, common sewing thread.” While on her website view some of her other amazing portraits made from different media.

#5 – Dreamers and Doers
The world needs dreamers and the world needs doers. But above all, the world needs dreamers who do.
Sarah Ban Breathnach

Kiss someone you love this weekend!

Read Full Post »

Gardenia The scent of gardenias wafts through an open window and lingers in the room. I inhale slowly and let the intoxicating fragrance permeate my soul. I feel drugged and I can no longer focus on the task at hand. As a Marcel Proust-moment transports me from the present back to my past, I begin to hear the clanging of trolley cars and the hissing of bus doors opening and closing. In my mind, I see my mother bending over a very young version of me and asking, “Would you like to pick out a flower?” People push past us on the crowded street as I examine the buckets of flowers at a corner flower stand. My small hands reach for a large creamy-white swirl of petals. The sweet fragrance is nothing like I’d ever smelled before and I repeatedly sniff the blossom. “That’s a gardenia,” my mother says. I nod and guard my treasure as we board a bus for the ride home. My reverie ends with the ringing of my cell phone and I return to the present. Gardenias will forever remind me of my mother and of that time in my life, but even more than that, they are reminders to me of how little seeds can be planted deep.

#1 – Remember Fathers
With Father’s Day coming up, here’s a video tribute that triggers memories of all that fathers do:

#2 – Eat Your Words
Harry Potter Cake Books and birthday cakes can each be a source of fond memories. What if the two entities joined forces and became “book-cakes” or “cake-books”? If you love books and you love eating cakes, you’ll enjoy scrolling through the photos of 24 Incredible Cakes Inspired By Books.

#3 – Best-Value Destinations
One of my favorite travel memories happened while I was in Italy with my husband, my kids, and three of their friends. We had just finished touring the Galleria Borghese and were slowly walking back to our hotel. Somehow our conversation turned to skipping and how some people in the family couldn’t skip. Before I knew it my adult children and their friends were having a skipping relay race on the dirt paths outside the villa. I still laugh when I watch the video of the race! Create your own travel memories, but before you decide where to go, check out Lonely Planet’s Best-Value Destinations in Europe for 2013.

#4 – Make Gift Bows From Magazine Pages
Make gift bows using magazine pages to decorate Father’s Day and graduation gifts. How cute, colorful, and clever! Click here for the complete instructions. Make Bows From Magazines

#5 – Words of Wisdom
I hope that my achievements in life shall be these:
that I will have fought for what was right and fair,
that I will have risked for that which mattered,
that I will have given help to those who were in need,
and that I will have left the earth a better place
for what I’ve done and who I’ve been.
C. Hoppe

HAPPY FATHER’S DAY to all fathers and CONGRATULATIONS to all graduates!

Read Full Post »

Sharpie Art:Painting T-shirts

Photo by Linnell Chang

“Sorry kids, but Grandma can’t knit and Grandma can’t crochet.” This is my apology to my future grandchildren. Unless a miracle happens, they won’t be receiving lovely knitted sweaters or soft crocheted blankets from me. Odds are they will receive one-of-a-kind creative gifts from this funky Grandma. They might even get colorful tied-dyed-looking garments decorated with Sharpie Pens. But don’t worry, future grandkiddies, Grandma is practicing her technique!

Supplies:
Sharpie Art Supplies
1. Rubbing alcohol
2. Liquid medicine dropper
3. Small bowl
4. Plastic cups in varying sizes
5. Rubber bands
6. Sharpie Pens
7. Prewashed white cotton t-shirts
8. Old t-shirt to practice technique
9. Paper towels

Directions:
1. Select a spot on your practice t-shirt. Place a cup underneath the spot, smooth fabric, and secure with a rubber band. Sharpie Art: Painting a t-shirt

2. Select the Sharpie Pen colors for your design. Keep in mind that primary colors are red, yellow, and blue and that secondary colors are any two primary colors combined. With that in mind, be careful not to blend too many secondary colors together or else you will end up with a muddy brown mess.

3. Draw a small design on your fabric area. Like watercolors, the ink is going to flow, so you want to keep your design on the smaller side. Your design could end up double its size when finished. I tried to keep my drawings between 1/2-inch to 1-inch in size. Sharpie Art: Painting a t-shirt

4. Pour rubbing alcohol in a small bowl. Fill the medicine dropper with alcohol and place drops strategically on your design. Think about where you want the colors to flow. For a circular design, like a tie-dye style, start in the center. In the case of the small circles I drew, each received a its own drop. Sharpie Art: Painting t-shirts

5. Take off the rubber band and let the design dry. Sharpie Art: Painting T-shirts

6. Practice, practice, and practice. When you feel you have practiced enough, repeat the same steps using your good t-shirts.
Sharpie Art: Painting T-shirts

7. Heat set the colors in your dryer. Wash separately at first to make sure the colors do not run onto other fabrics.

Linnell’s Notes:
1. I used a small medicine dose cup, when I was working on an infant t-shirt.

2. In some cases where I did not want my design to be round, I did not use a cup under the fabric. I folded a piece of paper towel into quarters and placed that underneath the top layer of the shirt, to prevent colors from running on to the back layer. After smoothing the surface of the shirt, I drew my design on the front and then dropped alcohol on it.

3. This art form is fun, but unpredictable. I experimented with color combinations and practiced my technique on an old t-shirt before creating a design on the “good” t-shirt.

4. After my designs were dried, I went back with the Sharpie Pens and added embellishment and definition where needed – fish fins, bubbles, etc.

5. This would be a fun project to do with children!

Have fun and let the colors and your imagination flow!

Read Full Post »

« Newer Posts - Older Posts »