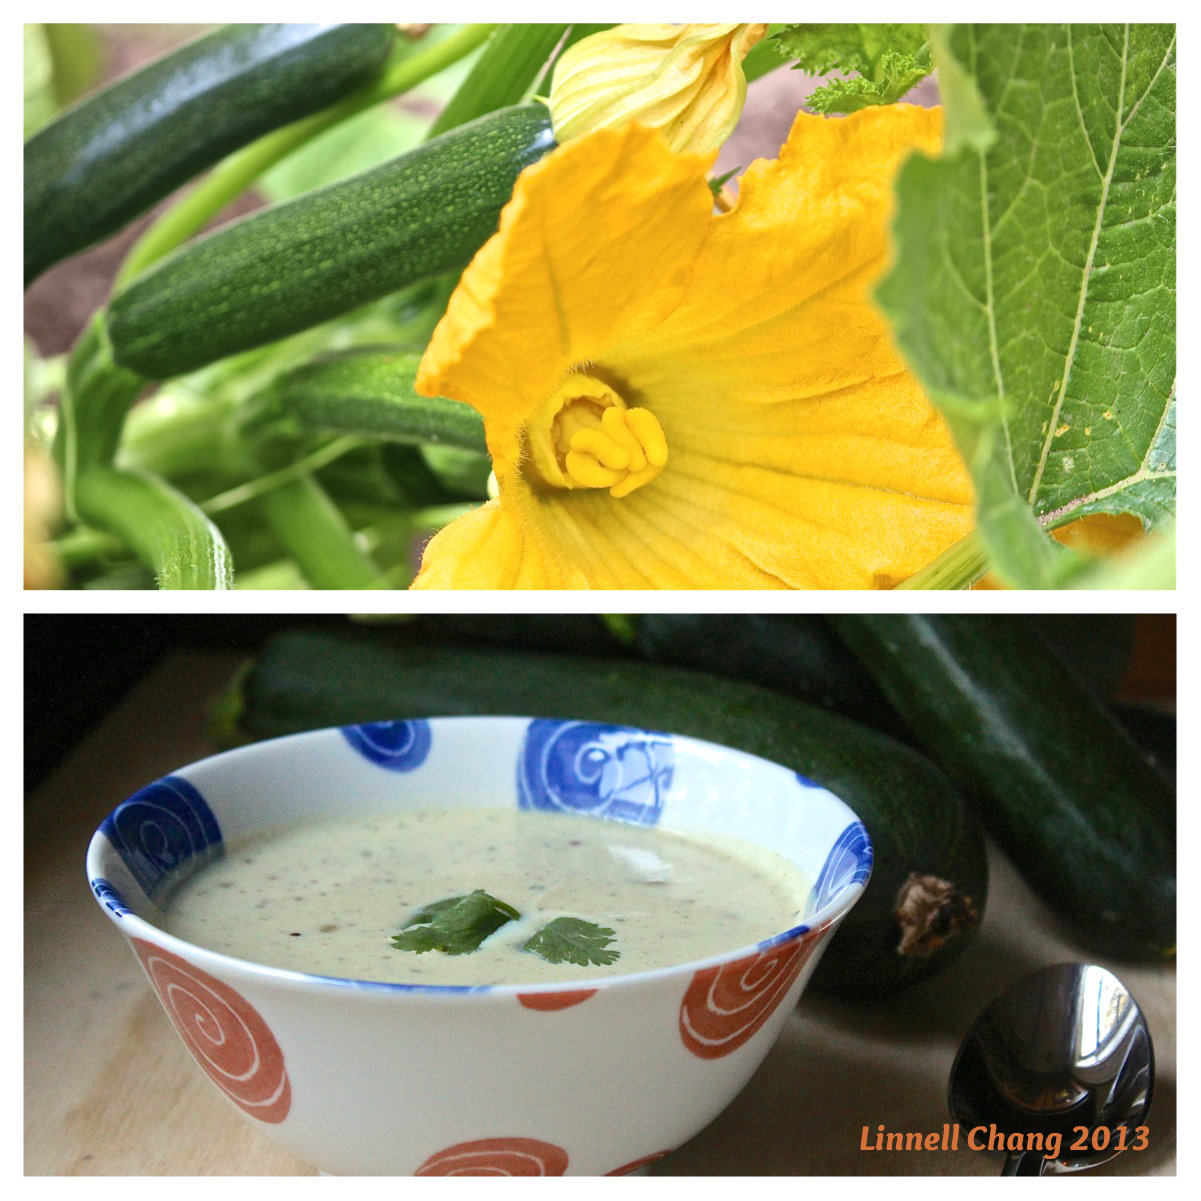
 Trying to think of different ways to prepare the summer bounty harvested from your vegetable garden? This recipe, from the famous Pink Adobe Restaurant in Santa Fe, New Mexico, utilizes summer favorites such as zucchini, fresh corn, and green chilies. For an additional fresh pop of flavor and color, dice and toss in some sweet vine-ripened tomatoes from your garden.
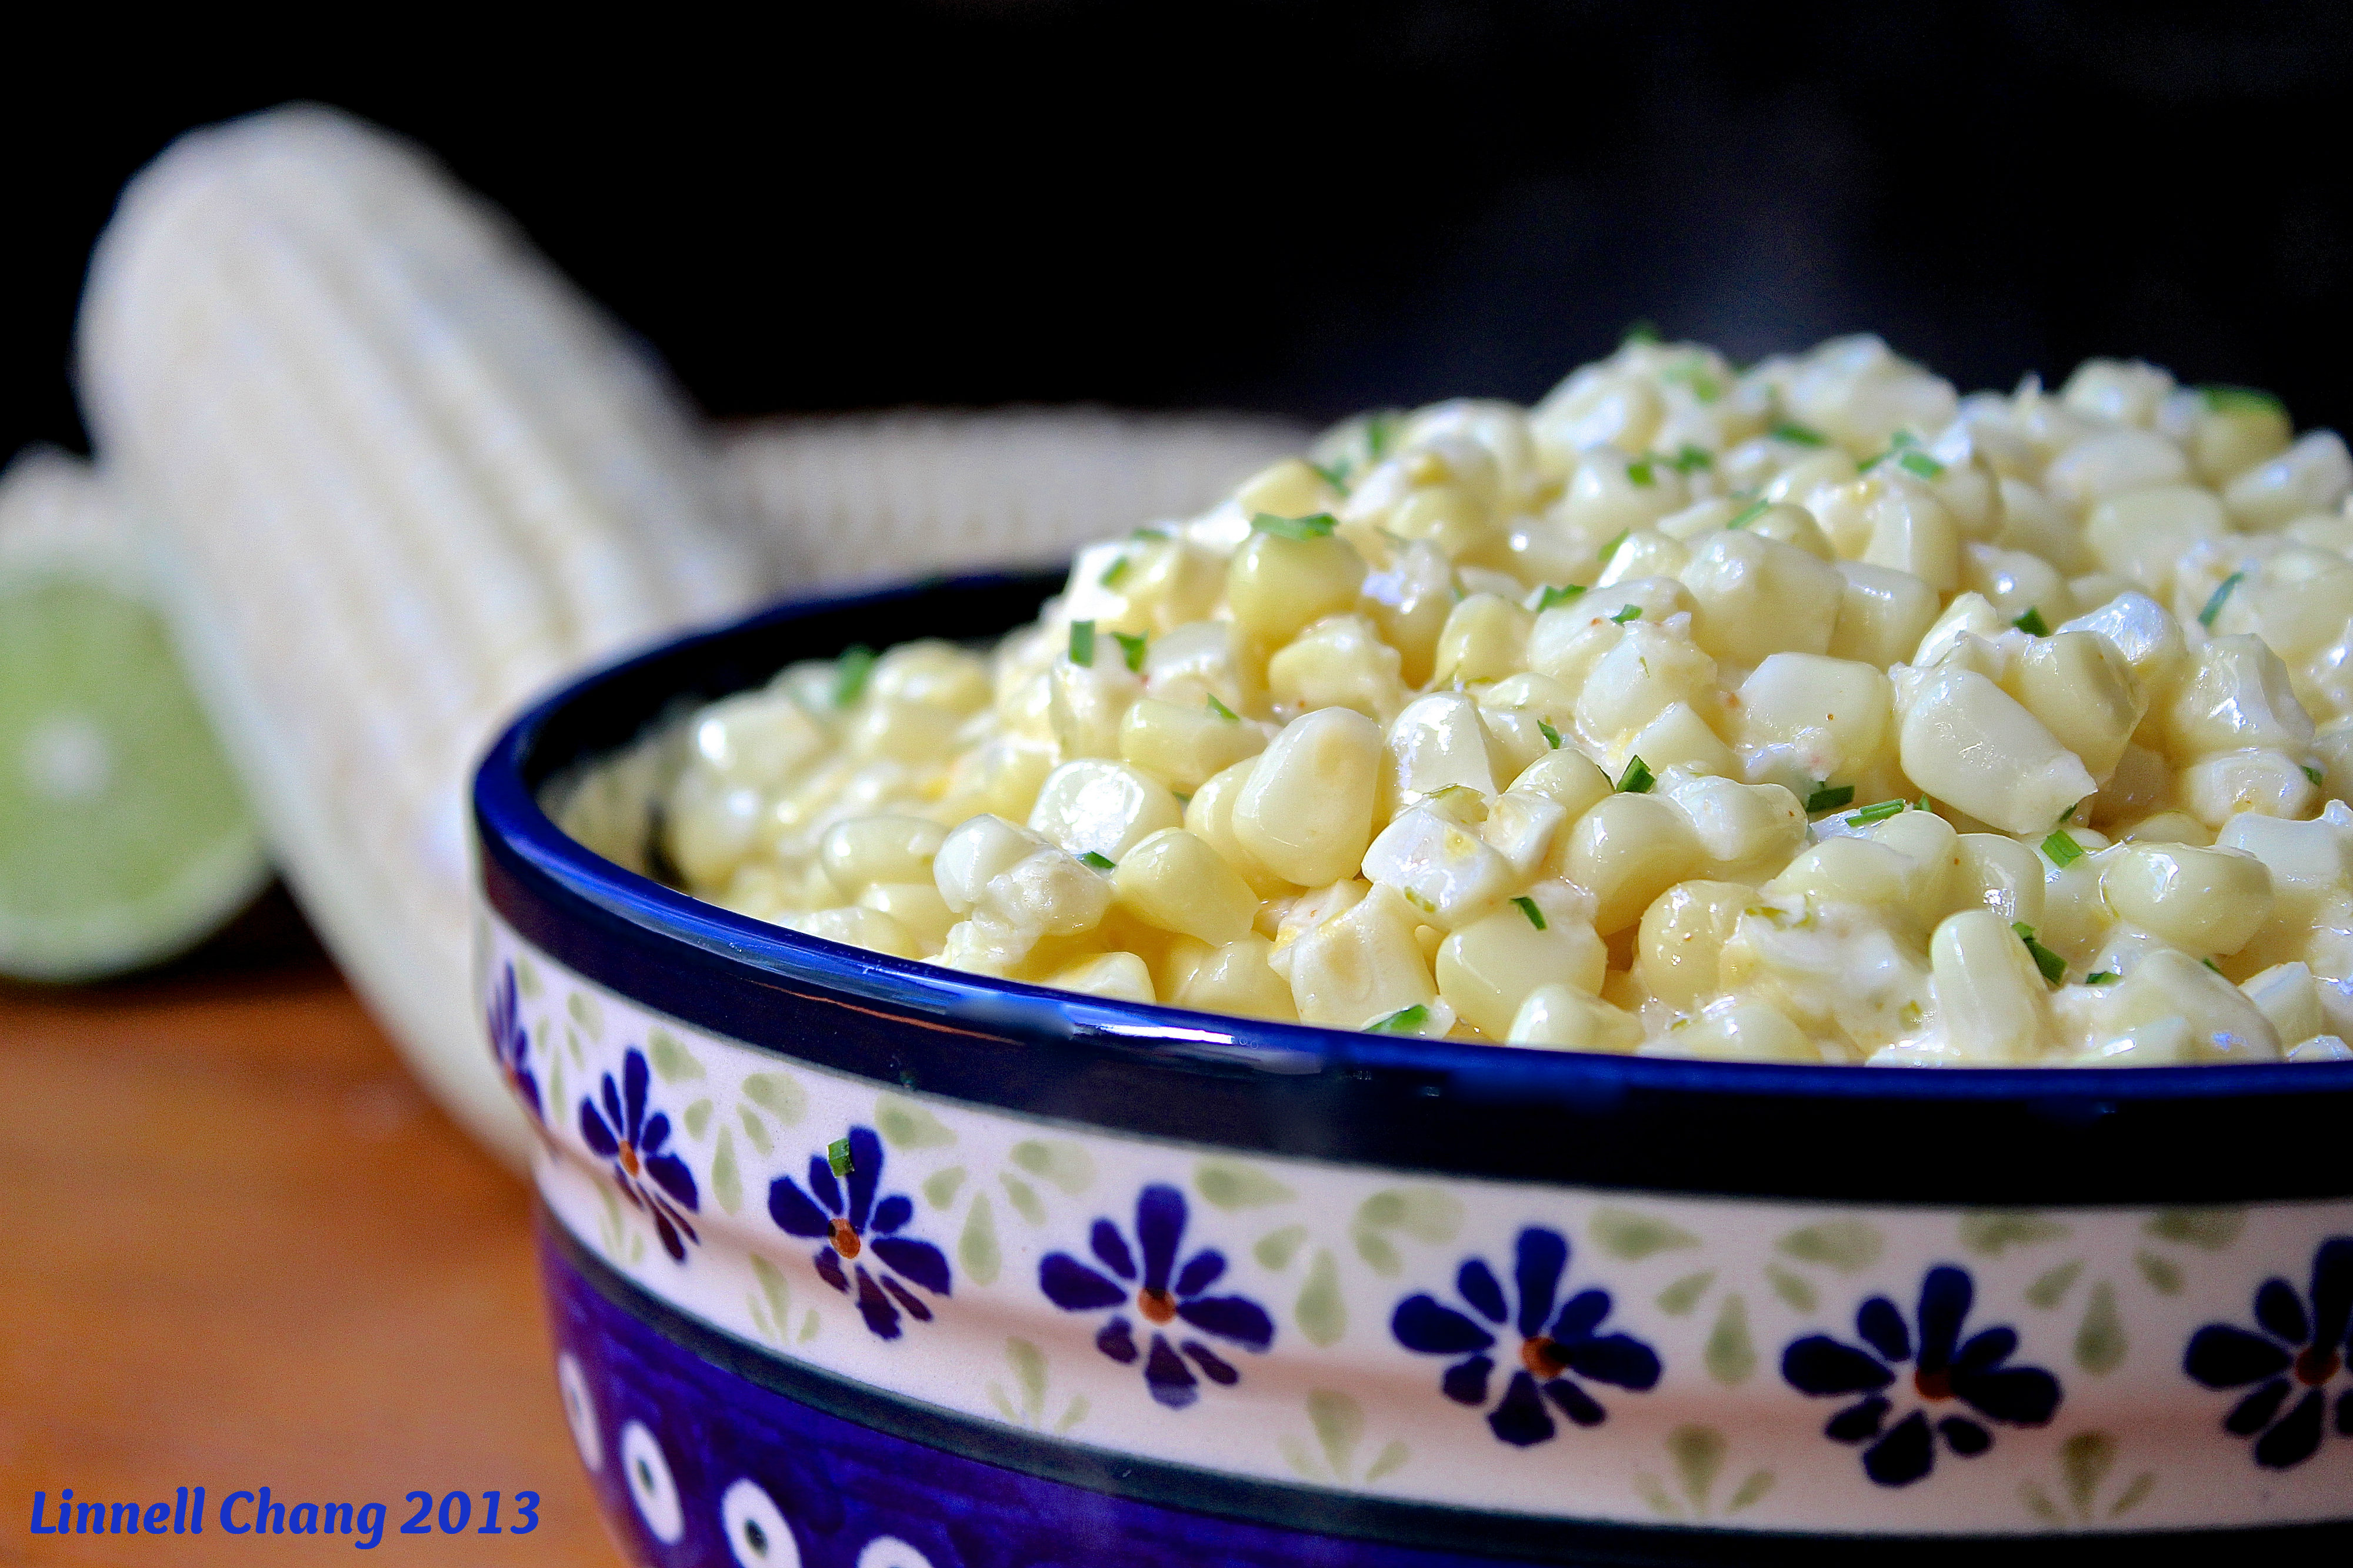
Zucchini with Corn and Green Chilies
The Pink Adobe Cookbook
INGREDIENTS
1/4 cup (1/2 stick) butter
1 T olive oil
1/2 cup chopped onion
1/2 cup chopped fresh green chilies
4 cups sliced zucchini, 1/2-inch thick
1½ to 2 cups fresh corn kernels, scraped from about 4 ears
1 tsp salt
1/4 tsp dried oregano
1/4 tsp cumin seed
1/2 cup chicken or beef broth
DIRECTIONS
1. Heat the butter and olive oil in a 12-inch skillet.
2. Sauté the onion and green chilies for about 3 minutes.
3. Add the zucchini, corn, salt, oregano, and cumin seed. Mix well. Stir in the broth.
4. Cover the skillet and simmer until the zucchini is crisp-tender, about 5 minutes. Serve hot.
LINNELL’S NOTES
1. The ears of corn I used must have been on the large side. I had a lot more than 2 cups of kernels. Not wanting the extra to go to waste, I threw them in to the mix. It probably would have been better if I measured the kernels after I cut three ears.
2. Try to cut the zucchini the same thickness, so that all the slices cook evenly.
3. In my post Creamed Summer Corn, I wrote a tip on how to safely and easily cut kernels off of a corn cob. Here’s the tip again: Place a damp kitchen towel on your kitchen counter. Place a tube pan or Bundt pan on the towel to prevent the pan from slipping. Insert the stem end of the corn cob into the hole of the pan. Hold the top of the ear of corn and slice down straight, pressing against the cob until you reach the bottom. The kernels will fall into the pan. 
4. When I cut chilies, I wear gloves that are designated for food preparation only. A little bit of chili oil rubbed in the wrong place (eyes, mouth, nose, etc.) can burn! 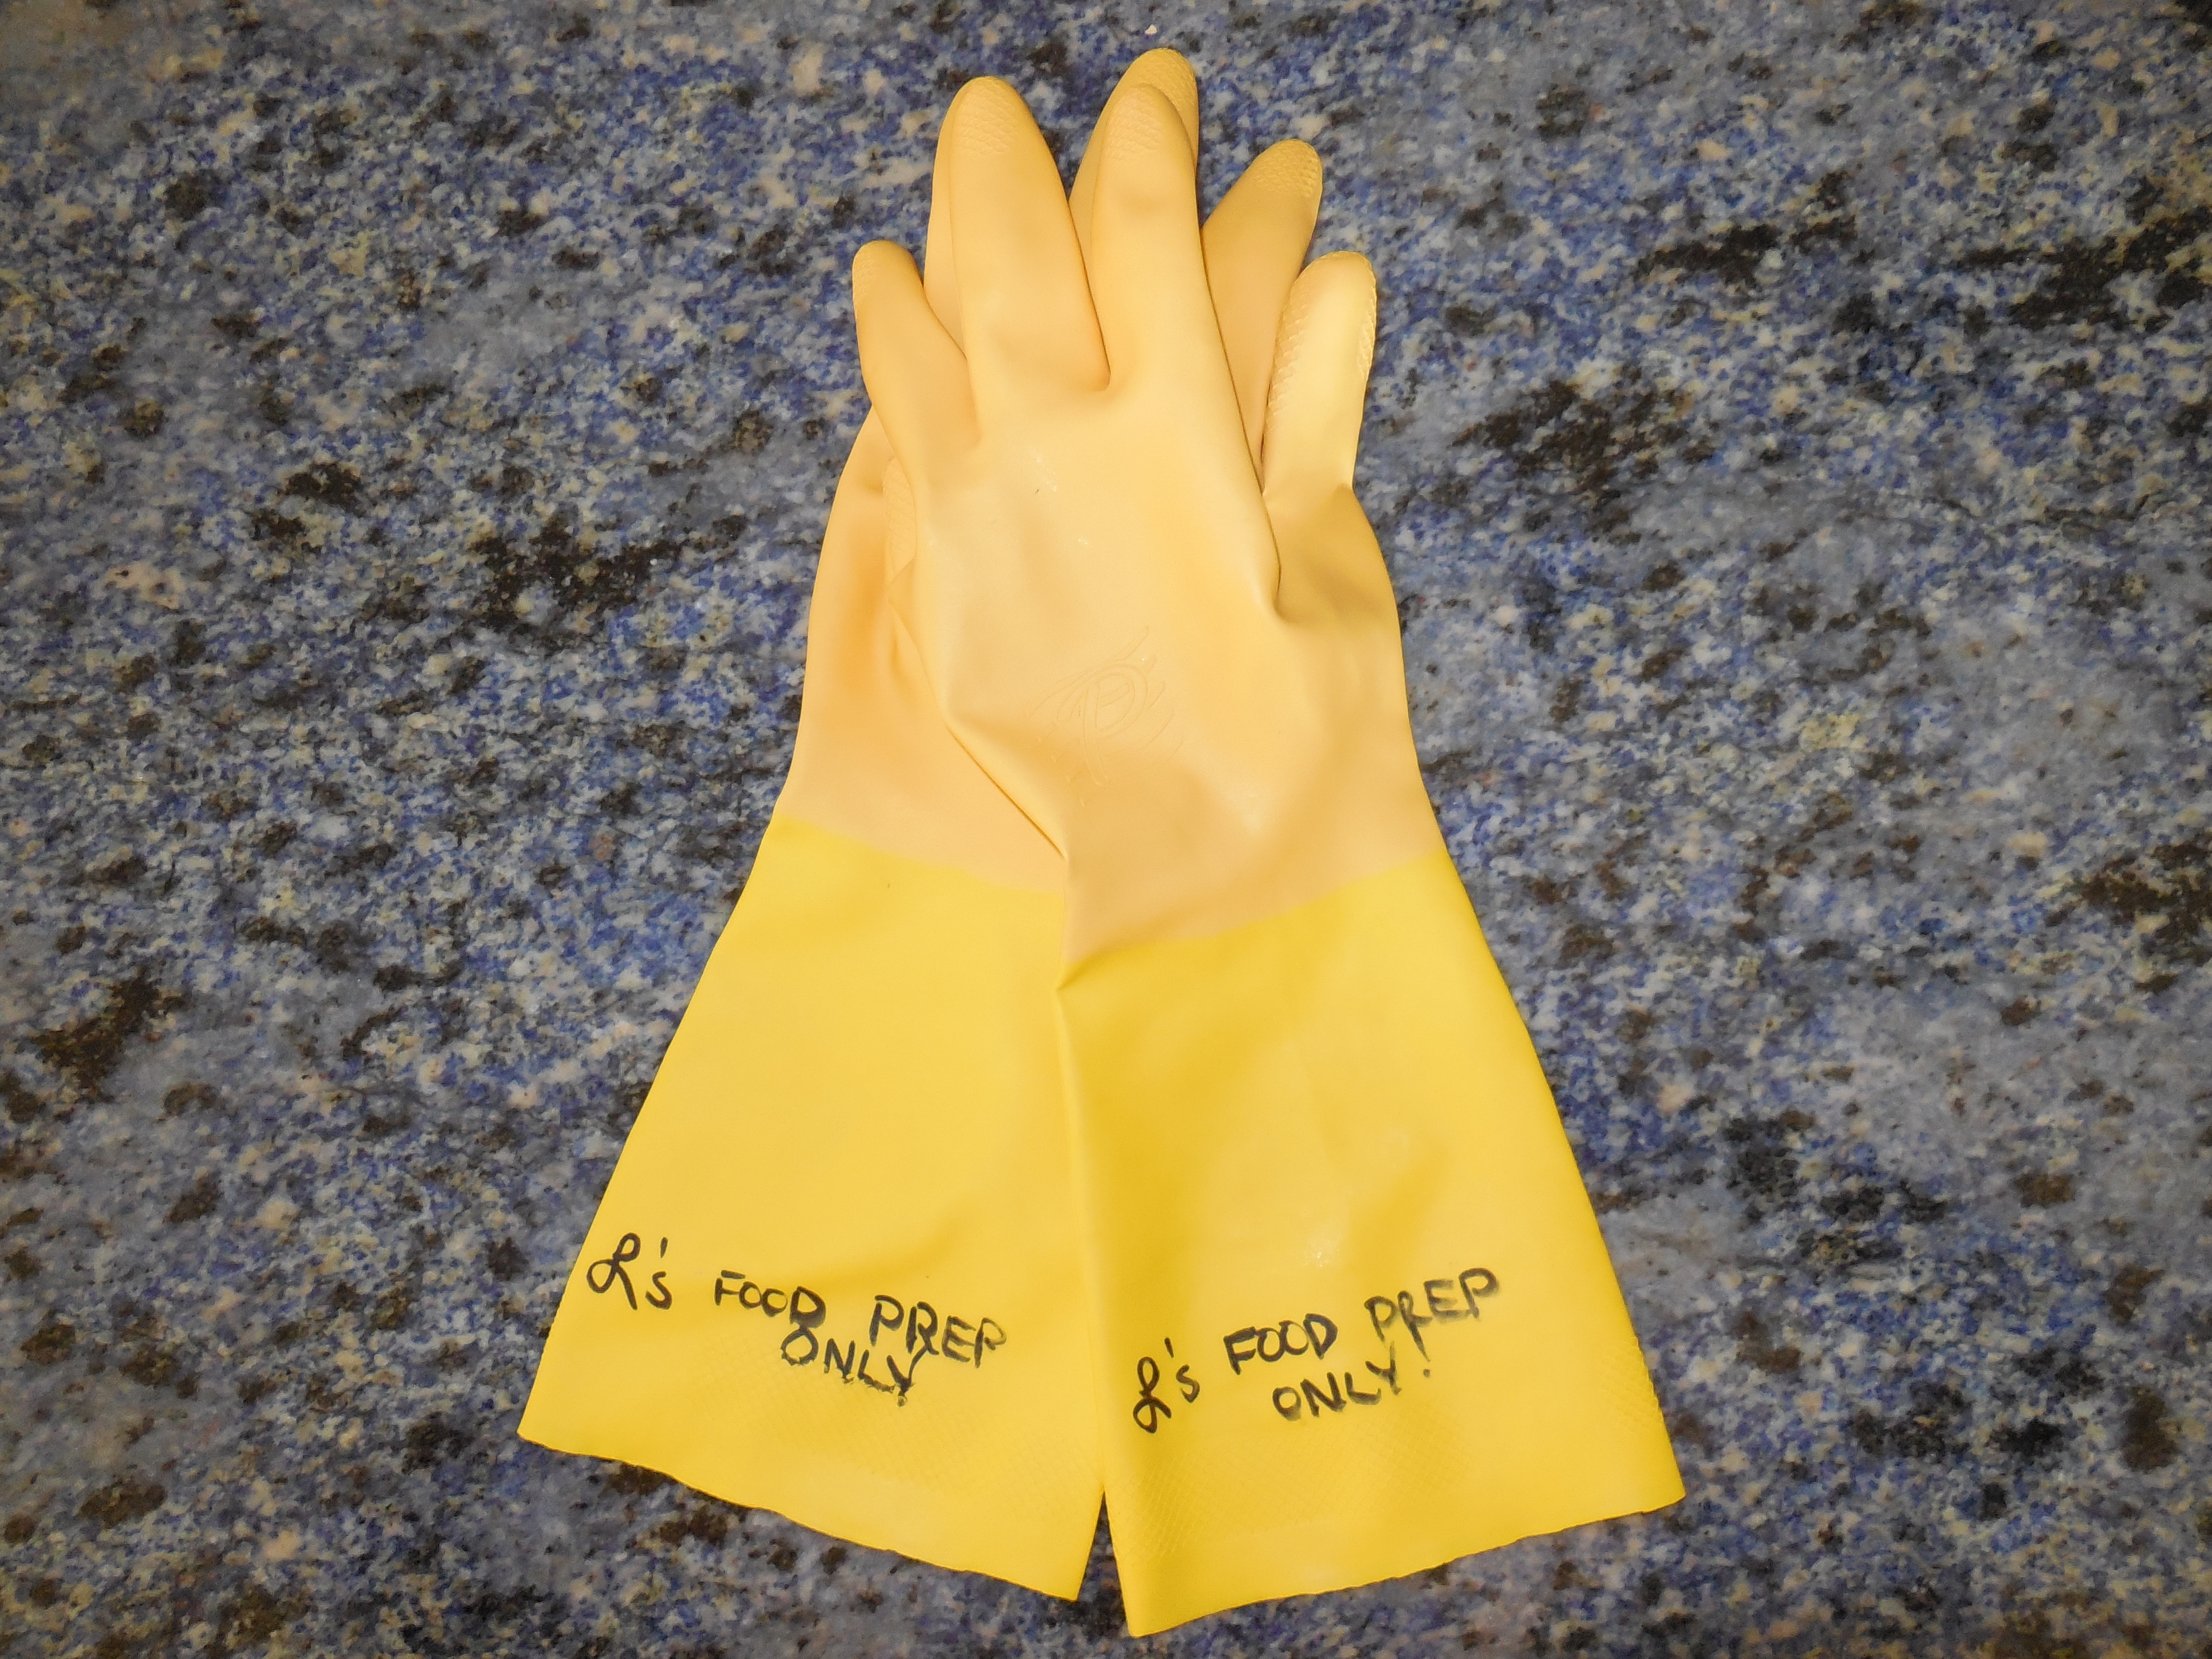
ENJOY!


You must be logged in to post a comment.