
Photo by Linnell Chang
There’s quite a buzz around the water cooler these days, except in this case the water cooler is a hummingbird feeder. With their fuzzy-looking baby feathers and miniscule stature, young hummingbirds buzz around the feeder competing for food. Some of them are so small that they cannot stand on the perch to feed. If they did, they would be unable to reach the nectar. Most of the adult hummingbirds tolerate the young birds and some even feed simultaneously with the little ones. But like the human species, greed also exists in the bird world and some of the older birds bully and chase away the young ones. Watching the hummingbirds interact reminds me of all the times I told my children, “Please set a good example and share.”
#1 – Mosaic Marvels

Winters Beauty by artist Laura Rendlen
After viewing the incredible art at the Vatican several years ago, I left with a greater appreciation for the pain-staking art of mosaics. Mosaics may be an ancient art form, but they’re just as beautiful now in modern art installations. I’d like to share with you these 10 stunning examples of modern-day mosaic art.
#2 – Frisée or Mâche?
In my last post, I wrote about growing my own lettuce and serving a very fresh salad for dinner. Also growing in my yard are arugula, kale, and chard. Not bad for a container gardener with a brown thumb! With a variety of salad greens available for us to grow in our yards, buy at markets, or eat in restaurants, it can be difficult to tell them apart. Here’s a Visual Guide to Salad Greens, courtesy of Epicurious, to help you identify them, learn about their characteristics, and link to recipes using them.
#3 – More Great Ideas
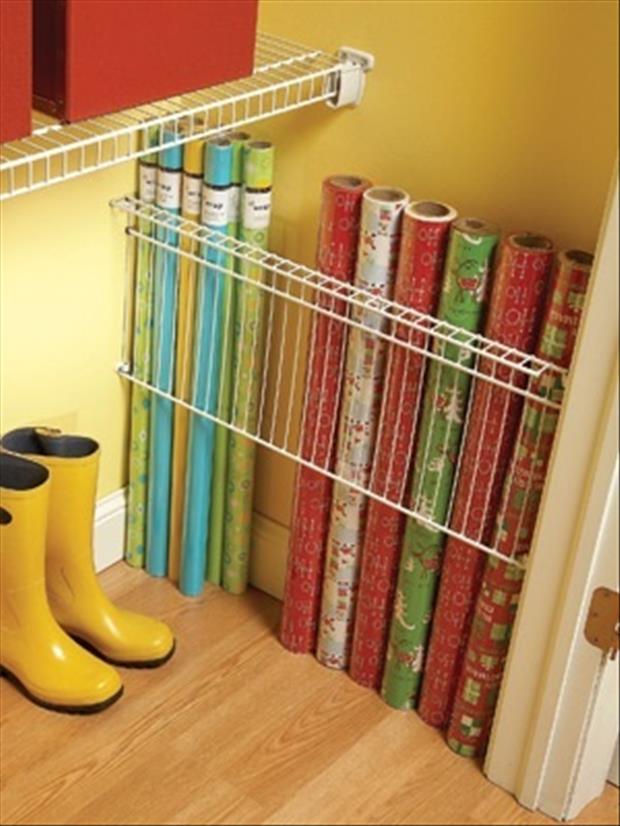
 Some of the ideas in Even More Simple Ideas that Are Borderline Genius have been around the block a couple of times. However, there are a several of them that had me thinking, “Why didn’t I think of that?” I particularly like the idea of using wired shelving to hold rolls of wrapping paper vertically. Check out these ideas, because maybe there’s one that will make your life easier.
#4 – Furoshiki
Furoshiki are Japanese wrapping cloths. They serve to transport, protect, and/or decorate. Since Furoshiki are reusable, they prevent product waste, especially in the case of wrapping paper and bags. There are different ways to tie Furoshiki, depending on an item’s shape and size. Click here to learn about Furoshiki wrapping techniques.
#5 – Shared Words, Shared Worlds
I share this poem, written by Arab-American poet, songwriter, and novelist Naomi Shihab Nye, with the hope that you will share it with others. Its message is clear: that there’s so much good in a little kindness and that living in a “shared world” is a much better world.
Shared Words, Shared Worlds
–by Naomi Shihab Nye
After learning my flight was detained 4 hours,
I heard the announcement:
If anyone in the vicinity of gate 4-A understands any Arabic,
Please come to the gate immediately.
Well—one pauses these days. Gate 4-A was my own gate. I went there.
An older woman in full traditional Palestinian dress,
Just like my grandma wore, was crumpled to the floor, wailing loudly.
Help, said the flight service person. Talk to her. What is her
Problem? we told her the flight was going to be four hours late and she
Did this.
I put my arm around her and spoke to her haltingly.
Shu dow-a, shu- biduck habibti, stani stani schway, min fadlick,
Sho bit se-wee?
The minute she heard any words she knew—however poorly used—
She stopped crying.
She thought our flight had been canceled entirely.
She needed to be in El Paso for some major medical treatment the
Following day. I said no, no, we’re fine, you’ll get there, just late,
Who is picking you up? Let’s call him and tell him.
We called her son and I spoke with him in English.
I told him I would stay with his mother till we got on the plane and
Would ride next to her—Southwest.
She talked to him. Then we called her other sons just for the fun of it.
Then we called my dad and he and she spoke for a while in Arabic and
Found out of course they had ten shared friends.
Then I thought just for the heck of it why not call some Palestinian
Poets I know and let them chat with her. This all took up about 2 hours.
She was laughing a lot by then. Telling about her life. Answering
Questions.
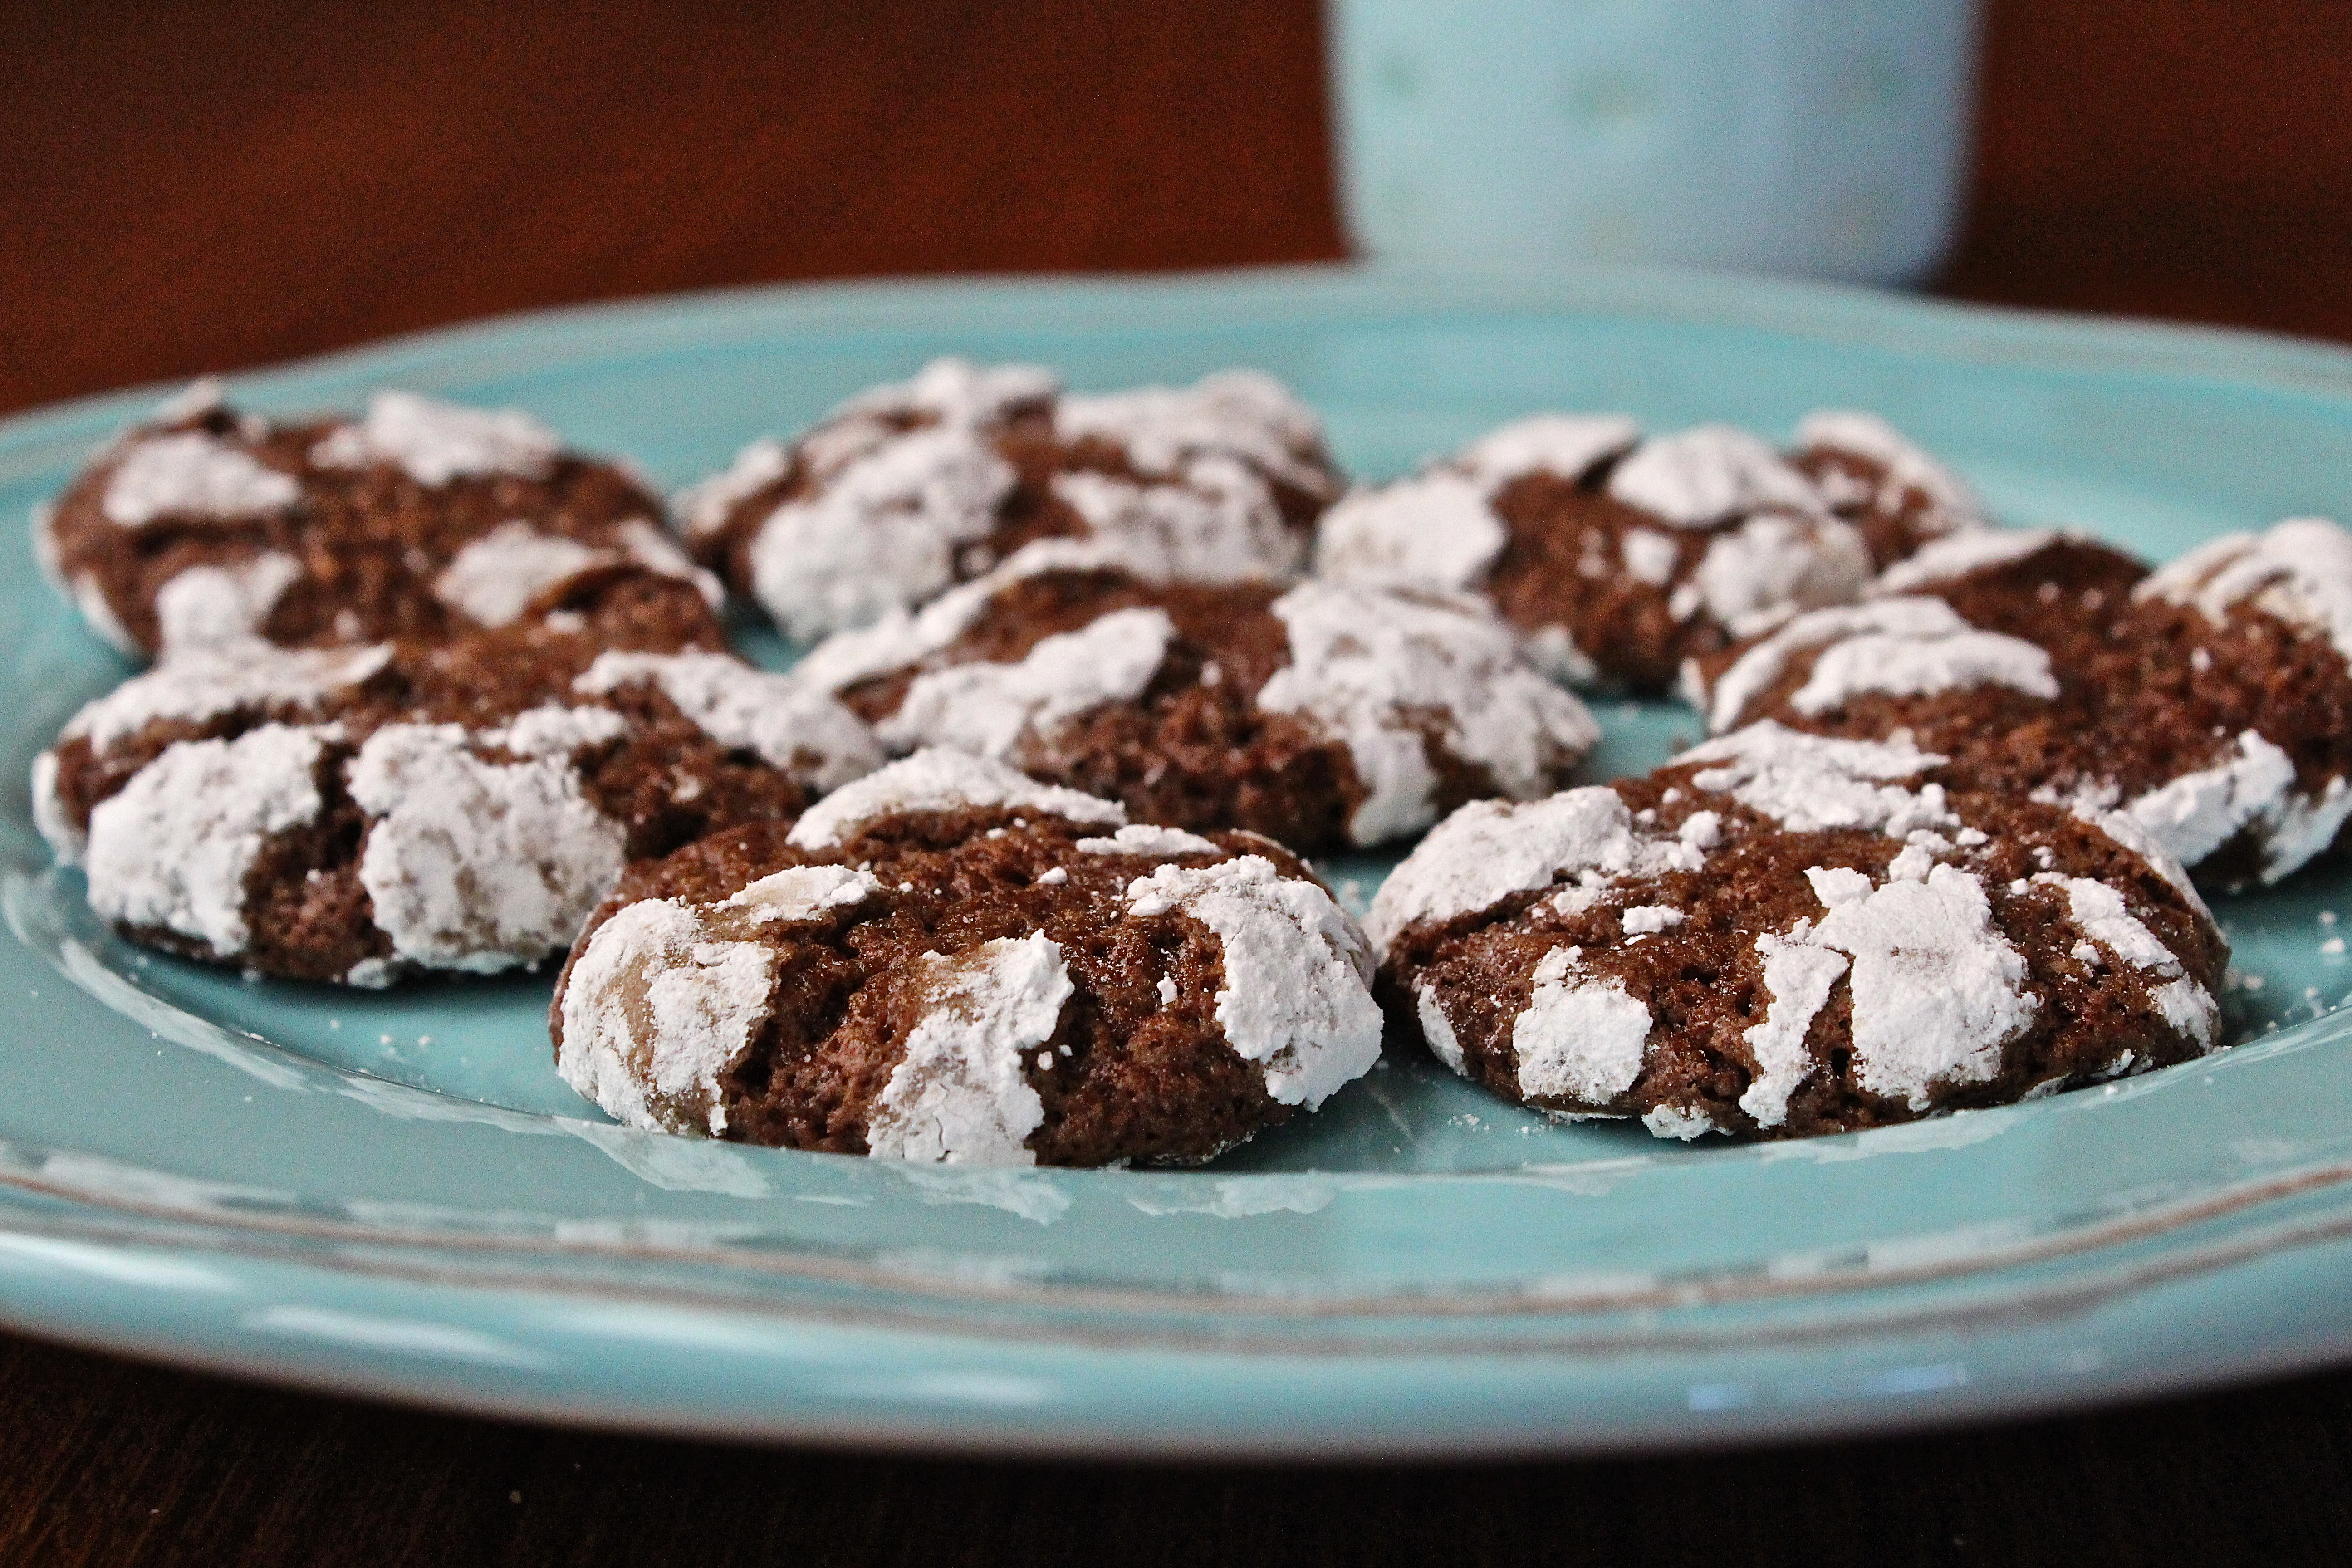
She had pulled a sack of homemade mamool cookies—little powdered
Sugar crumbly mounds stuffed with dates and nuts—out of her bag—
And was offering them to all the women at the gate.
To my amazement, not a single woman declined one. It was like a
Sacrament. The traveler from Argentina, the traveler from California,
The lovely woman from Laredo—we were all covered with the same
Powdered sugar. And smiling. There are no better cookies.
And then the airline broke out the free beverages from huge coolers—
Non-alcoholic—and the two little girls for our flight, one African
American, one Mexican American—ran around serving us all apple juice
And lemonade and they were covered with powdered sugar too.
And I noticed my new best friend—by now we were holding hands—
Had a potted plant poking out of her bag, some medicinal thing,
With green furry leaves. Such an old country traveling tradition. Always
Carry a plant. Always stay rooted to somewhere.
And I looked around that gate of late and weary ones and thought,
This is the world I want to live in. The shared world.
Not a single person in this gate—once the crying of confusion stopped
—has seemed apprehensive about any other person.
They took the cookies. I wanted to hug all those other women too.
This can still happen anywhere.
Not everything is lost.
Have a great weekend!
Read Full Post »

 There’s a lot of hoopla over sweet potatoes. Many restaurants serve sweet potato fries and many dog treats now contain sweet potato. Even my husband is on a sweet potato binge. Are sweet potatoes that much more nutritious than regular white potatoes? Compare their statistics on Food Face-Off: Which is Healthier? and decide for yourself.
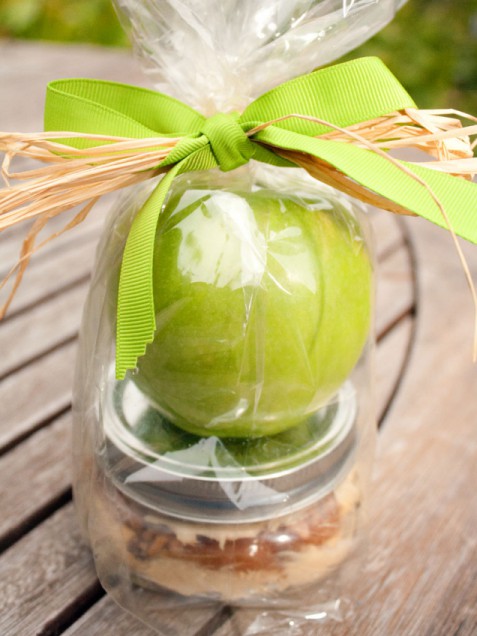 Trying to think of a nice way to thank your child’s teacher? iVillage’s 19 Homemade Teacher Gift Ideas: Thank-Yous They’ll Really Use – and Love! has some clever ideas that might be just what you’re looking for. The fact that your child can assist in making many of these gifts is a bonus, too.


 In an article titled
  White Chocolate Popcorn, anyone? This and other tasty edible gifts can be found via links from the blog
  One step out of the front door, one downward dour look, and one step back into the house – I could tell that no amount of coaxing was going to persuade my 14-year-old dog to go for a walk in the rain. Inside, he looked at me with pleading old eyes, as if to say, “I’m not going outside, Mom. The rain is one thing, but this silly raincoat is another! How embarrassing to be seen like this!” Even though I thought he looked cute, I relented and we headed to the backyard instead.
 Humans and dogs share a special bond. This series of photos titled,
  Seeing this photo of a
  Have you ever wondered what or who provided the inspiration for some of Norman Rockwell’s paintings? Take a look at
 Isn’t it time you learned that Sharpie pens are not just for writing? Take a look at these
 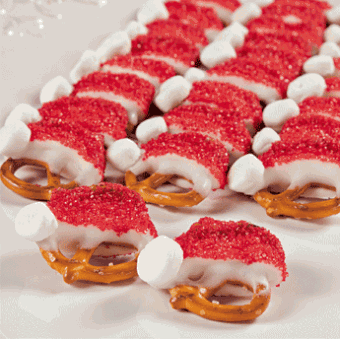 Looking for an easy-to-make holiday treat? Make these cute
 When we truly open our eyes to the world around us, we take down our blinders and open our hearts, too. It’s been awhile since I’ve posted about random acts of kindness, so when I saw these
 Cardboard

You must be logged in to post a comment.